Halloween is the perfect time to get crafty—and you don’t need expensive supplies to create something festive and fun. One of the most underrated materials for seasonal projects is styrofoam. It’s lightweight, inexpensive, easy to cut and paint, and perfect for shaping into all kinds of spooky creations. Whether you’re decorating your home, hosting a Halloween party, or keeping kids busy with crafts, styrofoam offers endless possibilities.
In this guide, you’ll discover 13 creative Halloween styrofoam crafts, ranging from simple kid-friendly projects to slightly more detailed decor. Each includes a materials list, step-by-step instructions, cost and time estimates, difficulty level, and fun variations. Let’s dive in!
1. Styrofoam Pumpkin Decorations
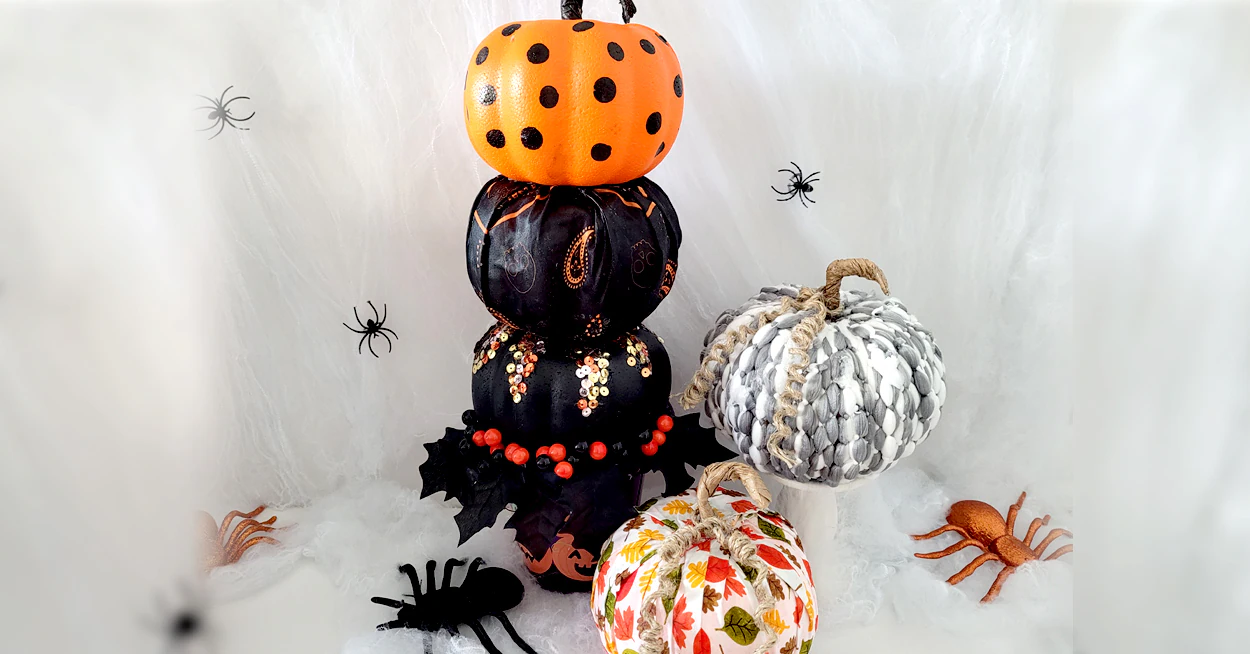
Styrofoam pumpkins are a fun and affordable way to bring Halloween spirit into your home without the mess of carving. Start with round styrofoam balls in various sizes, then paint them with bright orange acrylic paint. Once dry, add details like black jack-o’-lantern faces, glitter accents, or even faux leaves and stems made from felt or brown paper. This craft is quick to put together, usually under 30 minutes per pumpkin, making it perfect for kids to join in. The best part? These pumpkins last year after year, unlike real ones that rot. You can display them on mantels, windowsills, or as a festive table centerpiece. For a creative twist, try painting them in pastel colors for a cute “not-so-spooky” look or cover them with black paint and metallic silver patterns for a more sophisticated Halloween vibe.
2. Ghostly Styrofoam Heads
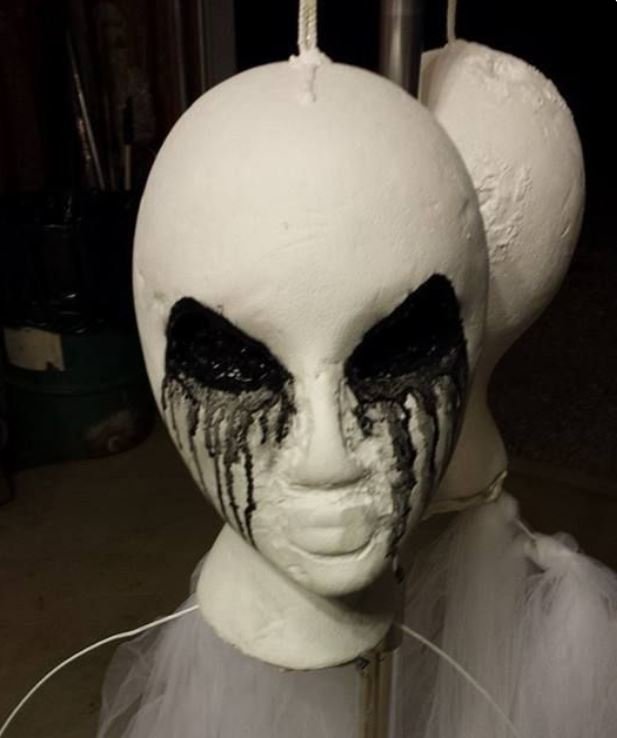
Turn styrofoam balls into eerie floating ghost heads that will send a shiver through your Halloween party guests! Begin by draping a piece of lightweight white fabric or cheesecloth over a medium-sized styrofoam ball. Use a black marker or felt cutouts to create spooky eyes and a mouth, then attach fishing line or string to the top for hanging. These ghostly heads look fantastic suspended from ceilings, porches, or tree branches outside. With minimal supplies, this project is super budget-friendly and takes around 20–25 minutes per ghost. Kids will love helping with the faces, while adults can handle the cutting and hanging. To make them glow, tuck in a small battery-operated LED tea light underneath the fabric. For variety, create a whole group of ghosts in different sizes and arrange them together for a creepy, floating haunted scene.
3. Creepy Styrofoam Eyeballs
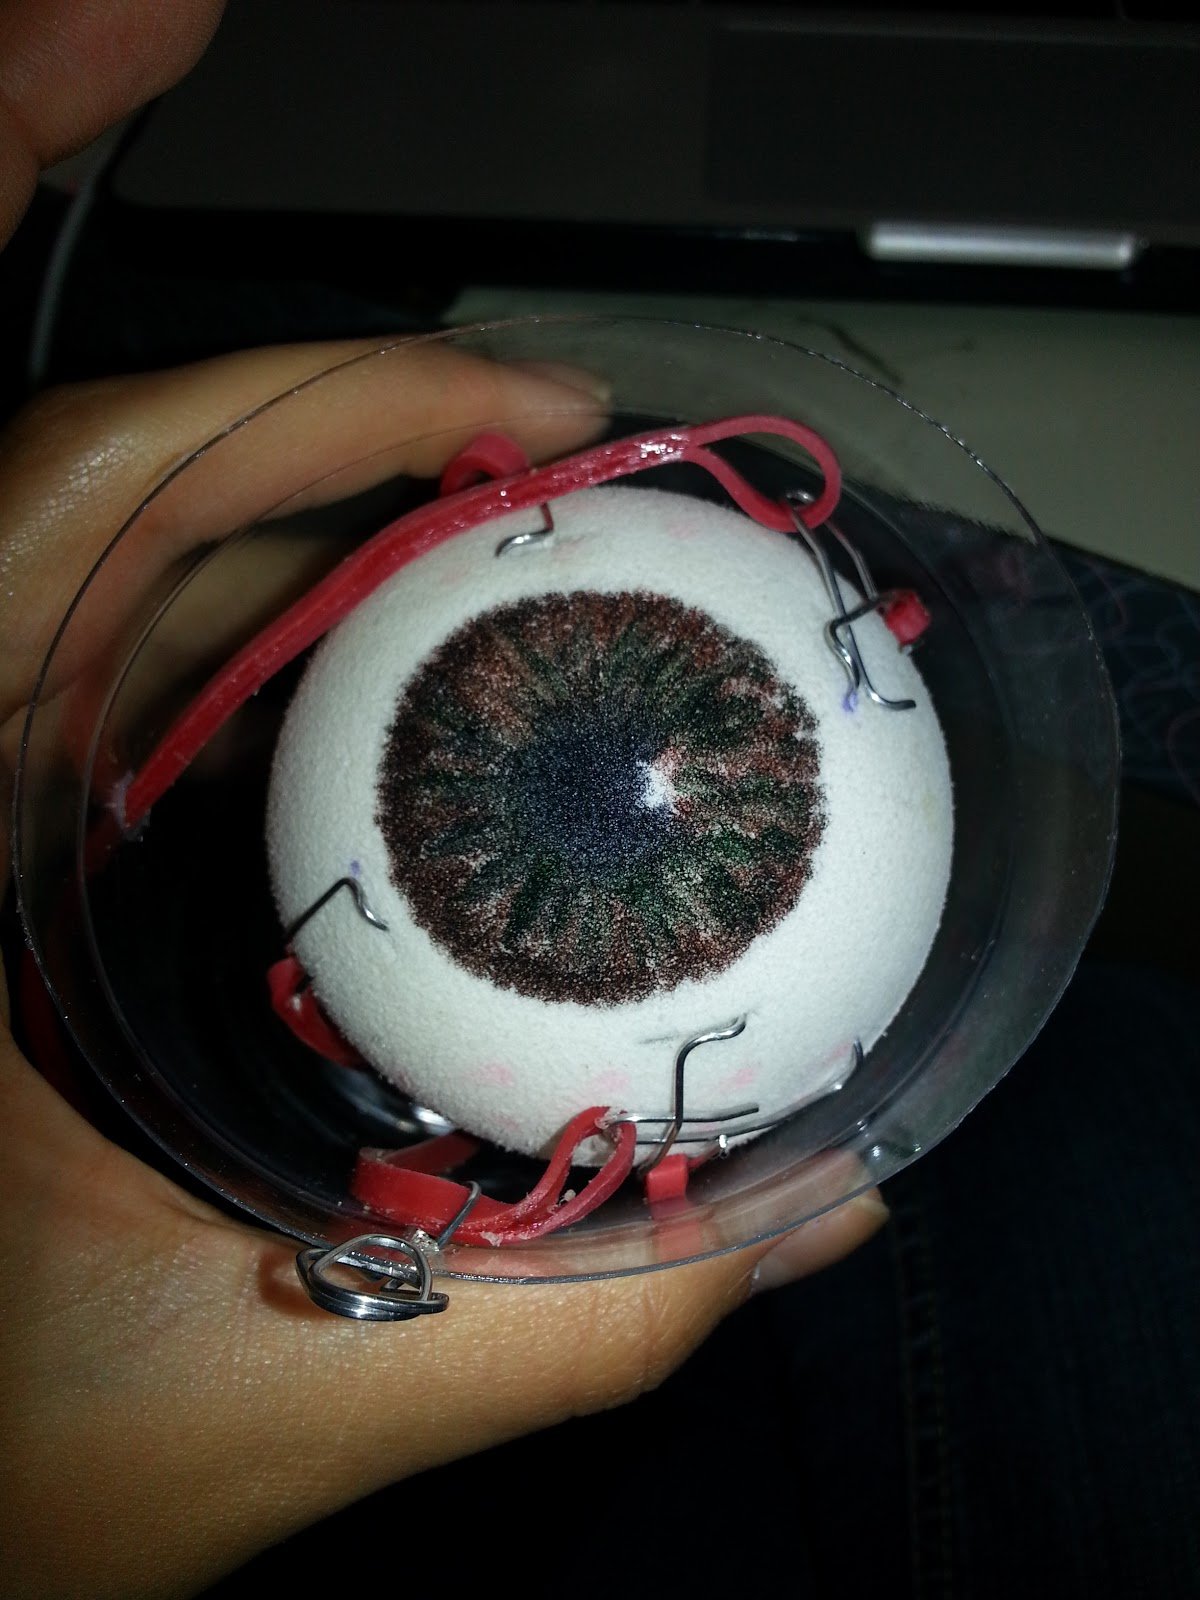
Styrofoam eyeballs are a delightfully spooky touch for Halloween, and they’re incredibly simple to make. Start with small to medium styrofoam balls and paint them white as the base. Once dry, use red paint or markers to add vein-like streaks, then paint a large colored iris and black pupil in the center. To give them a realistic, glossy finish, coat the surface with a layer of clear craft glue or Mod Podge. These eyeballs can be scattered in candy bowls, tucked into bushes, or even placed inside mason jars filled with water for a mad-scientist look. The project only takes about 20–30 minutes per set, and kids will have a blast designing the eye colors. For a creepier effect, use glow-in-the-dark paint on the pupils so they appear to stare back when the lights go out!
4. Styrofoam Tombstones
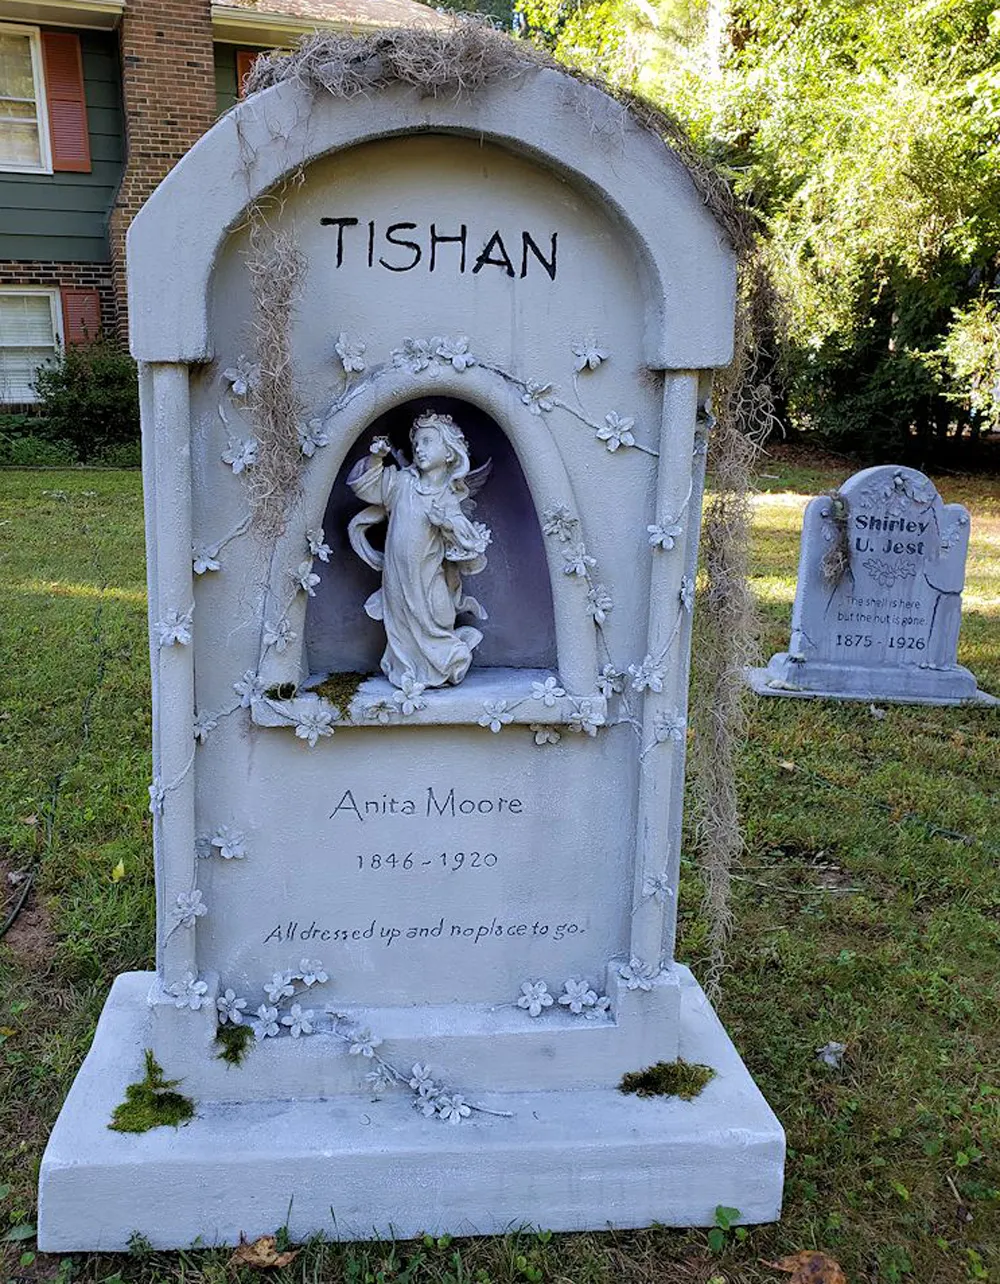
Create a spooky graveyard right in your yard with DIY styrofoam tombstones. Start with large, flat styrofoam sheets and cut them into tombstone shapes—rounded tops, jagged edges, or even cross-like designs. Paint them with gray or black acrylic paint, then use a dry brush technique to add shading for a realistic stone look. Carve or paint “RIP,” funny names, or eerie symbols to personalize each one. For durability, stick wooden stakes into the base of the styrofoam and push them into the ground. This craft takes about 45 minutes each and is great for outdoor displays. A budget-friendly option, these tombstones cost far less than store-bought ones but look just as chilling. To elevate the effect, add moss, cracks, or glow-in-the-dark paint so they’re visible at night.
5. Styrofoam Spider Nest
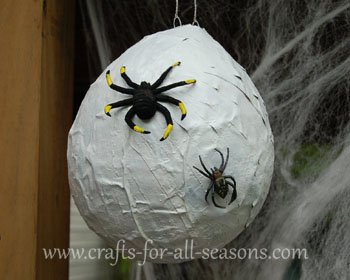
If you want a decoration that makes skin crawl, a styrofoam spider nest is the way to go. Use a medium styrofoam ball as the base and wrap it in layers of white cotton batting or stretched-out spider web material from Dollar Tree. Hot glue tiny plastic spiders all over the surface, letting some “crawl” down on strings for extra creepiness. You can hang the nest from ceilings, trees, or even place it in corners of your home for an unsettling effect. This craft only takes about 20–30 minutes and is super inexpensive. For an added fright, insert a battery-operated LED light inside the cotton so the nest glows faintly in the dark. Make several in different sizes for a truly creepy infestation that will definitely get your guests shivering.
6. Floating Witch Hats
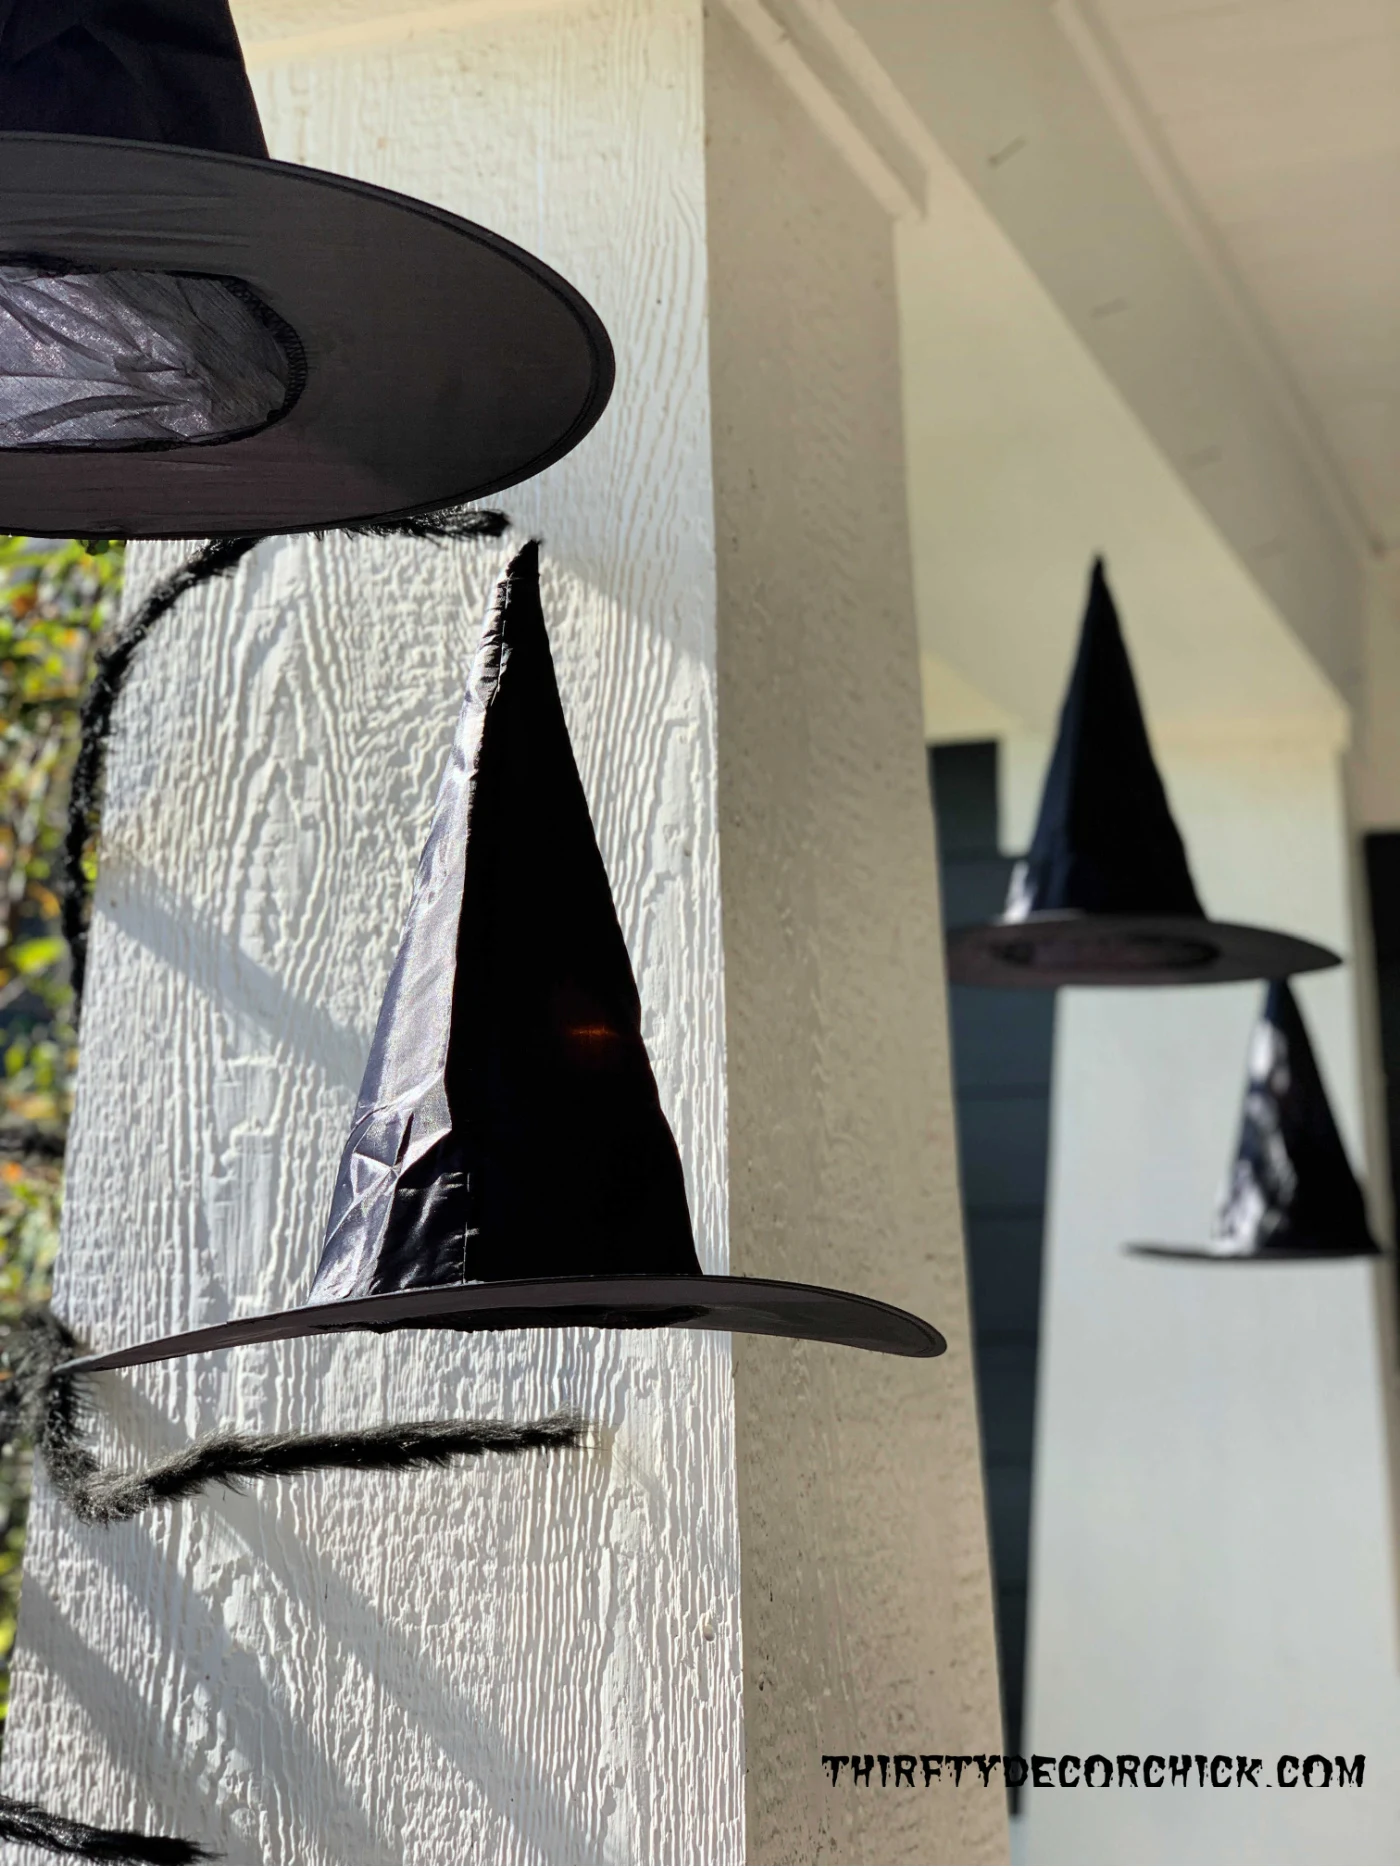
Floating witch hats are an enchanting way to add magic to your Halloween décor. Start with lightweight styrofoam cones, trimming them into classic hat shapes with wide brims made from cardboard or foam sheets. Paint them black, then add details like purple ribbons, glitter, or spooky stickers for flair. Use fishing line or clear string to hang the hats from ceilings or porches, giving the illusion that they’re floating in midair. This craft is a little more time-intensive (around 45 minutes per hat) but creates an unforgettable decoration. Kids can help decorate the hats while adults handle the cutting and hanging. For a truly magical touch, tuck small LED tea lights inside so the hats glow softly at night. They’re perfect for Halloween parties or outdoor displays where you want to wow your guests.
7. Styrofoam Skull Centerpiece
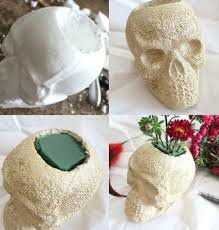
For a chilling table decoration, a styrofoam skull centerpiece is perfect. Start with a pre-shaped styrofoam skull (often found at Dollar Tree or craft stores) or carve your own from a styrofoam block. Paint it with a base coat of white or bone-colored acrylic paint, then add shading around the eyes, nose, and jawline for a realistic, eerie look. Place the skull on a platter and surround it with faux cobwebs, black roses, or flickering LED candles for extra effect. This project takes about 30–40 minutes, depending on detail, and is beginner-friendly. If you’re feeling creative, give your skull a colorful Day of the Dead design with bright paints and glitter. Whether spooky or festive, this piece instantly becomes a Halloween showstopper for dinner parties or haunted house displays.
8. Candy Corn Cones
Candy corn is a Halloween classic, and styrofoam cones make it easy to bring this sweet decoration to life. Grab medium or small styrofoam cones and paint them in the traditional candy corn layers—white on top, orange in the middle, and yellow at the base. For a smoother finish, wrap the cone in colored tissue paper or felt instead of paint. These cheerful decorations only take about 20–30 minutes and look adorable as table centerpieces, mantel décor, or grouped in clusters. They’re inexpensive, especially if you already have craft paint on hand. Add a little glitter spray to give them a shiny, candy-like effect. This is a fun project for kids too, since it doesn’t require sharp tools—just creativity and a steady hand. A perfect blend of cute and festive!
9. Styrofoam Bat Wall Art
Bring your walls to life (literally!) with spooky styrofoam bat wall art. Cut bat shapes out of thin styrofoam sheets using a stencil, then paint them jet black. For extra texture, brush on a coat of black glitter or metallic paint so they catch the light. Arrange the bats in a flying formation across your wall, starting at one corner and “soaring” outward for a dramatic effect. Attach them using double-sided tape or removable wall adhesive, which makes them easy to take down after Halloween. This craft is beginner-friendly, takes about 30 minutes, and costs very little. You can scale the bats to different sizes for depth, making the swarm look more realistic. It’s an easy way to transform a plain wall into a spooky Halloween scene without spending much money.
10. Haunted Styrofoam Lanterns
Transform simple styrofoam blocks or cylinders into glowing haunted lanterns. Cut out spooky shapes like bats, ghosts, or jack-o’-lantern faces using a craft knife (adults should handle this step). Paint the outside black or dark gray for a shadowy look. Then, insert battery-powered tea lights or LED string lights inside to give your lantern an eerie glow. For extra effect, drape cheesecloth over the top or spray with silver glitter for a ghostly shimmer. These lanterns look fantastic on porches, windowsills, or as a table centerpiece. The project takes about 45 minutes, is beginner-friendly with adult help, and costs under $10 for materials. It’s a great way to reuse styrofoam packaging while creating something spooky and functional for Halloween night.
11. Witch’s Cauldron with Bubbles
Bring a witchy touch to your décor with a bubbling styrofoam cauldron! Use a round bowl or plastic cauldron as the base. Then, glue small styrofoam balls (in various sizes) spilling over the top to mimic magical bubbles. Paint them green, purple, or even glow-in-the-dark for a supernatural vibe. For added effect, tuck green LED lights or cotton “smoke” around the bubbles. The entire craft takes about 45 minutes, requires simple materials, and costs under $15. It’s beginner-friendly and a fun project for kids with some painting supervision. Perfect for Halloween parties, this bubbling cauldron makes a statement on food tables or entryways. You can even add plastic spiders or eyeballs to make it extra creepy.
12. Styrofoam Mummy Heads
Creepy but cute, styrofoam mummy heads are a simple craft that looks amazing on shelves or porches. Start with a styrofoam ball and wrap it in strips of white gauze, cheesecloth, or even torn fabric. Leave small gaps for the eyes, then stick in googly eyes or paint on eerie glowing pupils. For an aged look, lightly dab tea or coffee onto the fabric strips for a stained effect. These mummy heads only take 20–30 minutes to make, making them perfect for quick Halloween prep. They’re inexpensive—usually under $5 each—and safe enough for kids to assemble with minimal help. Display them in bowls, on stakes in the yard, or line them up as a “mummy family.” They’re a fun way to add spooky charm without being too scary for little ones.
13. Spooky Styrofoam Door Wreath
Welcome guests with a haunting touch by crafting a styrofoam door wreath. Use a styrofoam ring as the base and wrap it in black ribbon, gauze, or spiderweb material. Add plastic spiders, bats, or tiny skulls for decoration, and finish with a bold orange or purple bow. For extra drama, weave in battery-powered mini lights so your wreath glows at night. This project takes about 60 minutes and is beginner-friendly, though attaching pieces with hot glue is best handled by adults. The cost depends on decorations but usually stays under $15 if you shop smart at dollar stores. A spooky wreath is the perfect way to show off your Halloween spirit while adding a personal, handmade touch to your front door.
Safety Tips for Crafting with Styrofoam
-
Always cut styrofoam with a sharp knife or craft tool—adults only.
-
For children, use pre-cut styrofoam shapes.
-
Work in a ventilated area when using spray paint.
-
Use low-temp hot glue guns for younger kids or stick to school glue.
Final Thoughts
With just a few dollars and a little imagination, styrofoam can be transformed into spooky Halloween decorations that are budget-friendly and fun for all ages. From floating witch hats to creepy eyeballs, these crafts are simple enough for kids yet customizable enough for adults to get creative.
This Halloween, grab some styrofoam and try one (or all!) of these 13 ideas—you’ll be amazed how versatile and festive this everyday material can be.

