Halloween is the perfect time for kids to unleash their creativity, and what could be cuter than making fluffy little ghosts out of cotton balls? 👻 This activity is simple, budget-friendly, and uses materials you likely already have at home. Best of all, it’s safe and fun for kids aged 4–10 years old. Whether you’re planning a classroom activity, a rainy-day craft, or some last-minute Halloween décor, cotton ball ghosts are a delightful project that brings spooky charm without any scary frights.
Materials You’ll Need
Here’s everything you need to get started. (Most items can be found in your home or at a dollar store!)
-
Cotton balls – about 15–20 per ghost
-
White school glue (non-toxic and child-safe)
-
String or fishing line – 12–18 inches per ghost
-
Black marker (washable preferred)
-
Child-safe scissors (adult help needed)
-
Optional: Googly eyes for a silly, fun look
-
Paper plate or craft mat (to keep mess contained)
Estimated Cost: $5–$7 for all supplies (enough for multiple ghosts).
Step-by-Step Instructions
Step 1: Prepare the Work Area
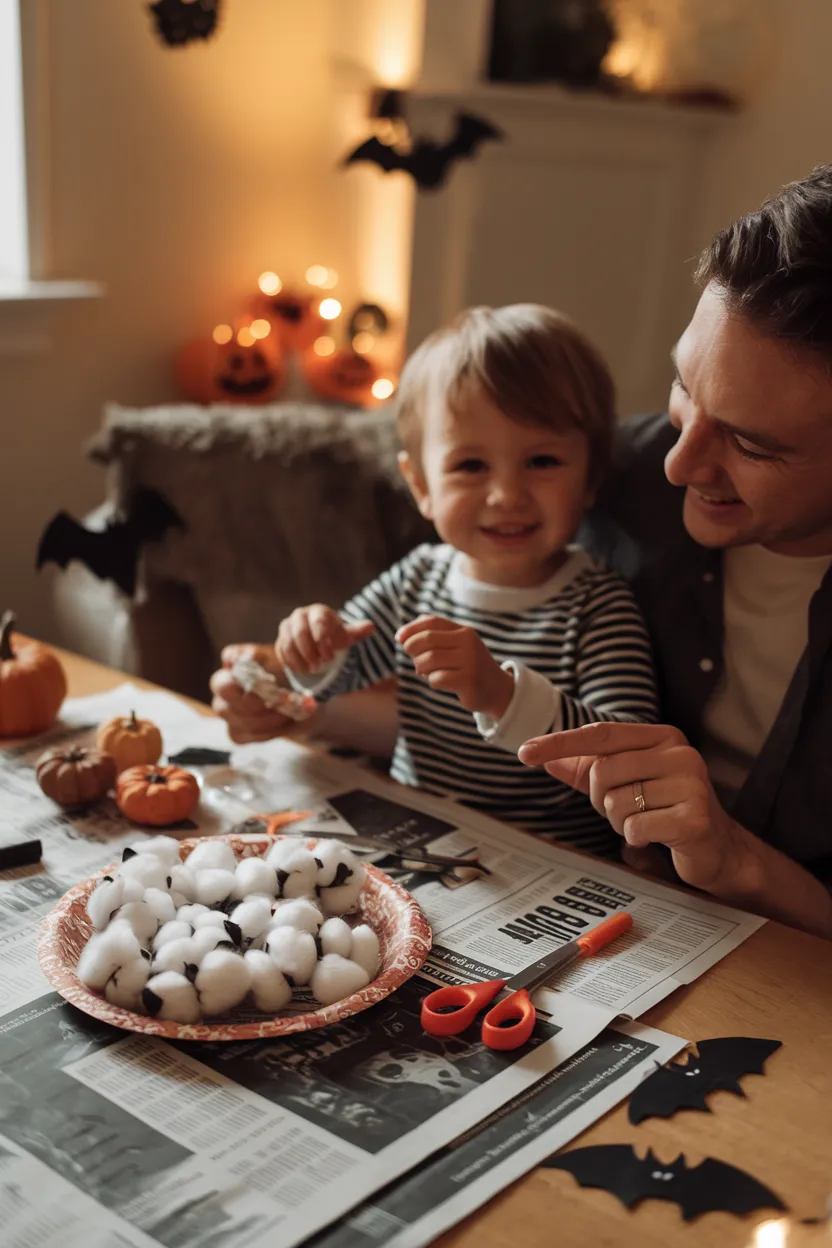
Lay out a paper plate, old newspaper, or a craft mat so glue doesn’t end up on your table. Give each child their own little workspace to keep things organized. If you’re working with younger kids (ages 4–6), pre-cut the string so they can focus on the fun part of assembling their ghost.
Step 2: Form the Ghost Body
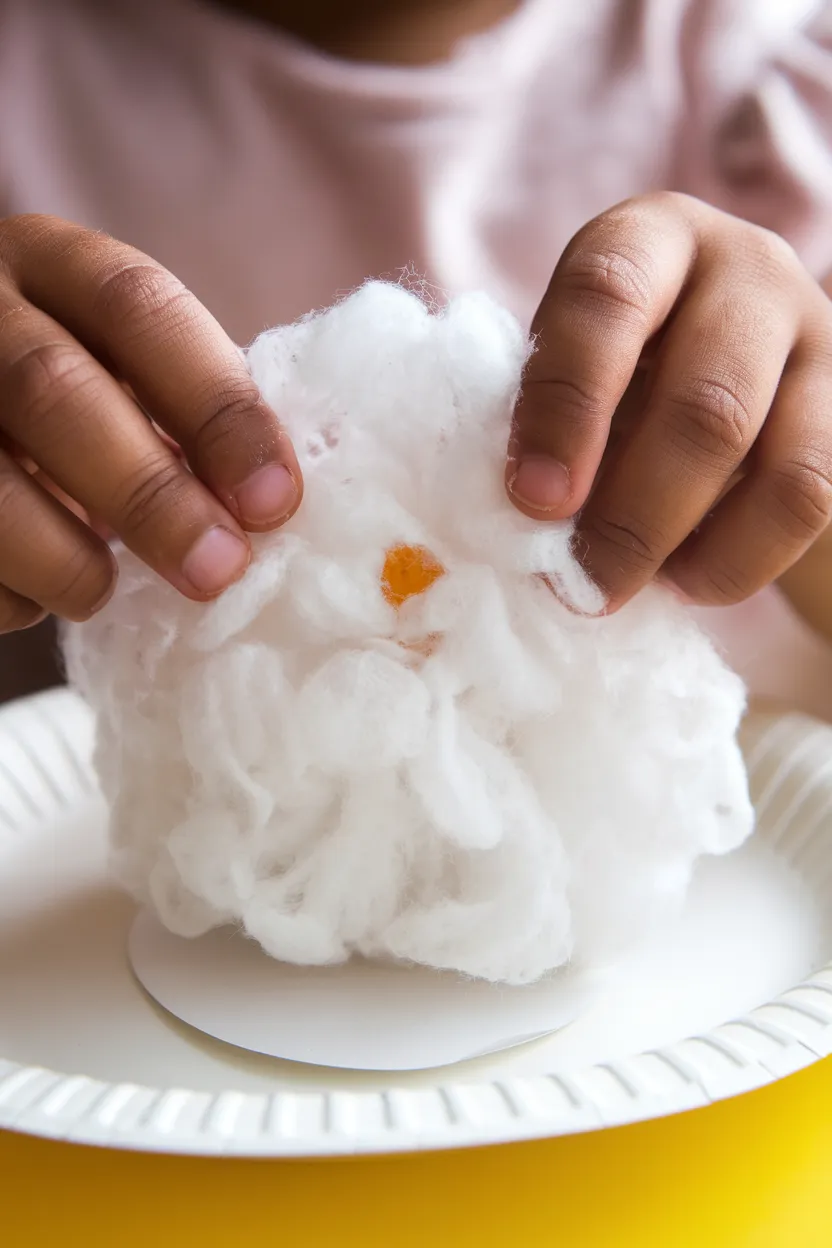
Take 10–12 cotton balls and gently pull them apart to make them fluffy. Glue them together in a rough oval shape — this will be your ghost’s “body.” Add 3–4 cotton balls at the bottom to give it a rounded, floaty effect. Press down gently so they stick but still look fluffy.
Step 3: Add the Head
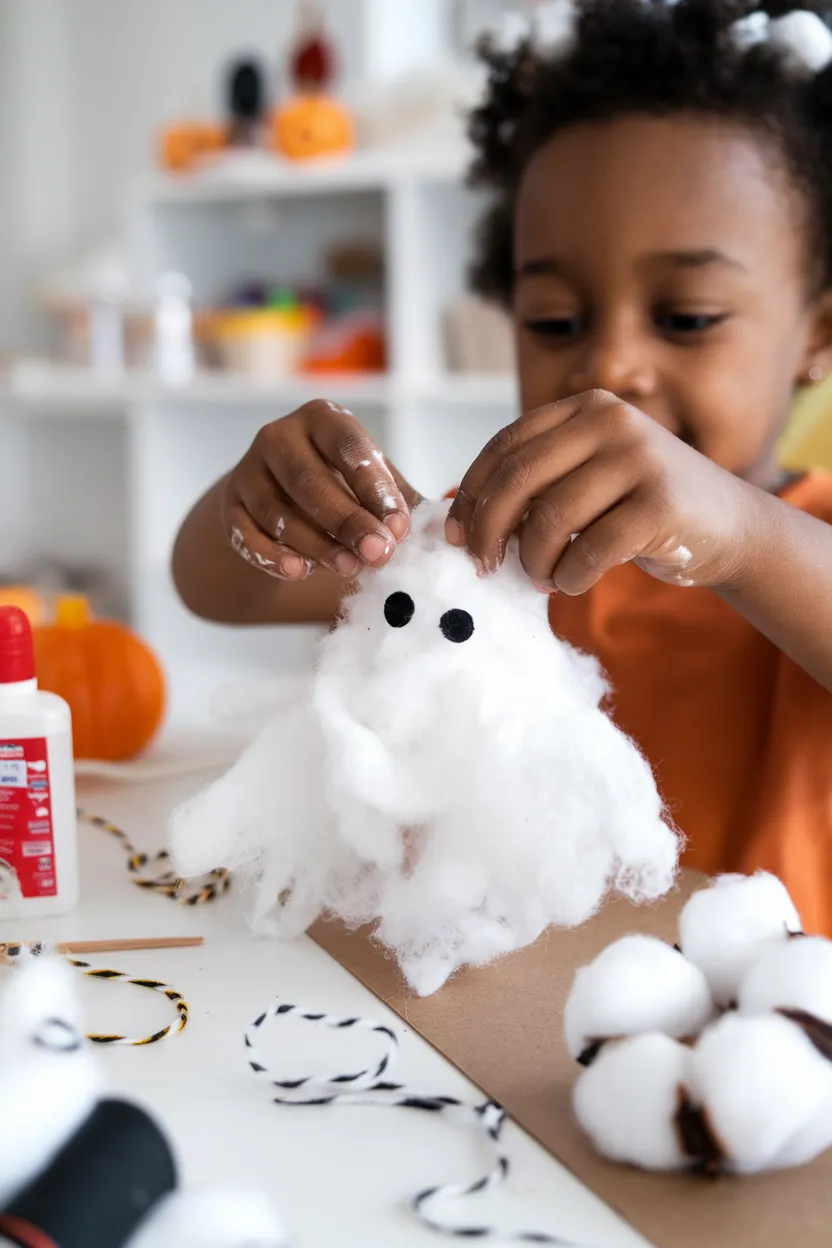
Create a “head” by rolling 2–3 cotton balls into a slightly larger ball and gluing it on top of the body. Make sure it’s centered so your ghost looks balanced. For younger kids, you can prepare the head-and-body shape ahead of time, so they just need to decorate.
Step 4: Attach the String
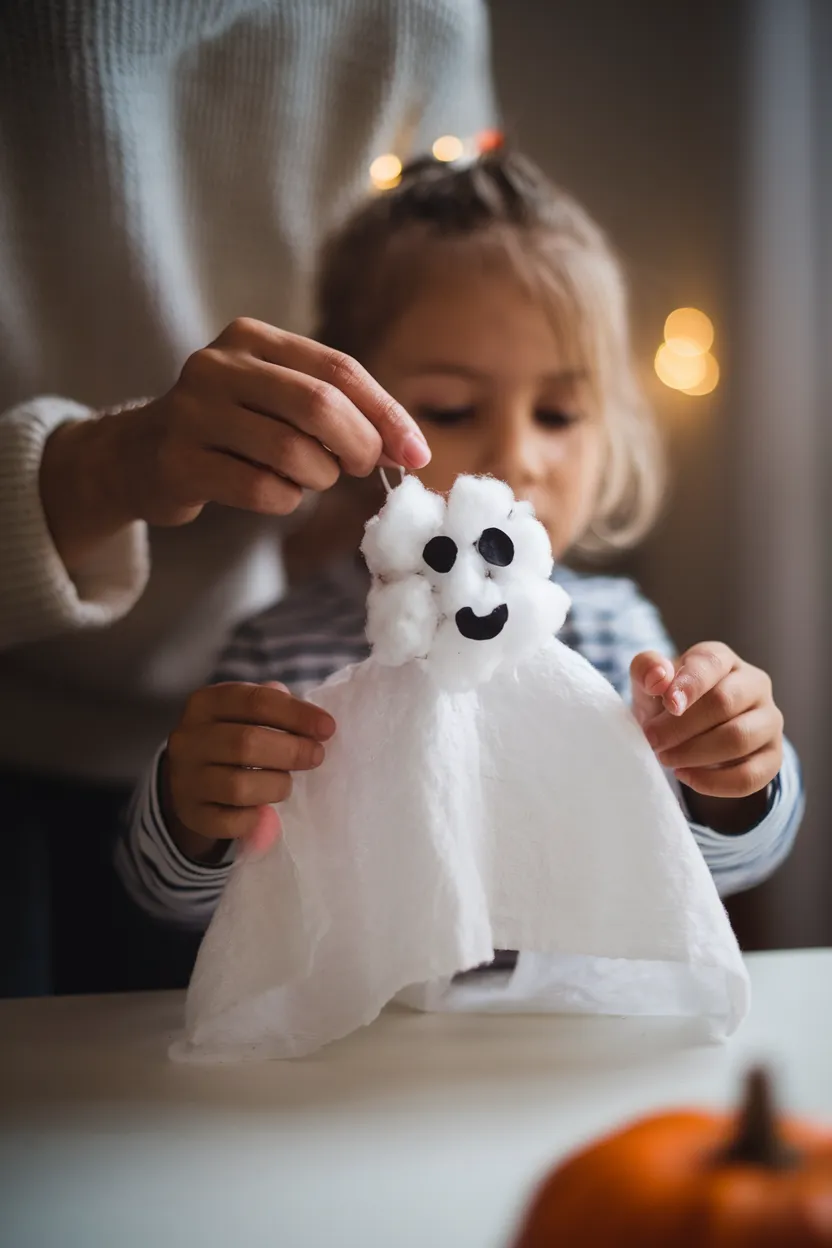
While the glue is still tacky, tuck one end of the string between the cotton balls at the top of the head and secure it with a dab of glue. This step lets you hang the ghost later. For sturdier ghosts, you can loop the string through and tie it before gluing.
Step 5: Draw the Face
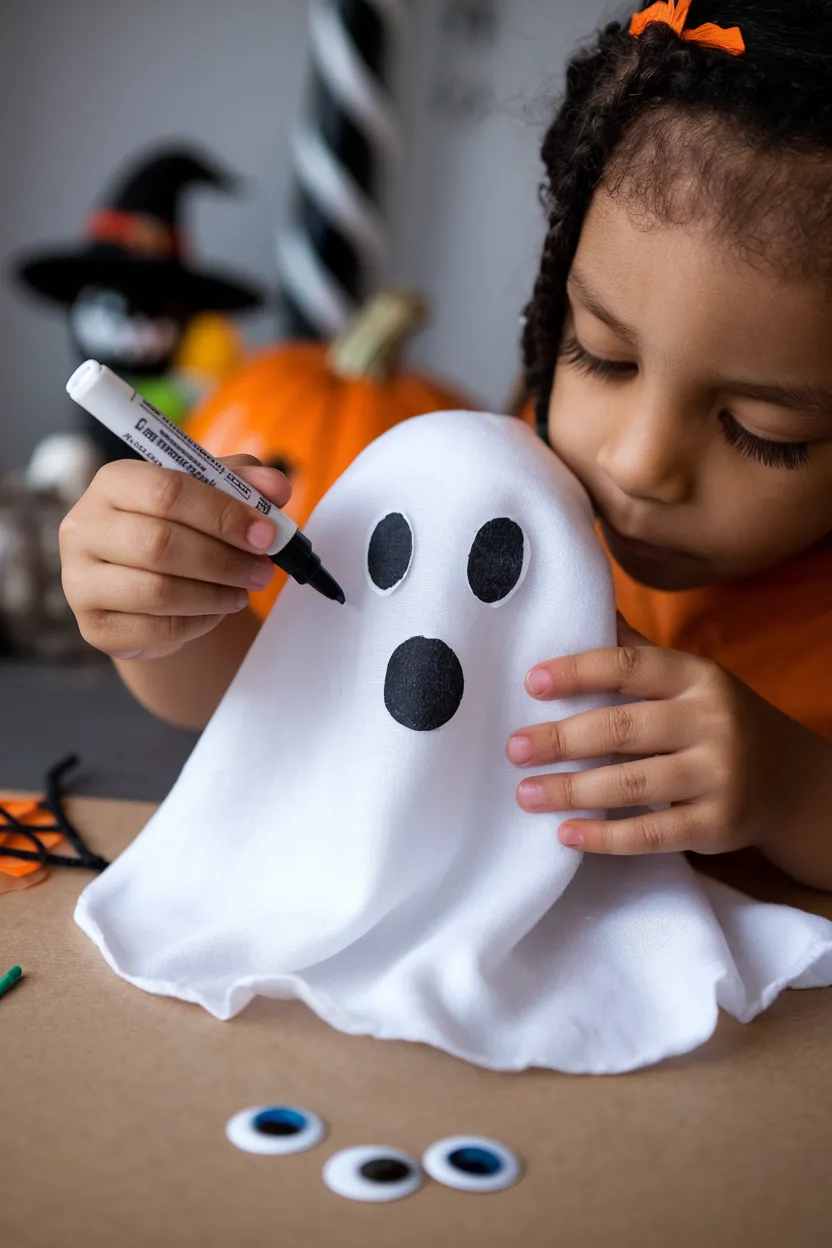
Use a black marker to give your ghost a spooky—or silly!—face. Classic options include oval eyes and a round mouth, but kids can get creative with goofy smiles, winks, or surprised expressions. If using googly eyes, glue them in place instead.
Step 6: Let It Dry
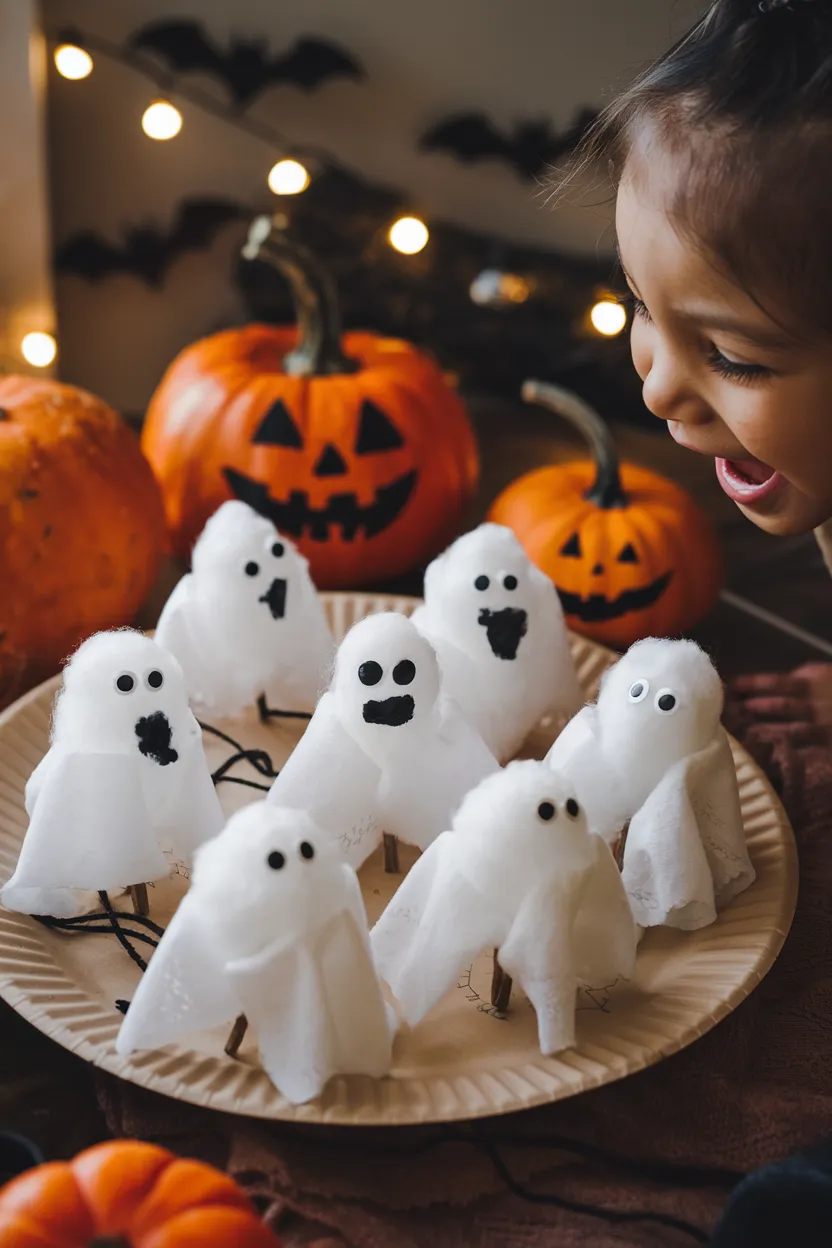
Set your ghost aside for at least 20–30 minutes to let the glue fully dry. The cotton will stay fluffy, and the string will hold firmly once it’s dry. In the meantime, kids can start on a second ghost or help clean up.
Tips for Success
-
Use less glue than you think. Too much glue will make the cotton balls soggy. A small dab is usually enough.
-
Fluff before gluing. Separating cotton balls gives the ghost a bigger, softer look.
-
Keep faces simple. For toddlers, pre-draw simple eyes and a mouth with marker, so they can just glue on googly eyes.
-
Mess control: Give each child a wet wipe or damp paper towel for sticky fingers.
Fun Variations
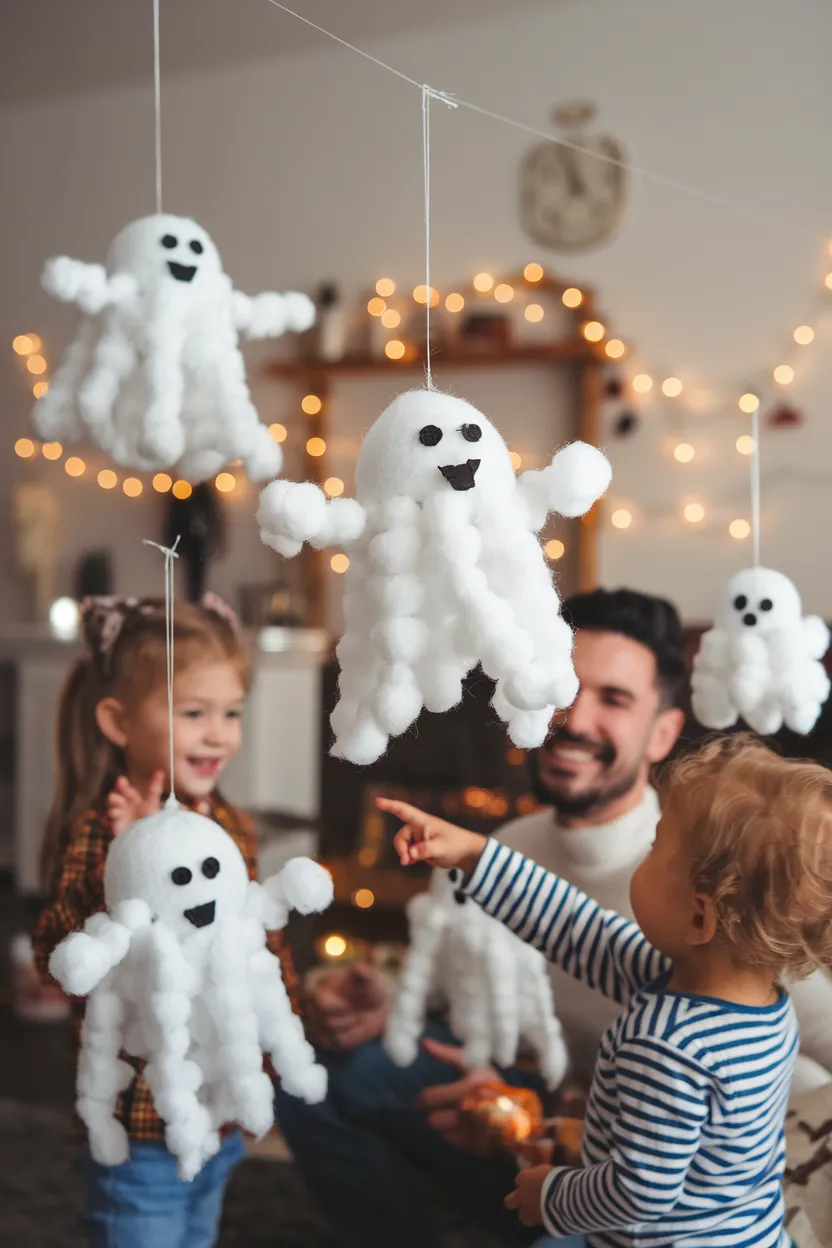
Want to make your ghosts unique? Try these twists:
-
Colorful Ghosts: Use colored cotton balls (or lightly dab white ones with watercolor paint) for fun rainbow ghosts.
-
Glow-in-the-Dark: Dab glow-in-the-dark paint on the cotton for a spooky nighttime effect.
-
Mini Ghost Garland: Make several small ghosts and attach them to a long piece of yarn for a floating decoration.
-
Silly Ghosts: Add felt hats, bows, or even paper arms for extra personality.
Clean-Up and Storage
Clean-up is quick:
-
Use a damp cloth to wipe glue off the table.
-
Store leftover cotton balls in a resealable bag.
-
Let ghosts dry overnight before hanging them.
-
Finished ghosts can be stored in a small box to use again next Halloween—just keep them away from moisture.
Educational Benefits of This Craft
Cotton ball ghosts aren’t just cute decorations—they also help kids learn and grow:
-
Fine motor skills: Gluing, fluffing, and drawing faces help improve hand coordination.
-
Creativity: Kids get to decide how their ghost looks—scary, silly, or friendly.
-
Sensory play: The soft texture of cotton provides a fun tactile experience.
-
Problem-solving: Children figure out how to balance the head, body, and string.
-
Social learning: Working in a group setting encourages teamwork and sharing supplies.
Final Thoughts
Making cotton ball ghosts is the perfect low-stress Halloween activity for families. With just a few simple supplies and 30 minutes of crafting, your kids can create decorations that are both spooky and adorable. These little ghosts are proof that you don’t need complicated steps to make something magical.
So grab some cotton balls, round up the kids, and get ready to create a spooky little ghost family that will float around your home all season long.



Pingback: 15 Creative Toilet Paper Roll Crafts for Fun, Practical, and Eco-Friendly DIY Projects - blessmeup.com