
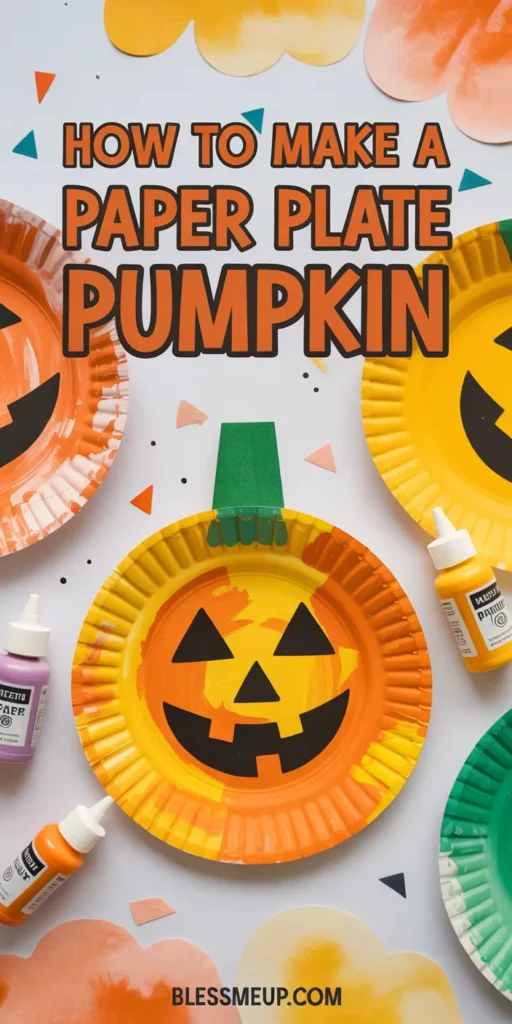
Halloween is the perfect time to get creative with your little one, and this paper plate pumpkin craft is a simple, budget-friendly way to celebrate the season. Designed for toddlers aged 2–4, this activity helps children practice painting, gluing, and decorating—all while creating a cute pumpkin to proudly display at home. Best of all, it requires only a few inexpensive materials you likely already have on hand.
Materials You’ll Need
-
Paper plates (about $2 for a pack of 20)
-
Orange paint or markers (washable toddler-safe paint is best, $3–$5)
-
Green construction paper ($1–$2)
-
Child-safe scissors
-
Glue stick or washable school glue ($1–$2)
-
Optional: googly eyes, black paper, stickers, glitter for decoration
Approximate total cost: $8–$10 (with supplies left for multiple crafts!)
Step-by-Step Instructions
Step 1: Prepare the pumpkin base
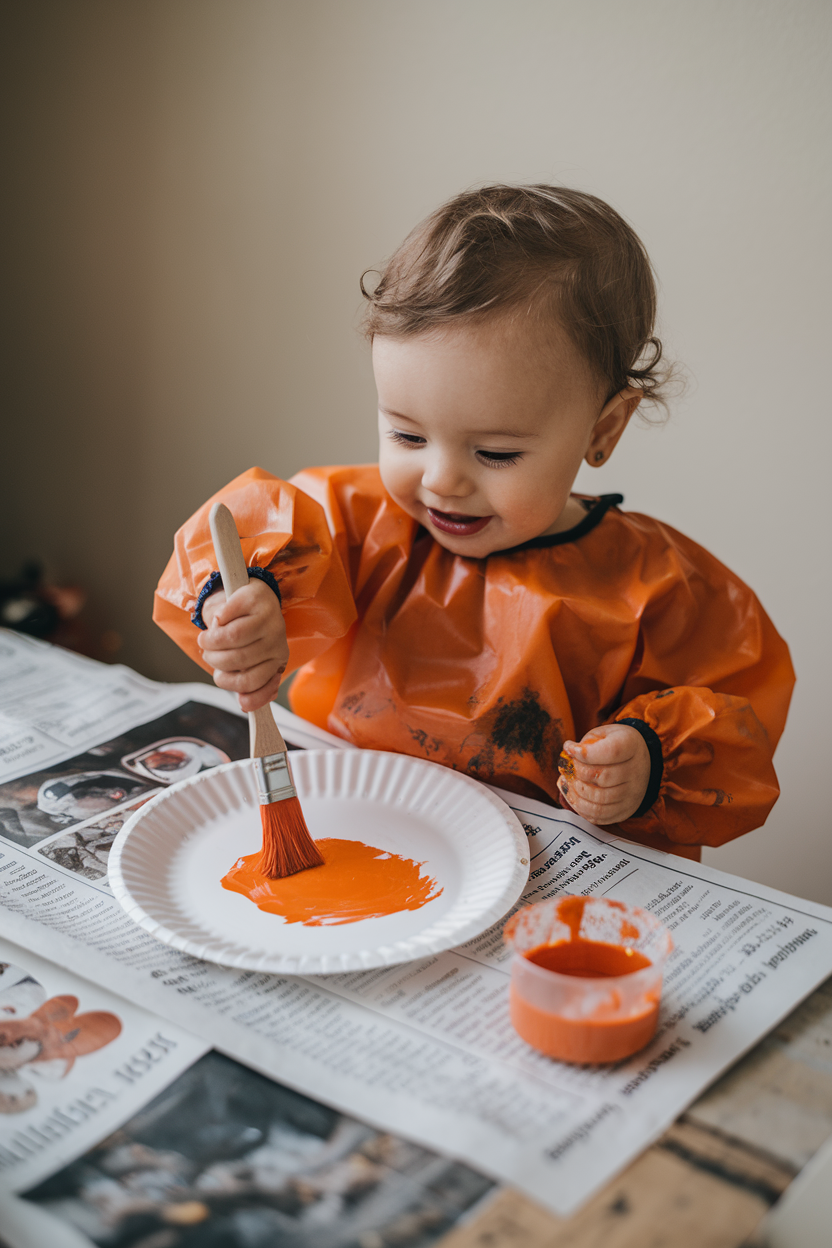
Give your toddler a paper plate and let them paint it orange using toddler-safe paint. If painting feels too messy, orange markers or crayons are a great alternative. Allow the plate to dry completely before moving to the next step.
Step 2: Add the pumpkin stem
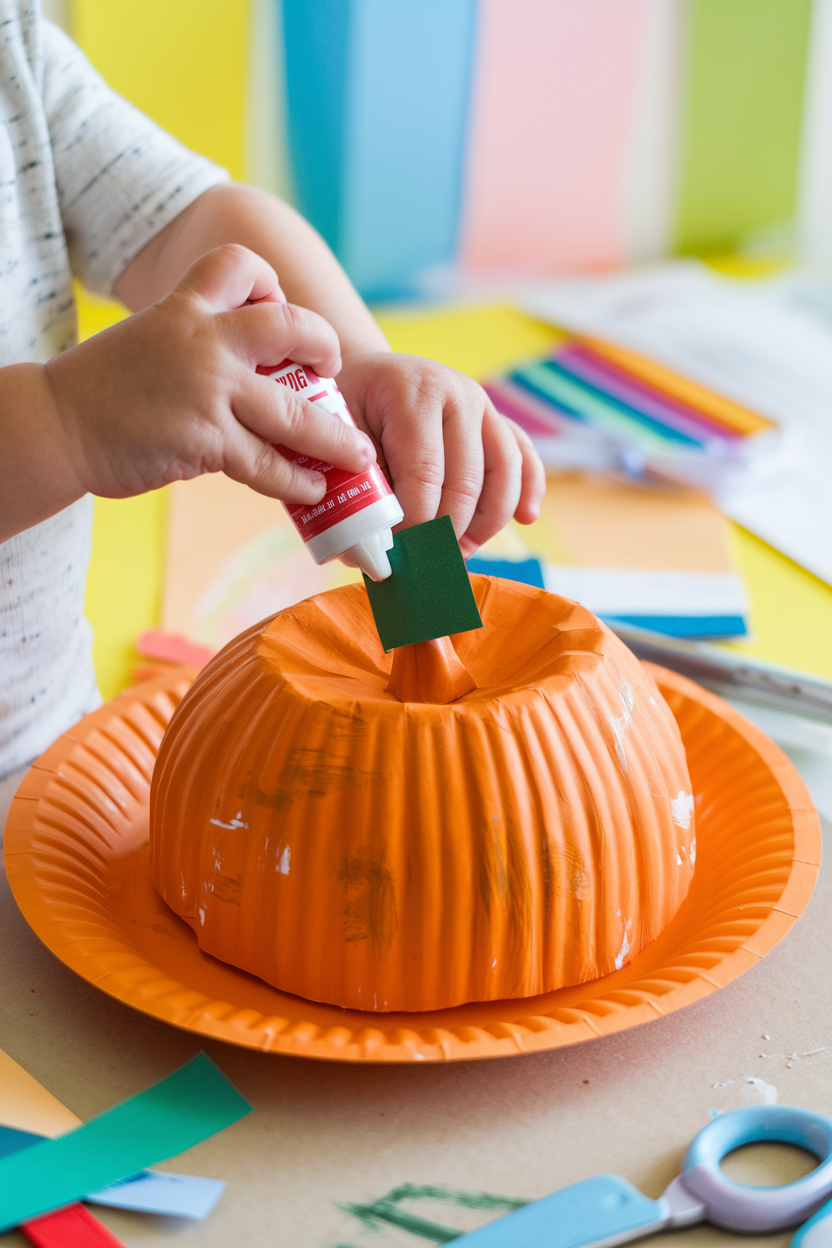
Cut a small rectangle from green construction paper to make the pumpkin’s stem. Help your toddler glue it to the top of the paper plate. For a fun variation, toddlers can crumple a small piece of green paper to create a 3D stem.
Step 3: Decorate the face
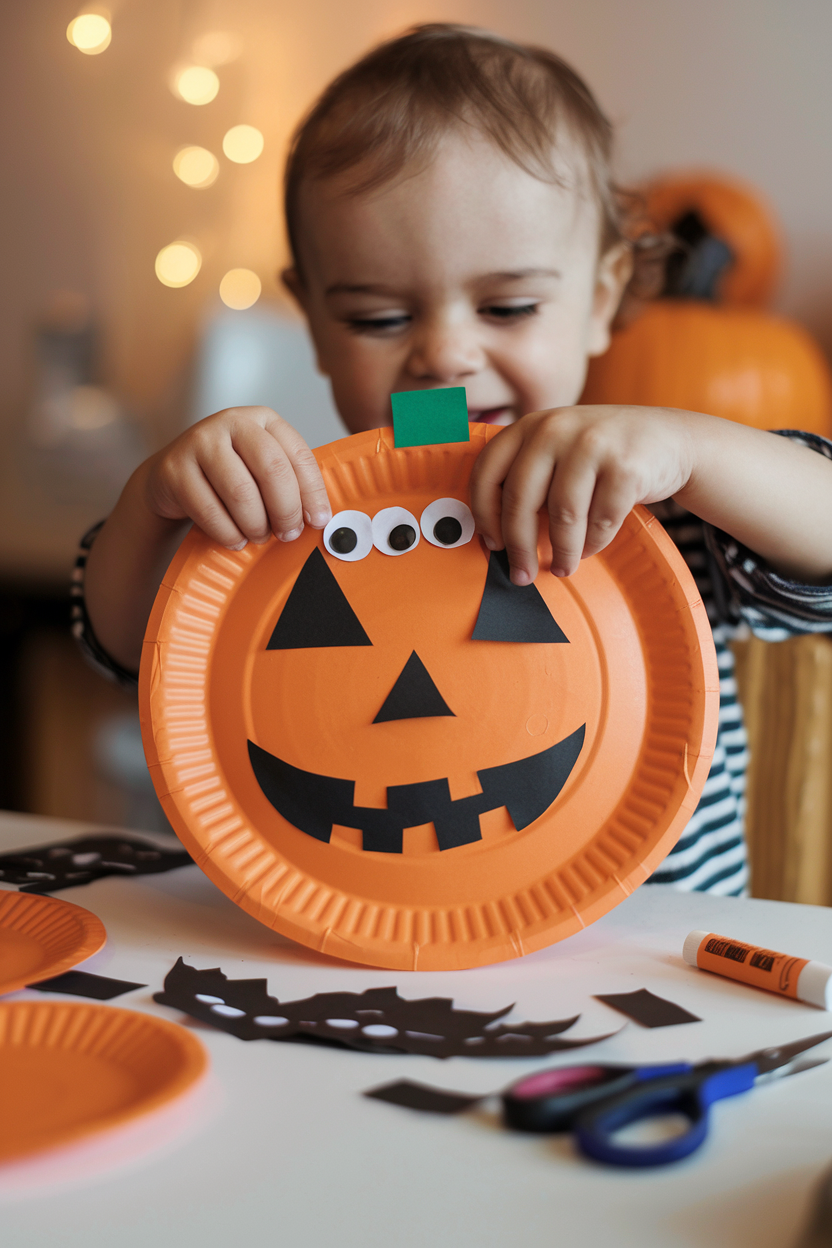
Encourage your toddler to glue on googly eyes or cut simple shapes from black construction paper to create a jack-o’-lantern face. This step can be as simple or silly as you’d like—let your child’s imagination lead the way!
Variations to Try
-
Use glitter or Halloween stickers to add sparkle.
-
Make a “pumpkin patch” by crafting several plates with different expressions.
-
For a no-mess option, skip the paint and use orange tissue paper squares to glue on instead.
Safety Tips
-
Always supervise toddlers when using scissors, even if they are child-safe.
-
Choose non-toxic, washable paints and glue to keep the activity safe.
-
Small items like googly eyes can be choking hazards—use paper cutouts instead for younger toddlers.
Educational Benefits
This craft may seem simple, but it’s packed with learning opportunities:
-
Fine motor skills: Holding brushes, gluing, and cutting shapes strengthens hand muscles.
-
Creativity: Toddlers practice making choices while designing their pumpkin face.
-
Color recognition: Talking about orange and green helps reinforce basic color learning.
-
Holiday connection: Introduces toddlers to Halloween traditions in a gentle, fun way.
Clean-Up and Display Ideas
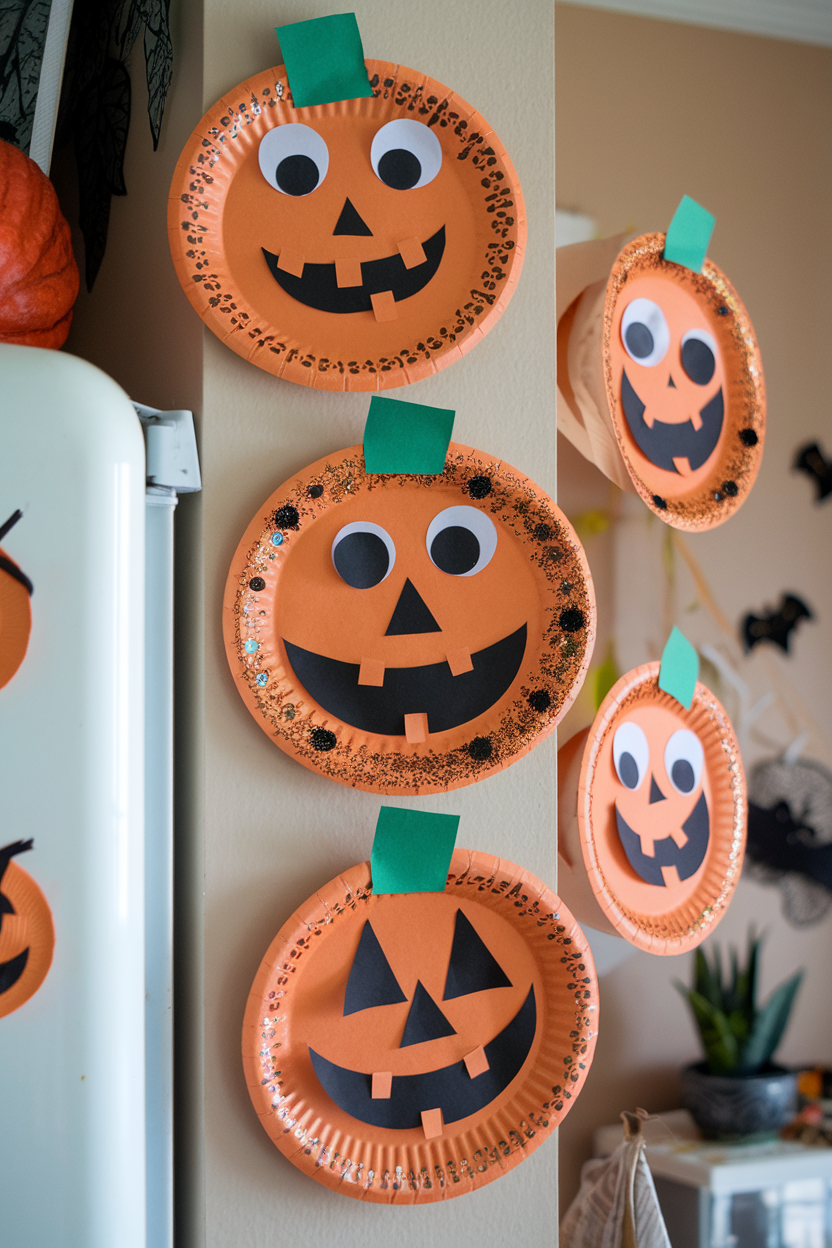
Keep wipes or a damp cloth nearby for quick paint cleanup, and cover your table with newspaper or a plastic cloth to manage spills. Once your pumpkins are finished, hang them on the fridge, display them on walls, or even create a string “pumpkin garland” for festive Halloween décor.
👉 This simple Halloween craft for toddlers is more than just a seasonal activity—it’s a chance to bond, laugh, and watch your toddler’s creativity shine. With just a paper plate and some imagination, you’ll have a Halloween keepsake worth showing off! 🎃
Pingback: How to Make a Halloween Ghost Craft with Toddlers: A Fun & Easy DIY Activity - blessmeup.com
Pingback: 17 Easy DIY Halloween Pumpkin Crafts - blessmeup.com