
Starting your clay crafting journey is exciting—whether you dream of hand-building small bowls at your kitchen table or throwing your first pot on the wheel. But with so many tools on the market, beginners often wonder: Do I need everything I see in a pottery supply store? The good news is you don’t need a massive toolkit to start creating with clay.
A small, well-chosen set of tools can take you a long way. With the right basics, you’ll be able to shape, cut, smooth, and decorate clay confidently. In this guide, I’ll break down the essential beginner tools for hand-building and wheel throwing, explain budget-friendly options, and share simple maintenance tips to keep your tools lasting longer.
Basic Hand Tools Every Beginner Needs
Hand-building is the most beginner-friendly way to explore clay, and the tools you’ll need are simple, affordable, and versatile.
1. Clay Cutting Wire
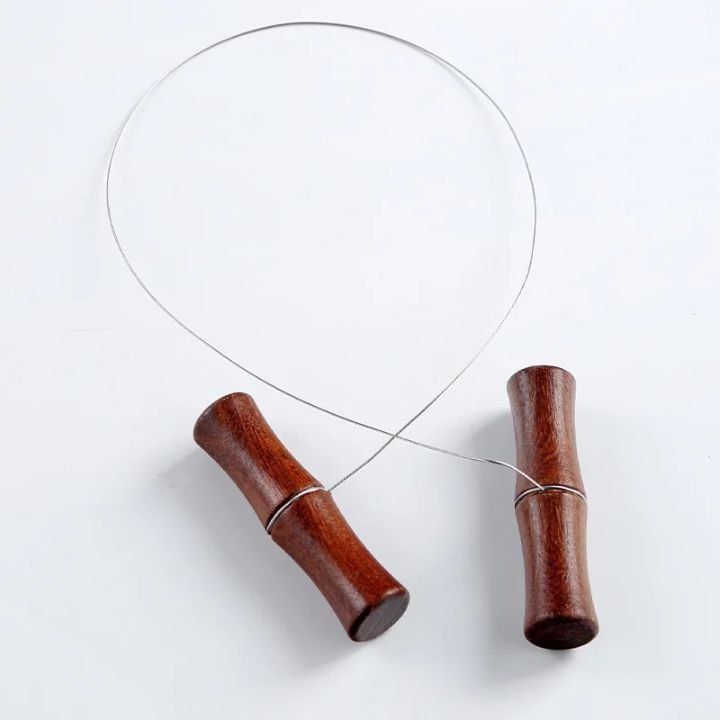
- What it does: Used to slice clay from larger blocks and to cut finished pieces off the wheel.
- Price range: $5–$10
- Tip: Choose a wire with comfortable wooden handles—it lasts longer and feels better in your hands.
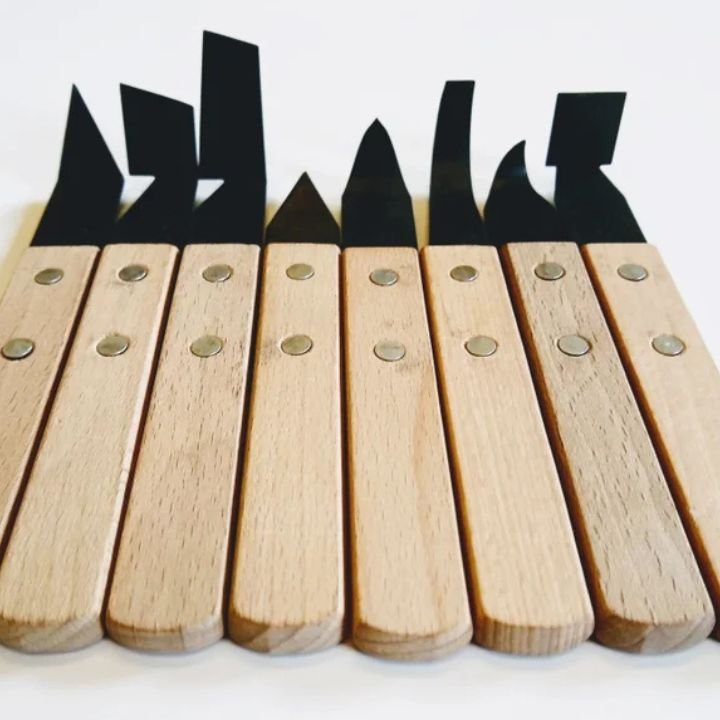
2. Wooden Modeling Tools
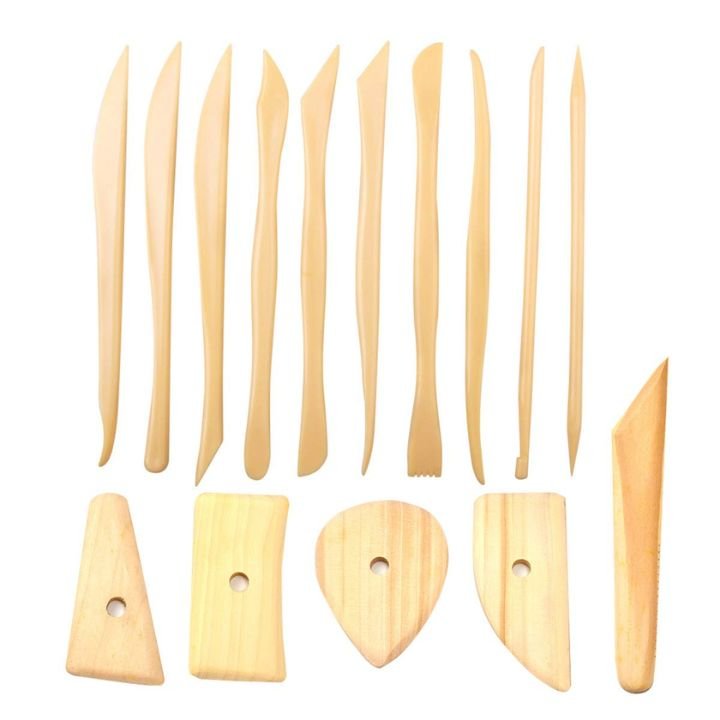
- What they do: Help shape, carve, and refine clay edges. They come in different shapes, from flat paddles to pointed sticks.
- Price range: $6–$15 for a set
- Tip: Start with a simple 3–5 piece set—enough variety without overwhelming you.
3. Needle Tool (or Pin Tool)
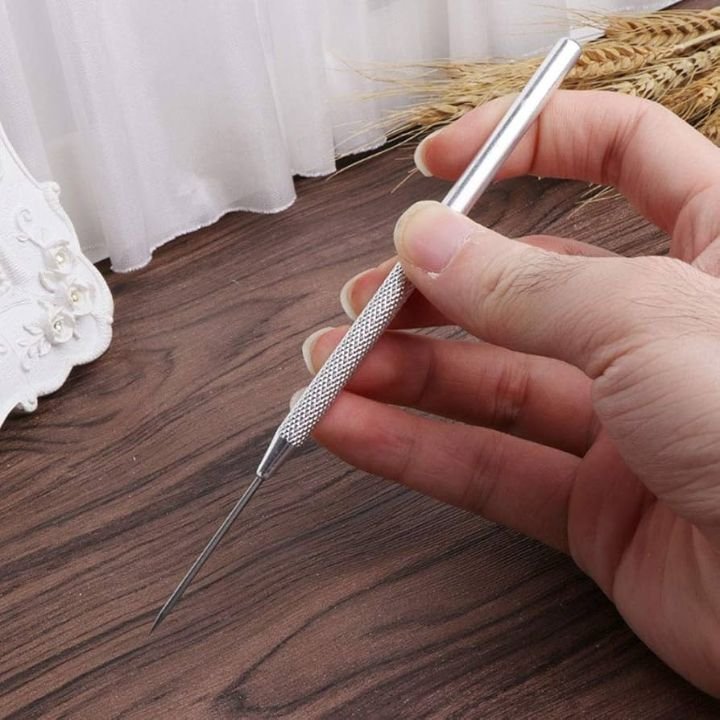
- What it does: Perfect for cutting, scoring, piercing air bubbles, and trimming.
- Price range: $5–$8
- Tip: Keep one needle tool just for detail work and one for general use—it prevents wear on the sharp tip.
4. Ribbon and Loop Tools
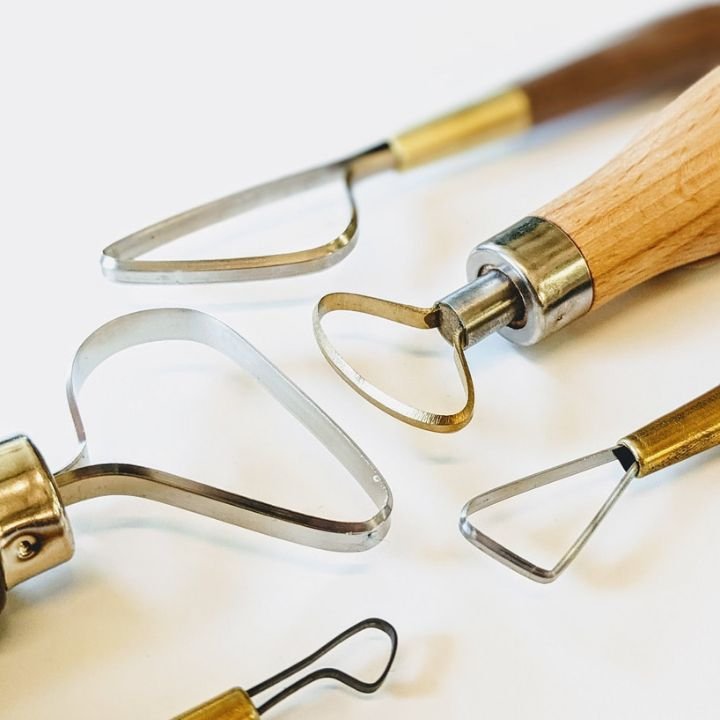
- What they do: Used for carving, trimming, and hollowing out clay.
- Price range: $8–$15 for a beginner set
- Tip: Start with small and medium loops; they cover most beginner projects.
5. Sponge
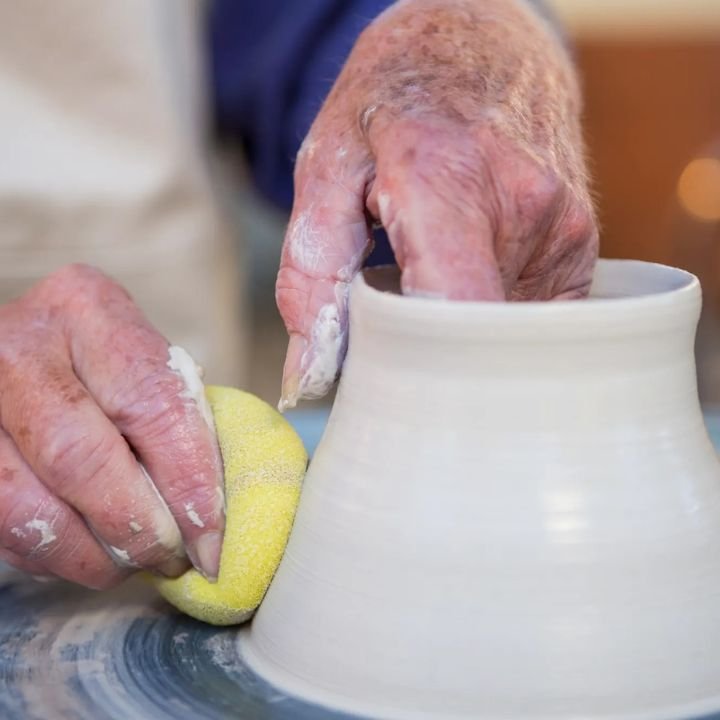
- What it does: Keeps clay moist, smooths surfaces, and cleans your workspace.
- Price range: $1–$3 each
- Tip: A natural sponge is softer, but synthetic sponges are cheaper and last longer.
Wheel Throwing Tools: Starter Essentials
If you’re ready to try the pottery wheel, you’ll need a slightly different set of tools. Don’t worry—you still don’t need a huge investment.
6. Pottery Rib
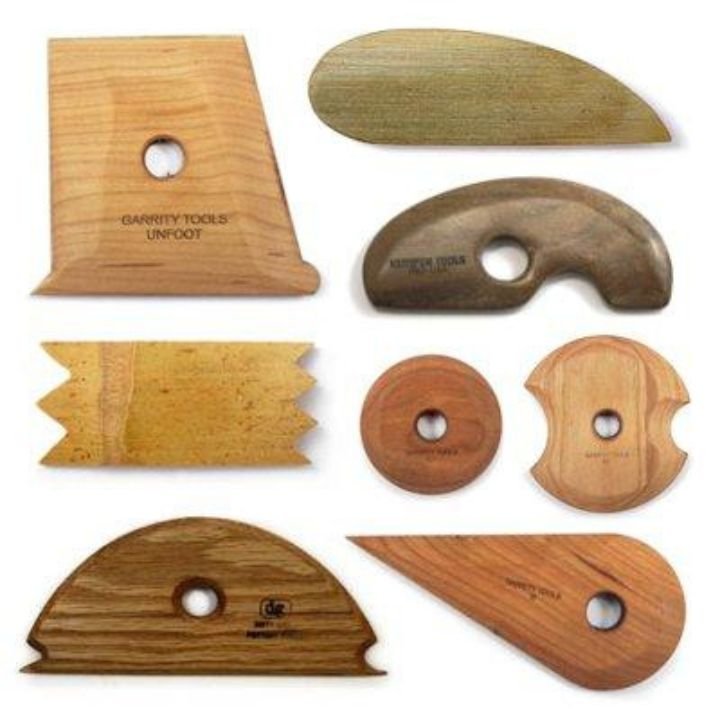
- What it does: Helps shape and smooth clay while it spins on the wheel. Available in wood, metal, and rubber.
- Price range: $3–$10 each
- Tip: Start with a flexible rubber rib—it’s beginner-friendly and less likely to damage your clay.
7. Wire Clay Cutter (Yes, Again!)
- Why again: Absolutely essential for cutting your piece off the wheel. If you already have one for hand-building, you’re set.
8. Wooden or Metal Trimming Tools
- What they do: Refine the base of your pots and trim excess clay after throwing.
- Price range: $10–$20 for a set
- Tip: Choose metal for sharper edges, wood for softer control. Beginners often like wood better.
9. Bat System (Optional for Beginners)

- What it does: Removable surfaces that attach to your wheel head so you can lift pots without distortion.
- Price range: $10–$20 per bat
- Tip: If you’re practicing at a studio, check if they provide bats before buying your own.
Decorating and Finishing Tools
Once you’ve shaped your clay, decorating adds personality and polish.
10. Brushes for Slip and Glaze
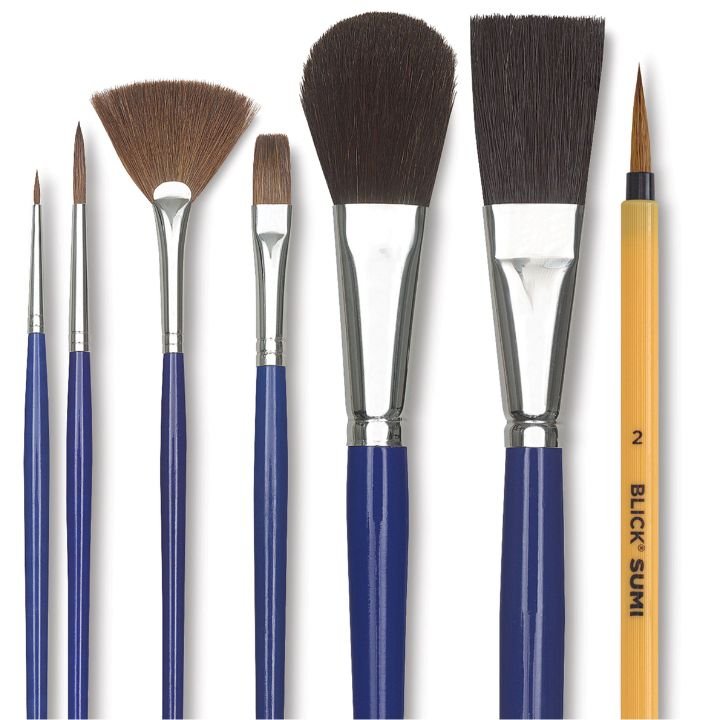
- What they do: Apply slip (liquid clay) for joining pieces or adding decoration, and later glaze for finishing.
- Price range: $5–$15 for a beginner brush set
- Tip: Keep separate brushes for slip and glaze to avoid contamination.
11. Wooden or Rubber Stylus
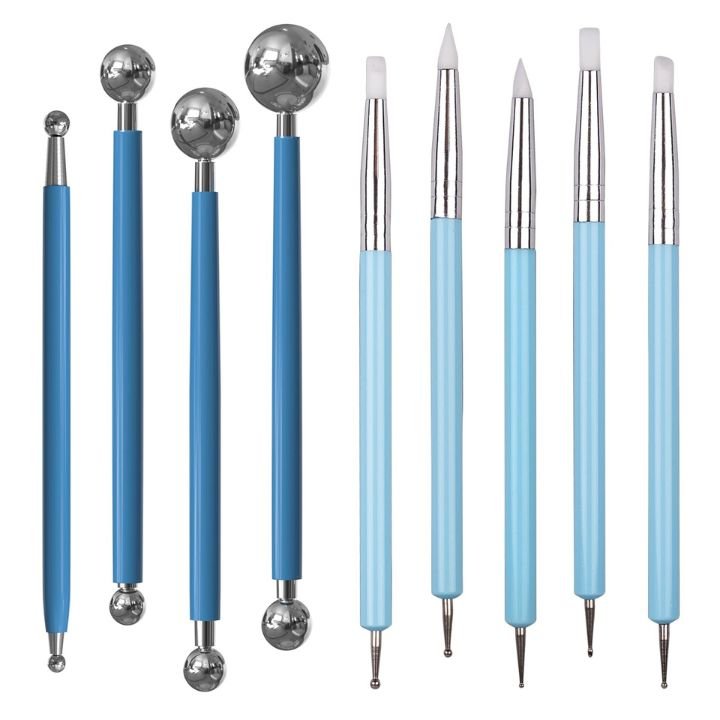
- What it does: Makes impressions, dots, and decorative patterns.
- Price range: $3–$8 each
- Tip: Even a ballpoint pen (without ink) works as a beginner-friendly alternative.
12. Texture Tools
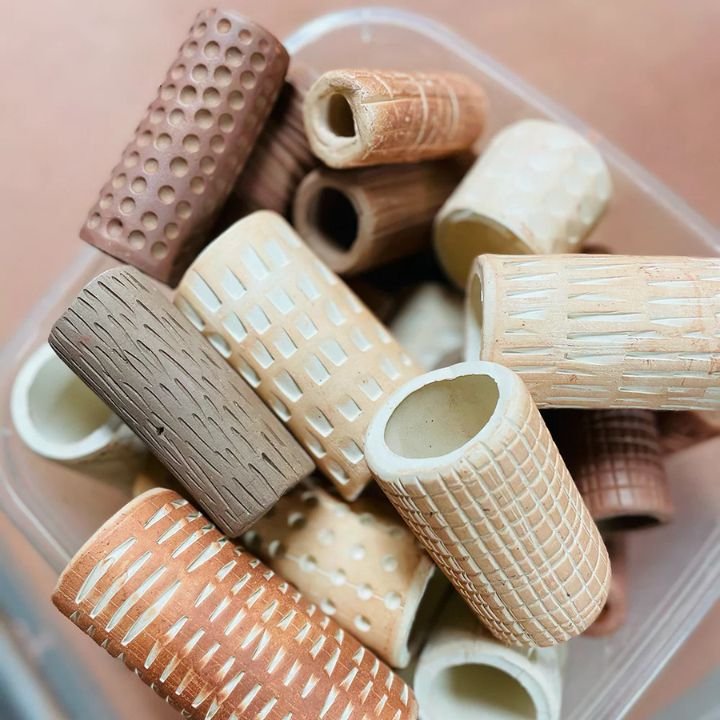
- What they do: Add surface designs—stamps, rollers, or even found objects like leaves and lace.
- Price range: $10–$20 for beginner stamp sets
- Tip: Don’t overbuy. Everyday household items (forks, combs, fabric scraps) create amazing textures for free.
13. Sandpaper or Sanding Pads
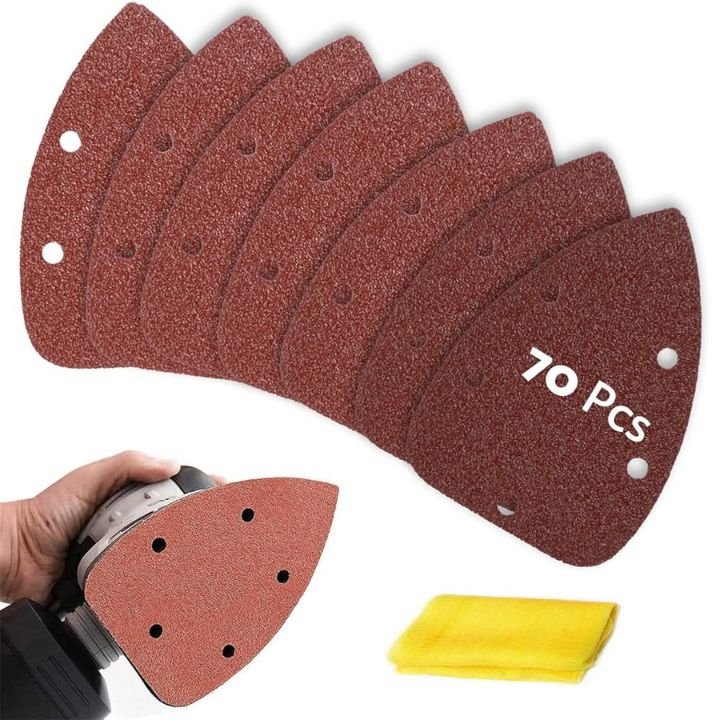
- What they do: Smooth rough edges after your clay dries or after bisque firing.
- Price range: $5–$10 for a pack
- Tip: Use fine-grit sandpaper (220+) to avoid scratching the surface.
Budget Considerations: Building Your First Toolkit
Clay tools are surprisingly affordable compared to many other hobbies. A beginner’s toolkit with all the essentials usually costs $40–$80 depending on brand and quality.
Where to save:
- Buy sets (needle tool, wooden tools, and loop tools often come bundled cheaper).
- Use household substitutes (kitchen sponges, butter knives, old credit cards as ribs).
Where to spend a little extra:
- Wire cutters and trimming tools—cheaper versions break quickly.
- Sponges and brushes—you’ll notice the difference in control and durability.
Recommended starter brands: Kemper, Mudtools, and Xiem are reliable, beginner-friendly, and easy to find online or in art stores.
Maintenance and Care Tips
Taking care of your tools helps them last years instead of months.
- Always clean tools after use. Dried clay is tough to remove and shortens their lifespan.
- Dry tools thoroughly. Wooden tools can warp if left wet.
- Store in a tool roll or box. This keeps sharp edges from dulling and prevents losing small items.
- Sharpen loop tools occasionally. A quick sand with fine-grit paper keeps them working smoothly.
- Separate studio vs. kitchen use. Never reuse clay tools as food prep tools.
Conclusion: Start Simple, Build Confidence
The world of ceramics offers endless tools, but as a beginner, you only need a few essentials to get started. With a basic set of shaping, cutting, smoothing, and decorating tools, you’ll have everything you need to explore clay with confidence.
Remember: clay crafting is about creativity, not perfection. Start small, use what you have, and upgrade as your skills grow. Soon enough, you’ll know exactly which tools feel like an extension of your hands.
So grab that wire cutter, sponge, and rib—it’s time to dive into your clay journey.
Pingback: Clay Types for Beginners: Air-Dry, Polymer, and Pottery Clay Explained - blessmeup.com
Pingback: 13 Aesthetic Clay Mug Ideas You Can Make at Home - blessmeup.com
Pingback: How to Make a Perfect Pinch Pot with Air-Dry Clay — A Friendly Beginner’s Guide - blessmeup.com