If you’ve ever wanted to try clay crafting but felt intimidated by pottery wheels, kilns, or complicated tools, here’s the good news: you don’t need fancy equipment to get started. With beginner-friendly clay (like air-dry or polymer clay), a few simple tools, and some creativity, you can make beautiful, functional pieces right at home.
In this guide, I’ll walk you through 10 easy clay projects perfect for absolute beginners. Each project comes with a materials list, estimated time, difficulty level, and step-by-step instructions. By the end, you’ll see just how fun and approachable clay crafting can be!
1. Simple Pinch Pot
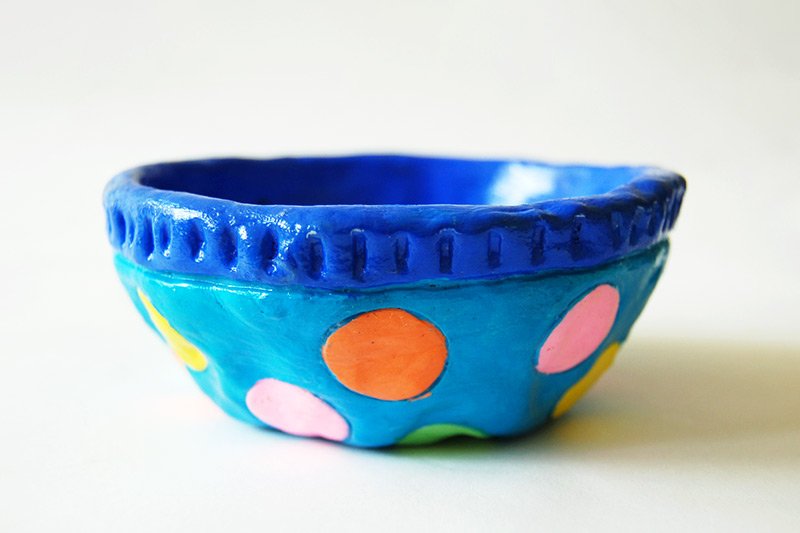
Materials:
- Air-dry or pottery clay
- Small bowl of water
- Optional: acrylic paint and sealer
Difficulty: ★☆☆☆☆ (Very Easy)
Time: 30–45 minutes (plus drying time)
Steps:
- Roll a ball of clay about the size of a lemon.
- Hold it in one hand and use your thumb to press into the center.
- Gently pinch around the edges, rotating the clay to keep walls even.
- Smooth edges with damp fingers.
- Let it dry completely, then paint or seal if desired.
Troubleshooting:
- Cracks? Smooth with a damp sponge before it fully dries.
- Uneven rim? Embrace the organic, handmade look—it adds charm.
Variation: Make a set of small pinch pots for tealights or salt cellars.
2. Decorative Trinket Dish
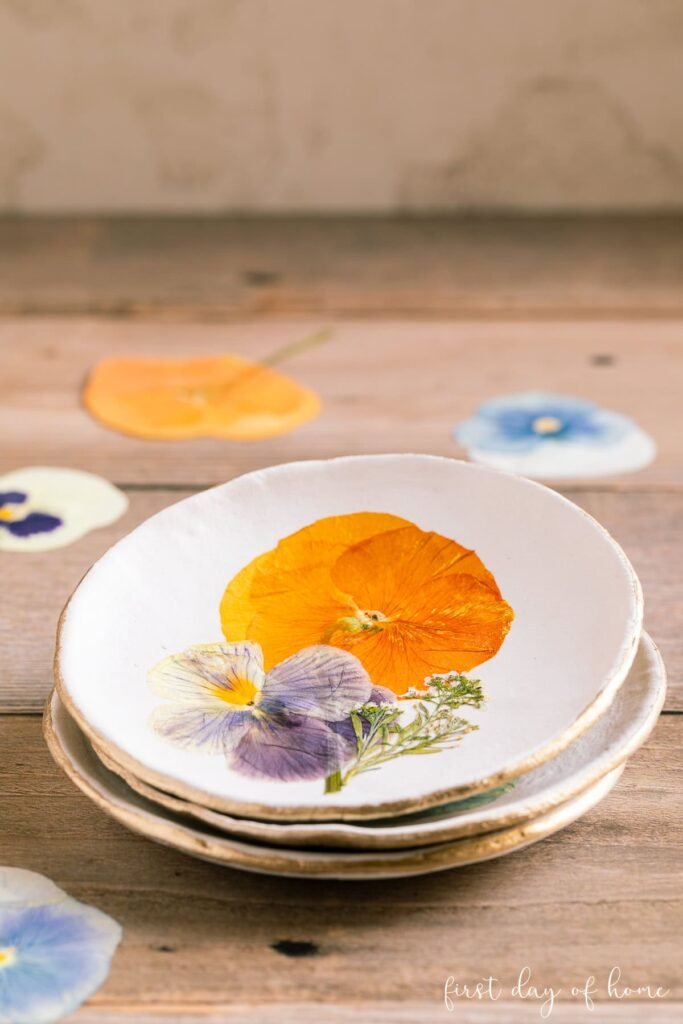
Materials:
- Air-dry clay
- Rolling pin (or glass bottle)
- Round cookie cutter or bowl
- Paints and sealer
Difficulty: ★★☆☆☆ (Easy)
Time: 40 minutes (plus drying/painting)
Steps:
- Roll clay flat, about ¼ inch thick.
- Cut a circle using a cookie cutter or trace around a bowl.
- Place the clay circle inside a small bowl to shape it into a dish.
- Smooth edges with water.
- Once dry, paint and seal.
Tip: Metallic paints or gold leaf edges give a stylish finish.
3. Small Succulent Planter
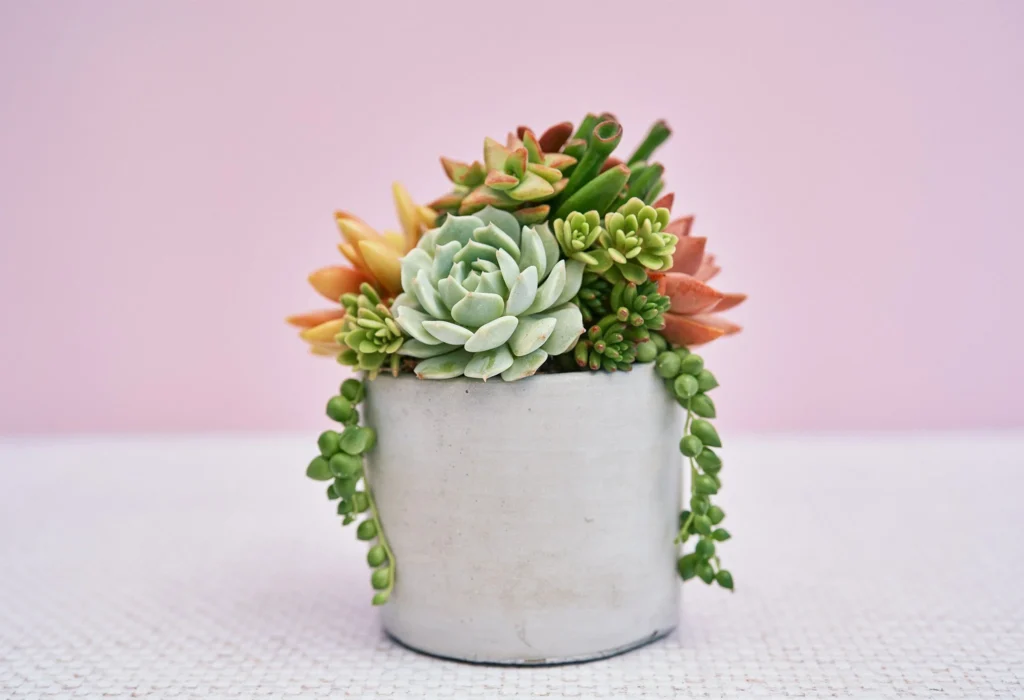
Materials:
- Air-dry clay
- Small plastic cup (for shaping)
- Rolling pin
- Acrylic paints, sealer
Difficulty: ★★☆☆☆ (Easy)
Time: 1 hour (plus drying)
Steps:
- Roll clay into a rectangle, about ¼ inch thick.
- Wrap around a cup to form a cylinder. Seal seam by blending with damp fingers.
- Flatten a small clay circle for the base and attach.
- Smooth edges and let dry fully before painting.
Warning: Air-dry clay isn’t waterproof. Use a plastic liner inside the pot if planting.
4. Minimalist Mug

Materials:
- Pottery clay (requires kiln firing)
- Basic pottery tools (wire cutter, rib, sponge)
- Underglaze or glaze
Difficulty: ★★★☆☆ (Moderate)
Time: 2–3 hours (plus drying/firing)
Steps:
- Roll clay into a slab about ¼ inch thick.
- Cut a rectangle and shape it into a cylinder.
- Add a circular base and blend seams.
- Roll a clay “snake” for the handle, attach securely.
- Smooth with a damp sponge.
- Dry, bisque fire, glaze, and fire again.
Variation: If no kiln is available, make a “display-only” mug with air-dry clay.
5. Decorative Coasters
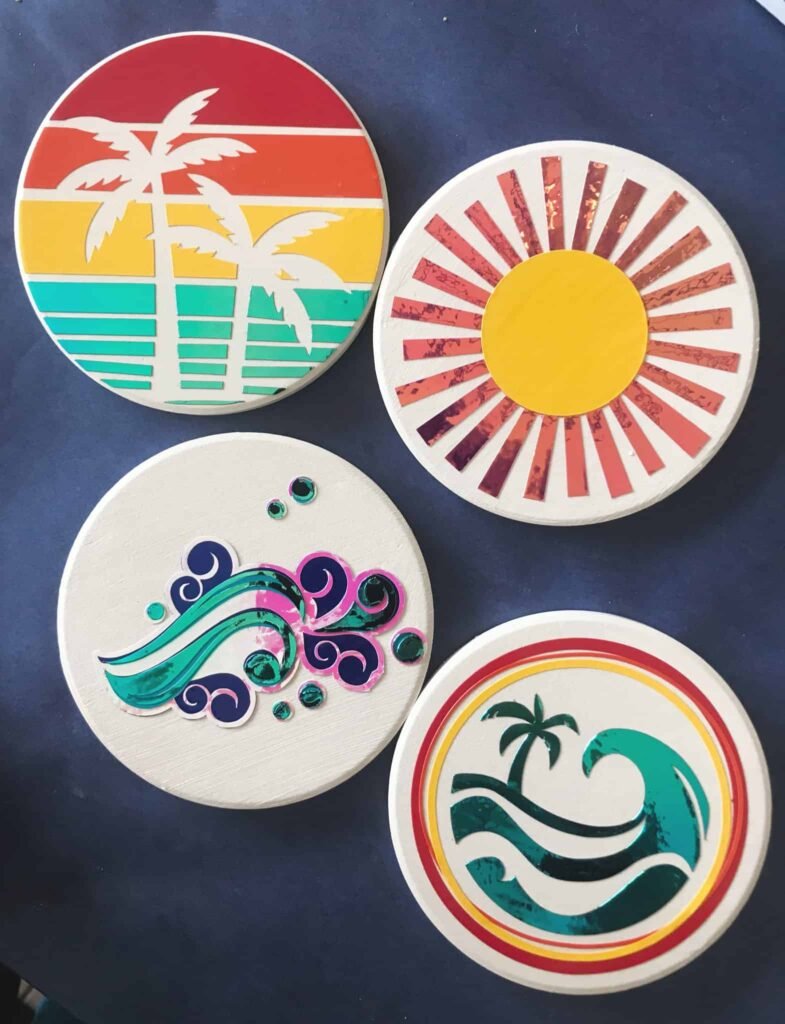
Materials:
- Air-dry or polymer clay
- Rolling pin
- Cookie cutters or knife
- Stamps/textures
Difficulty: ★★☆☆☆ (Easy)
Time: 1 hour (plus drying/baking)
Steps:
- Roll clay flat, about ¼ inch thick.
- Cut into circles or squares.
- Press leaves, lace, or stamps for texture.
- Smooth edges.
- Dry or bake as per clay type.
- Seal with waterproof varnish if using as coasters.
Tip: Polymer clay coasters are more durable than air-dry.
6. Small Jewelry Dishes
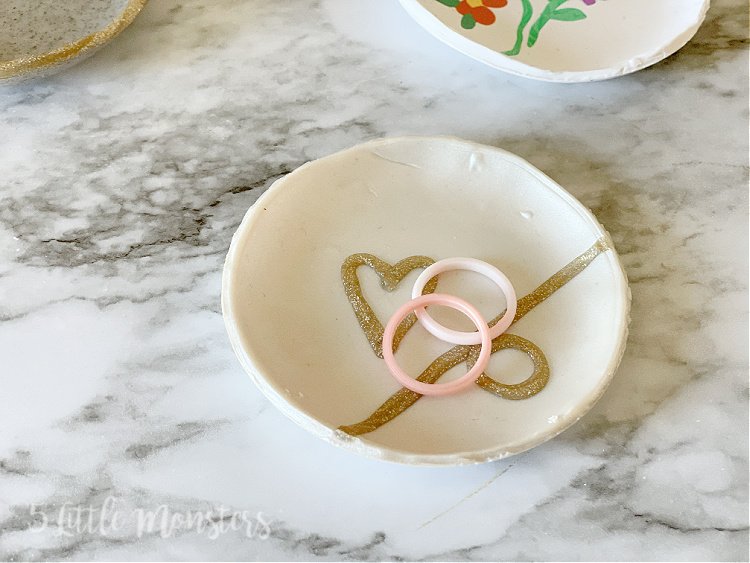
Materials:
- Air-dry clay
- Rolling pin
- Cookie cutter or stencil
- Paints/sealer
Difficulty: ★★☆☆☆ (Easy)
Time: 40 minutes
Steps:
- Roll clay flat.
- Cut small circles or hearts.
- Press into a muffin tin to form dish shapes.
- Dry, then decorate with paint, marbling effects, or gold trim.
Variation: Personalize with initials for a thoughtful gift.
7. Clay Magnets

Materials:
- Polymer clay
- Small cookie cutters or knife
- Magnet strips or discs
- Super glue
Difficulty: ★☆☆☆☆ (Very Easy)
Time: 30 minutes (plus baking)
Steps:
- Roll clay flat.
- Cut fun shapes (stars, fruit, letters).
- Bake per package directions.
- Once cooled, glue magnets to the back.
Tip: Great for fridge décor or personalized gifts.
8. Simple Wall Hanging
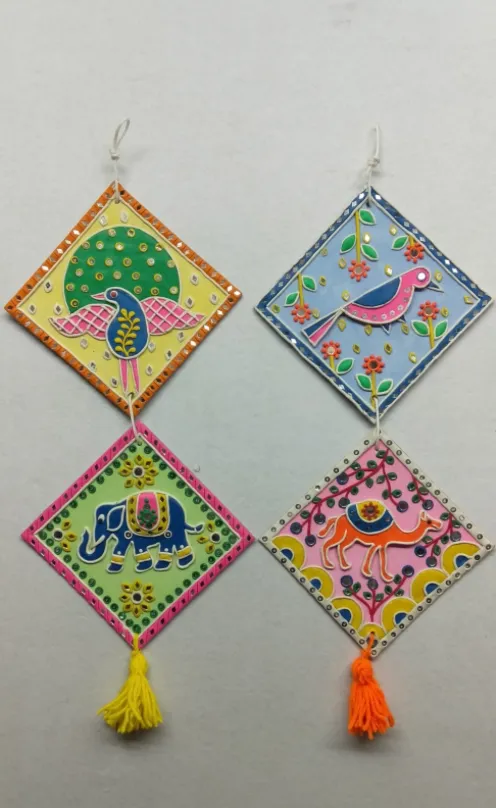
Materials:
- Air-dry clay
- Rolling pin
- Cookie cutters or stencil shapes
- Twine or string
- Wooden dowel
Difficulty: ★★☆☆☆ (Easy)
Time: 1–2 hours (plus drying)
Steps:
- Roll clay into flat slabs.
- Cut shapes (circles, triangles, moons).
- Smooth edges with damp sponge.
- Use a straw to poke holes for hanging.
- Once dry, string pieces onto twine and tie to a dowel.
Variation: Paint with ombré or metallic finishes for a modern look.
9. Decorative Plant Markers
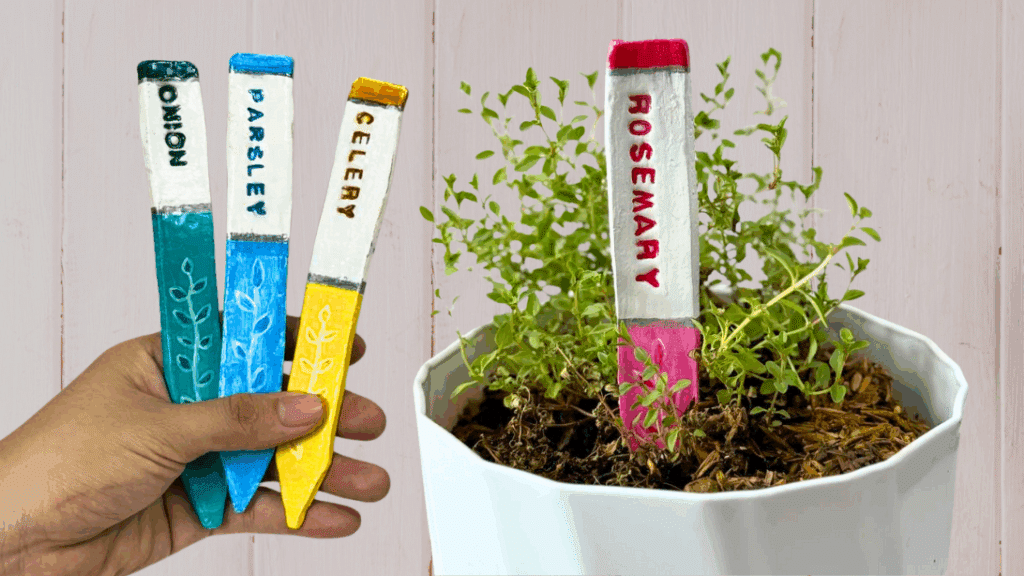
Materials:
- Air-dry or polymer clay
- Rolling pin
- Knife or cutter
- Letter stamps (optional)
Difficulty: ★☆☆☆☆ (Very Easy)
Time: 30–45 minutes
Steps:
- Roll clay flat.
- Cut long rectangles or tapered stakes.
- Stamp plant names into the clay.
- Dry or bake fully.
- Seal for outdoor use.
Tip: Perfect for herbs like basil, mint, and rosemary.
10. Basic Clay Ornaments
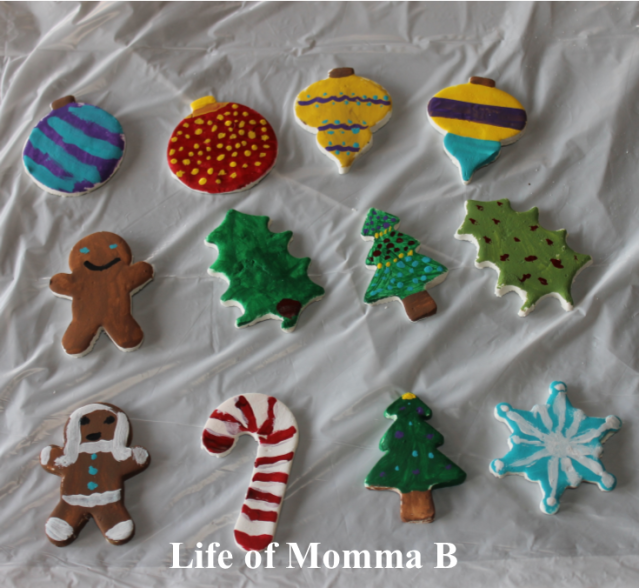
Materials:
- Air-dry or polymer clay
- Rolling pin
- Cookie cutters (stars, trees, circles)
- Ribbon or string
Difficulty: ★☆☆☆☆ (Very Easy)
Time: 45 minutes (plus drying/baking)
Steps:
- Roll clay flat, about ¼ inch thick.
- Cut festive shapes with cookie cutters.
- Use a straw to make a hole at the top.
- Smooth edges and dry/bake.
- Add ribbon for hanging.
Variation: Press lace or leaves for texture before cutting shapes.
Final Tips for Beginner Clay Projects
- Choose the right clay: Air-dry for ease, polymer for durability, pottery clay if you have kiln access.
- Keep water nearby: Just a little helps smooth cracks, but too much makes clay soggy.
- Start small: Short projects build confidence faster than ambitious ones.
- Embrace imperfections: Handmade means unique—your piece doesn’t need to look factory-made.
- Seal for durability: Always use a non-toxic sealer to strengthen air-dry or painted pieces.
Remember: clay crafting is meant to be fun and creative. Don’t worry about mistakes—they often lead to happy accidents and unique design.


Pingback: 7 Common Beginner Mistakes in Clay Crafting (and How to Avoid Them) - blessmeup.com
Pingback: DIY Air Dry Clay Trinket Dishes with Painted Designs - blessmeup.com