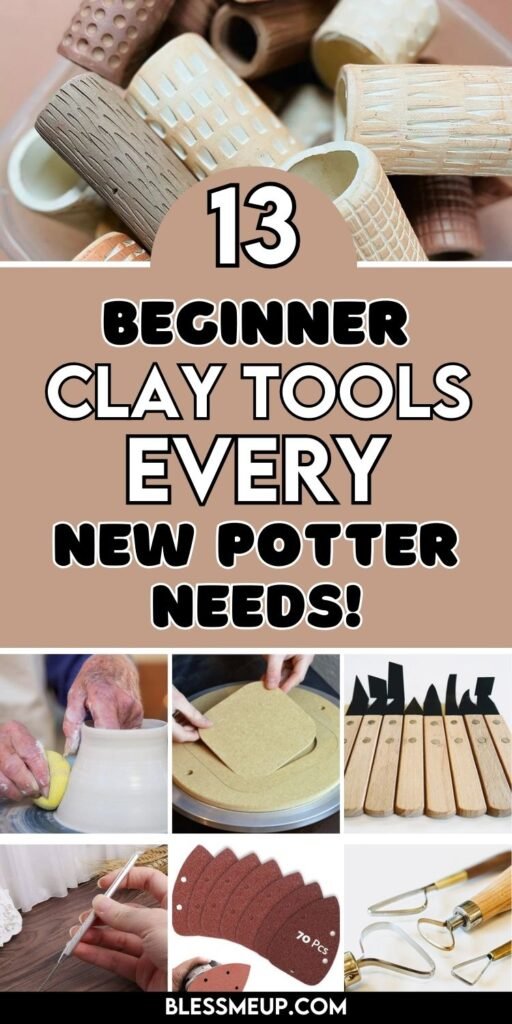
If you love handmade home accessories that are both functional and beautiful, trinket dishes are the perfect project. These little clay catch-all bowls can hold jewelry, hair pins, paper clips, or simply sit on your dresser as a unique decorative accent. The best part? You don’t need a kiln or expensive equipment—air dry clay and a few simple tools will do the trick.
In this guide, I’ll walk you through the entire process of creating DIY air dry clay trinket dishes with painted designs, from rolling and shaping to smoothing, painting, and sealing. Whether you’re brand new to clay crafts or looking to level up with more intricate painting techniques, this project is perfect for adding a personal touch to your space or gifting something heartfelt.
Materials You’ll Need
Here’s everything you’ll want to have on hand before you begin:
- Air dry clay (white or light-colored clay works best for painting)
- Acrylic paints (choose your favorite color palette; metallics and pastels look stunning)
- Paintbrushes (a mix of fine detail brushes and wider flat brushes)
- Rolling pin (a kitchen one works, or grab a craft roller)
- Cookie cutters or a sharp knife (to cut out shapes like circles, hearts, or hexagons)
- Sandpaper (fine-grit, around 400–600 for smoothing edges)
- Small bowl or plate (to shape the dish form)
- Clear sealant (matte or glossy, depending on your preference)
- Optional: Stamps, lace, or textured fabric for pattern impressions
Step-by-Step Instructions

1. Prepare Your Clay
Start by kneading a piece of air dry clay until it feels soft and pliable. If it’s too sticky, dust your work surface with a tiny bit of cornstarch or flour. Roll it into a smooth ball with your hands.
Tip: For beginners, aim for a dish that’s 3–4 inches wide—large enough to be useful, but small enough to dry evenly without cracking.
2. Roll Out the Base
Using your rolling pin, roll out the clay to about ¼ inch thickness. Make sure the thickness is even; too thin and your dish may crack, too thick and it will take much longer to dry.
3. Cut Out Your Shape
Choose a cookie cutter (round for classic bowls, or heart/hexagon for something modern) and press firmly into the clay. If you don’t have cutters, use a knife and trace around a cup or jar lid for a perfect circle.
4. Shape into a Dish

Gently lift your clay shape and place it into the bottom of a small bowl or on the back of a curved plate to create a shallow dish form. Smooth the edges with your fingers dipped in water.
Pro tip: Don’t over-wet the clay. Just a damp fingertip is enough to soften rough spots.
5. Let It Dry
Leave your dish in its form to dry for 24–48 hours, flipping it once halfway through so the bottom can dry evenly. Drying time depends on thickness and room humidity.
6. Sand and Smooth
Once your dish is fully hardened, lightly sand the edges with fine-grit sandpaper to smooth away rough areas. This step makes a huge difference in giving your dish a professional, polished look.
7. Paint Your Design

Here’s where the fun begins! Use acrylic paints to bring your dish to life. A few design ideas:
- Minimalist: Paint the rim with metallic gold or silver for an elegant look.
- Floral: Add small hand-painted flowers in pastel shades.
- Geometric: Mask sections with painter’s tape and paint in bold shapes.
- Bohemian: Use earthy tones, dots, and mandala-inspired patterns.
- Abstract: Go freeform with brush strokes and splashes of color.
Tip: Always start with a base coat of white or your chosen color, then layer on details once it’s dry.
8. Seal and Protect
Once the paint is completely dry, brush on a clear sealant. This not only protects your design but also adds a beautiful finish. Choose matte for a soft, modern look or glossy for a glazed, ceramic-like effect.
Troubleshooting Tips
- Cracking: If cracks appear during drying, smooth over with a tiny bit of clay slip (clay mixed with water into a paste).
- Uneven edges: Sand more carefully and use a damp sponge to soften sharp spots.
- Paint bleeding: Use painter’s tape for crisp lines and let each color fully dry before adding another.
Safety & Handling Notes
- Always use non-toxic paints and sealants, especially if the dish will be handled often.
- These dishes are not food safe—keep them for jewelry, trinkets, or décor.
- Work on a covered surface to protect tables from clay and paint.
Design Variations & Inspiration

- Marbled Effect: Twist two clay colors together before rolling out.
- Pressed Patterns: Press lace or leaves into the clay before shaping for natural textures.
- Holiday Themes: Create seasonal designs like pumpkins, stars, or hearts.
- Personalized Gifts: Paint initials, quotes, or meaningful symbols for loved ones.
Long-Term Care
Air dry clay is durable but not waterproof. To keep your dish looking fresh:
- Avoid soaking in water; wipe clean with a damp cloth instead.
- Store in a dry spot away from direct sunlight to prevent fading.
- Reapply sealant every year if used frequently.
Final Thoughts
Making DIY air dry clay trinket dishes is one of those crafts that feels instantly rewarding. With just a little clay, some paint, and a splash of creativity, you can create beautiful, custom pieces that brighten your home or make heartfelt handmade gifts. The process is simple, soothing, and flexible—perfect for beginners and a wonderful project to do with friends or family.
So gather your supplies, roll out that clay, and let your imagination lead the way. Your very first trinket dish might not be “perfect,” but that’s the beauty of handmade—it’s yours.


