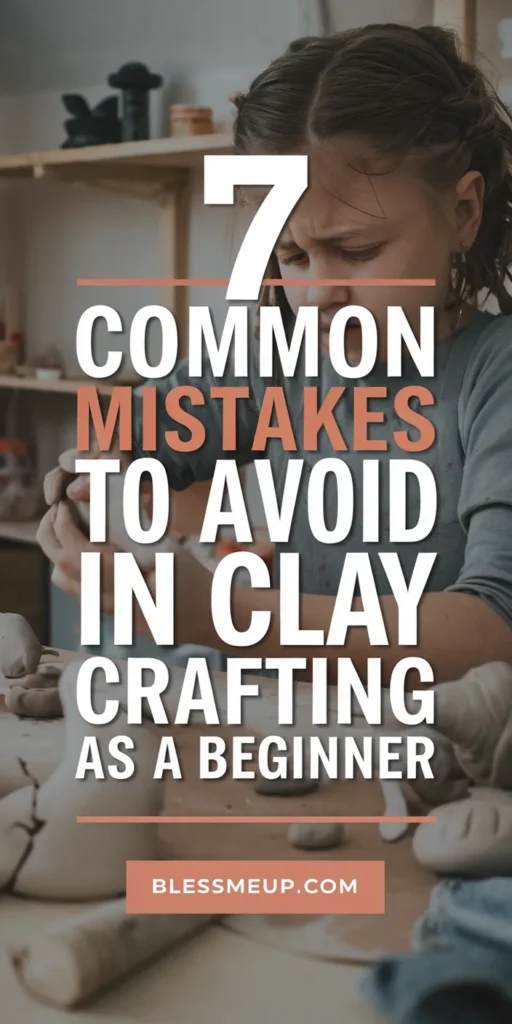
Clay crafting is one of the most rewarding hobbies you can start—it’s relaxing, creative, and you end up with something beautiful (and useful!) made by your own hands. But like any new skill, beginners often hit a few bumps along the way. Don’t worry—it’s totally normal, and with a little guidance, you can avoid the most common mistakes that leave new crafters feeling frustrated.
In this post, we’ll go over seven beginner mistakes in clay crafting, why they happen, and exactly how you can avoid them. Think of it as your starter roadmap to smooth, enjoyable crafting.
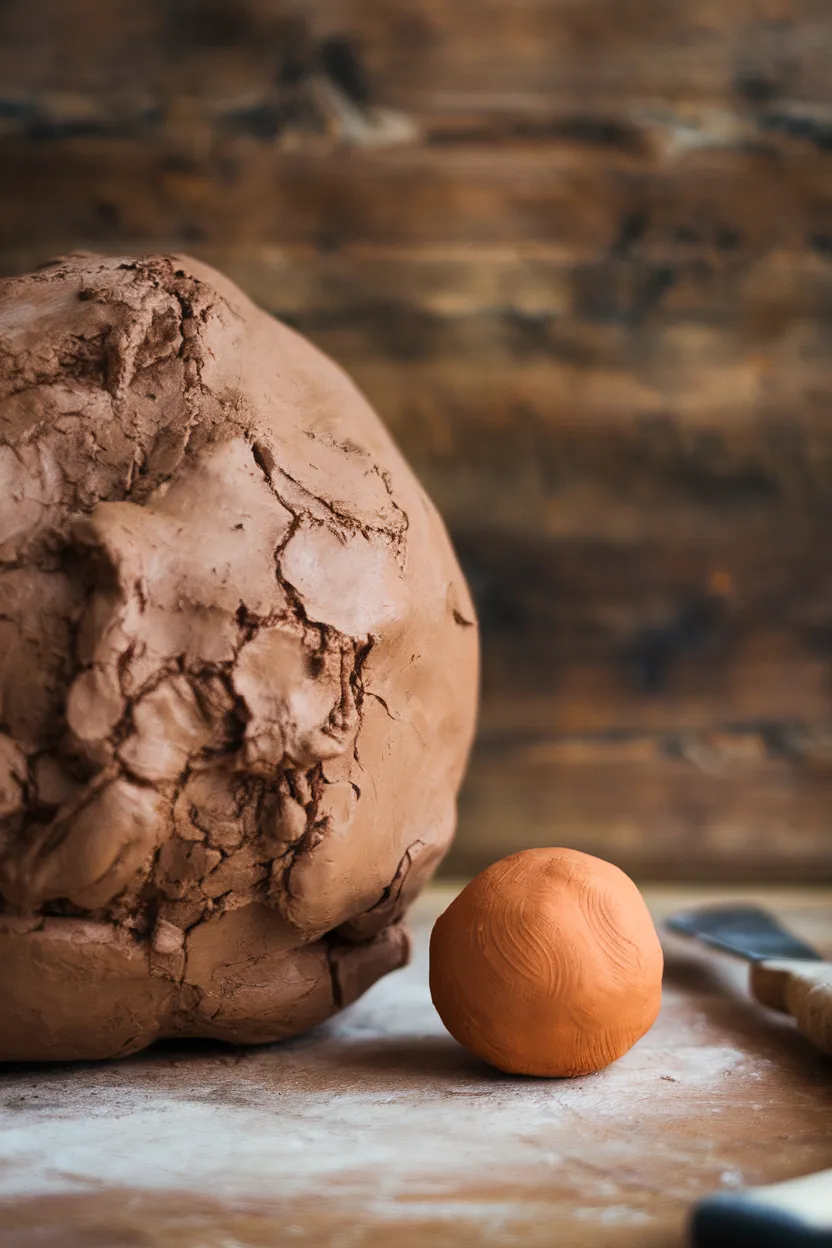
1. Using Too Much Clay at Once
Why it happens:
When you’re just starting out, it’s tempting to grab a big chunk of clay and dive right in. The problem? Large pieces are harder to shape, take longer to dry, and are more likely to crack.
How to avoid it:
Start small! Work with manageable portions—think palm-sized for your first projects. Smaller pieces are easier to handle, less intimidating, and let you finish faster (which feels super rewarding).
Pro tip:
If you’re working with air-dry clay, stick to smaller projects like trinket dishes, magnets, or pinch pots. You’ll build confidence while keeping cracking to a minimum.
2. Forgetting to Keep Clay Moist
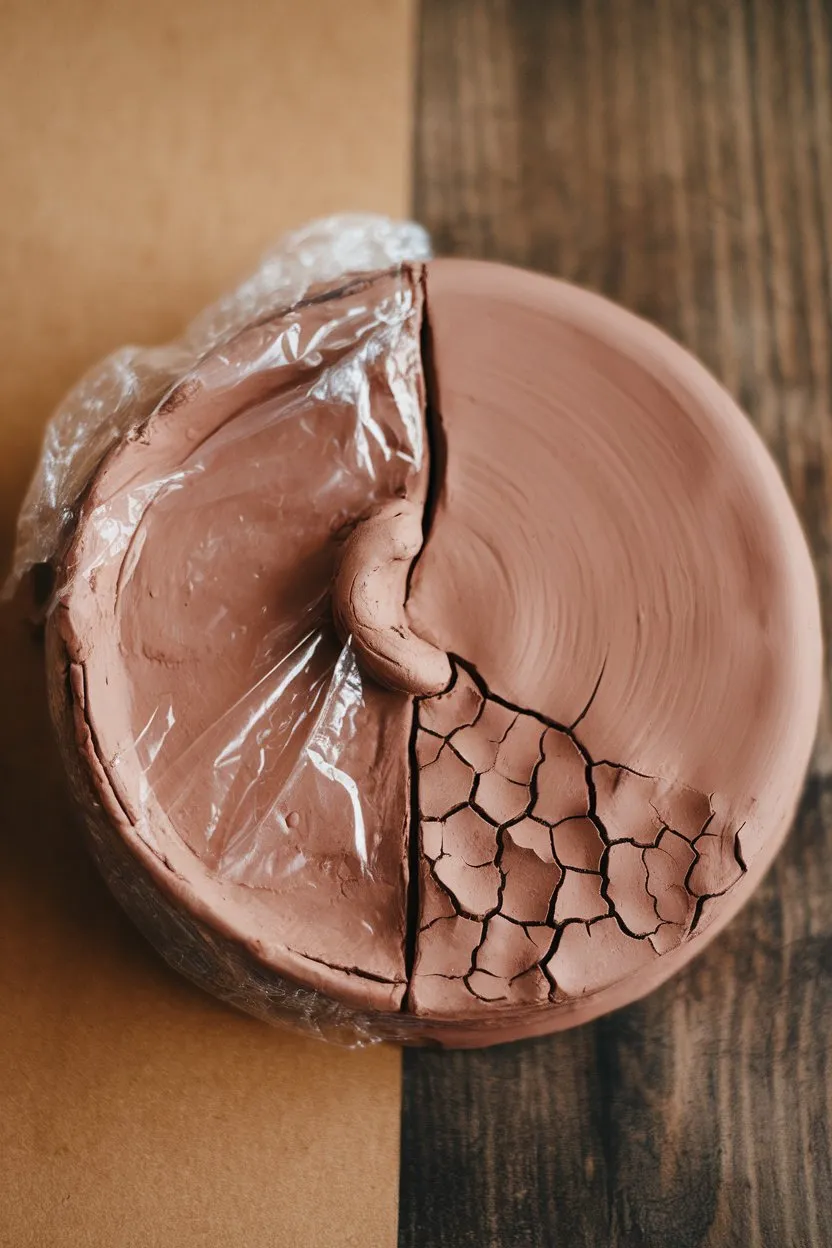
Why it happens:
Clay dries out quickly, especially air-dry clay. Beginners often forget to cover their work or mist it lightly, which can lead to hard, crumbly clay before the project is even finished.
How to avoid it:
- Keep a small spray bottle of water nearby.
- Cover unused clay with plastic wrap or store it in a zip-top bag.
- If your clay starts to dry mid-project, gently knead in a few drops of water.
Pro tip:
Never dunk your clay in water—it’ll turn sticky and unusable. Small spritzes are your best friend!
3. Not Conditioning the Clay
Why it happens:
Polymer clay especially needs to be conditioned (softened and made pliable). Beginners often skip this step because they don’t realize how important it is, leading to brittle or uneven results.
How to avoid it:
Spend a few minutes kneading your clay before starting. If it’s stiff, warm it up in your hands or roll it out with a pasta machine (many crafters use one just for clay).
Pro tip:
If your clay is super firm, mix a little softener or blend it with a fresh pack. You’ll save your hands and get a smoother finish.
4. Skipping Proper Drying or Baking
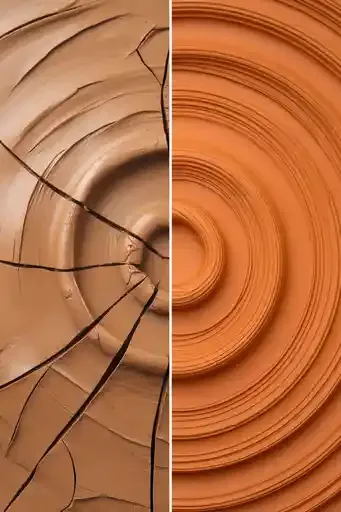
Why it happens:
You’re excited to finish your project and either rush the drying process (for air-dry clay) or underbake polymer clay. Unfortunately, this leads to cracks, breakage, or projects that feel flimsy.
How to avoid it:
- For air-dry clay: Let pieces dry fully in a cool, ventilated spot. Flip them over halfway through to prevent warping.
- For polymer clay: Always follow package baking instructions, including temperature and time. Use an oven thermometer if possible to avoid over- or under-baking.
Pro tip:
Never microwave clay—it doesn’t work and can damage both your project and your appliance.
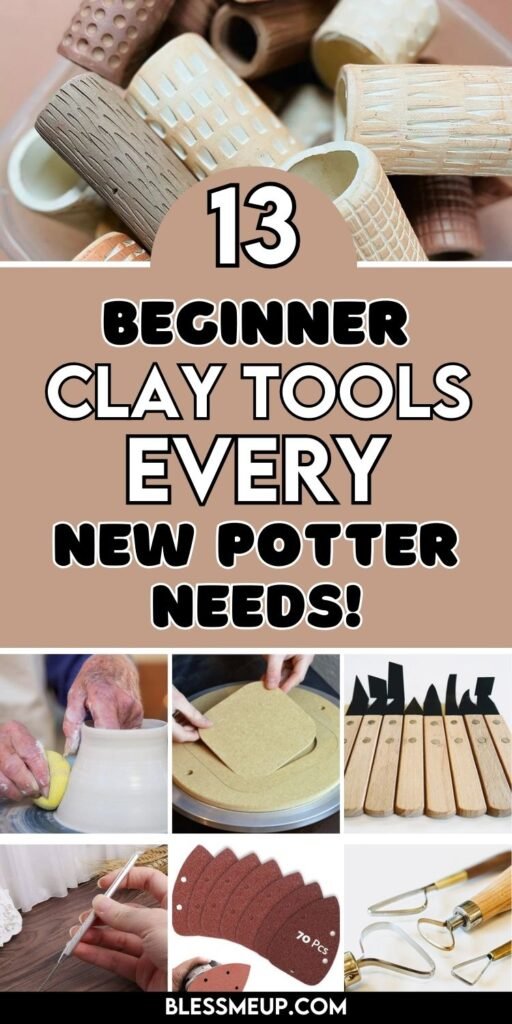
5. Using the Wrong Tools (or None at All)
Why it happens:
Many beginners jump in with just their hands. While hands are great, having the right tools can make a huge difference
in shaping, smoothing, and decorating.
How to avoid it:
Invest in a basic clay tool kit—it doesn’t have to be fancy. Essential starter tools include:
- A rolling pin or acrylic roller
- A needle tool or toothpick for details
- A smoothing tool or even an old spoon
- Cookie cutters for easy shapes
Pro tip:
You don’t need to buy everything at once! Everyday items like forks (for texture), plastic lids (for cutting circles), and old toothbrushes (for stippling) work beautifully.
6. Painting or Sealing Too Soon
Why it happens:
You’re eager to add color and shine, but painting or sealing before clay is fully cured or dried can ruin your hard work. Paint may peel, sealers may bubble, and cracks may form.
How to avoid it:
Always wait until clay is completely dry or baked. For air-dry clay, give it an extra 24 hours after it looks dry. For polymer, wait until it’s cooled fully.
Pro tip:
Use acrylic paints for air-dry clay and alcohol inks or mica powders for polymer clay before sealing with a glossy or matte finish. Always test a small area first!
7. Expecting Perfection on the First Try
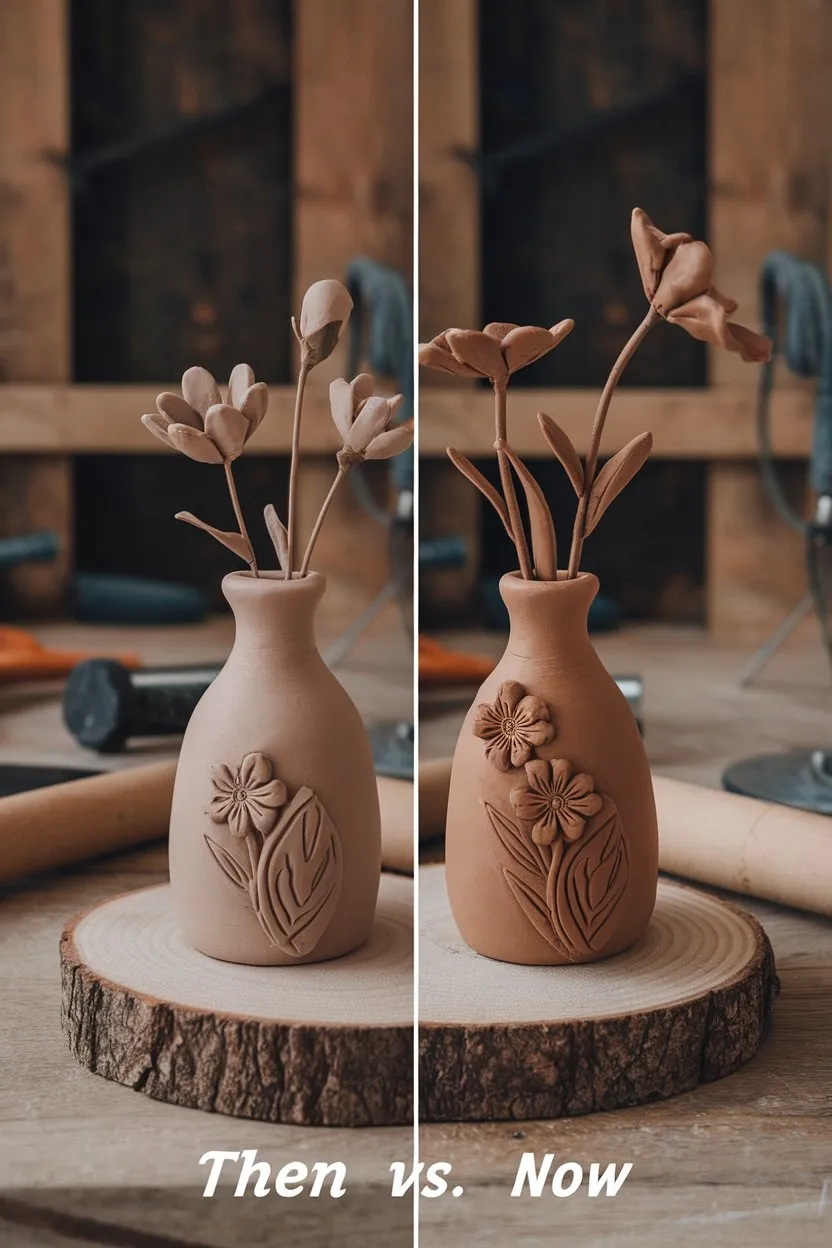
Why it happens:
Pinterest and Instagram are full of stunning clay projects, and beginners often compare their first try to polished, professional pieces. This can lead to frustration and giving up too soon.
How to avoid it:
Remind yourself that clay crafting is a journey. Every crack, lump, or uneven shape teaches you something new. Your first projects should be about learning and having fun—not perfection.
Pro tip:
Keep your first creations, even if they’re imperfect. Looking back later will show you how much you’ve grown!
Final Thoughts: Mistakes Are Just Stepping Stones
Every clay crafter—yes, even the pros—has made these mistakes at some point. The good news? Each one is easy to fix with a little patience, practice, and the right tips.
Remember: your first projects don’t need to be perfect to be meaningful. They’re the start of your creative journey, and every step you take builds confidence. So grab some clay, avoid these pitfalls, and start crafting with joy!