
If you’ve ever scrolled through Pinterest or Instagram and admired gorgeous handmade mugs, delicate earrings, or adorable figurines, chances are you’ve seen the magic of clay crafting. Clay is one of the most versatile creative materials out there, but for beginners, the number of clay options can feel overwhelming. Should you start with air-dry clay? Is polymer clay better? And what about the traditional pottery clay that needs a kiln?
Don’t worry—you don’t need to be a pro to get started. In this guide, we’ll break down the three most popular clay types for beginners—air-dry, polymer, and pottery clay—so you can choose the best one for your first project.
Clay Types for Beginners
1. Air-Dry Clay: Easy and Accessible
Air-dry clay is exactly what it sounds like—a clay that hardens simply by drying in the air. No baking or special equipment required.
What it’s like to use:
- Smooth, soft, and easy to shape by hand.
- Great for small sculptures, trinket dishes, ornaments, and decorative pieces.
Pros:
- Beginner-friendly and widely available at craft stores.
- Affordable (usually $5–$15 per pack).
- No oven or kiln needed.
Cons:
- Can crack if pieces are too thick or dry too quickly.
- Not waterproof (even if painted or sealed, it won’t hold liquids safely).
- Less durable than fired clay.
Beginner tips:
- Keep your clay covered while working so it doesn’t dry out.
- Work in thin layers to reduce cracking.
- Always seal your finished project with acrylic sealer or varnish for extra strength.
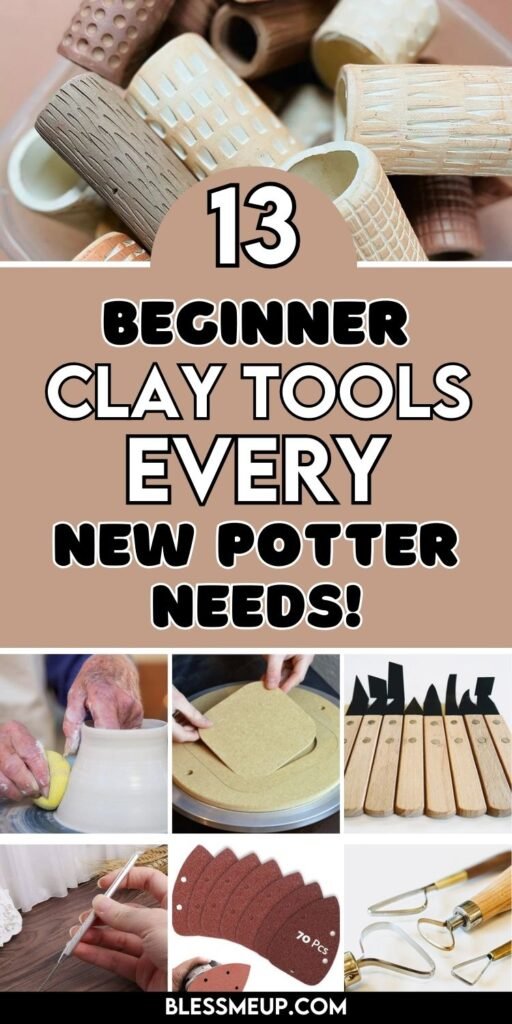
Tools you’ll need:
Just the basics—rolling pin, sculpting tools (or even kitchen utensils like toothpicks and butter knives), and sandpaper for smoothing.
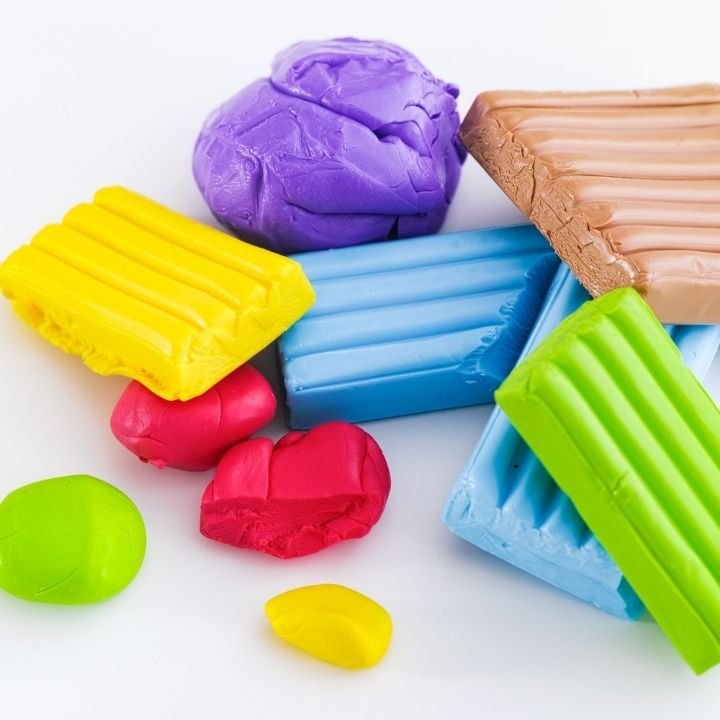
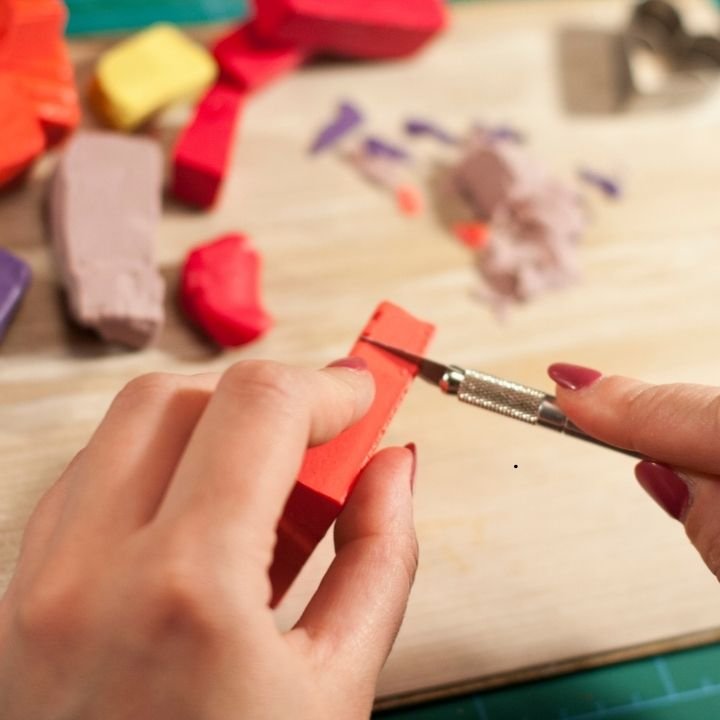
2. Polymer Clay: Versatile and Colorful
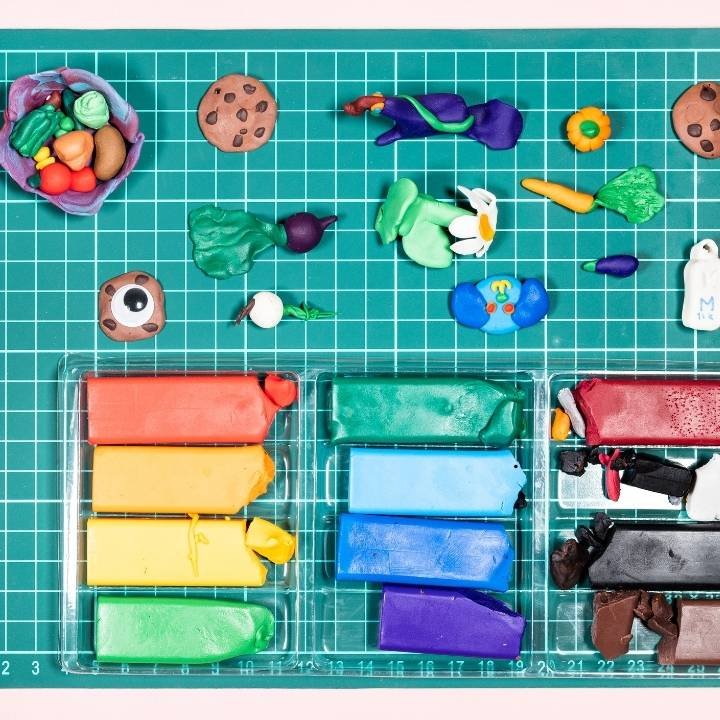
Polymer clay is a synthetic modeling clay that hardens when baked in a regular home oven. It comes in a rainbow of colors and is a favorite for jewelry, miniatures, and detailed crafts.
What it’s like to use:
- Firm at first but softens with kneading.
- Stays workable until you bake it, so no rush while crafting.
Pros:
- Vibrant colors mean less painting required.
- Very durable after baking.
- Perfect for fine details and intricate designs.
Cons:
- Needs careful baking—too hot and it burns, too low and it stays soft.
- Can be pricier than air-dry clay (about $2–$4 per small block).
- Not food-safe, so avoid using for dishes or utensils.
Beginner tips:
- Use an oven thermometer to make sure your oven temperature is accurate.
- Condition (knead) the clay thoroughly before shaping.
- Store unused clay in airtight bags or containers.
Tools you’ll need:
Cutting blades, rolling tools, a non-stick work surface (like tile or glass), and an oven-safe tray lined with parchment.
3. Pottery Clay: The Traditional Choice
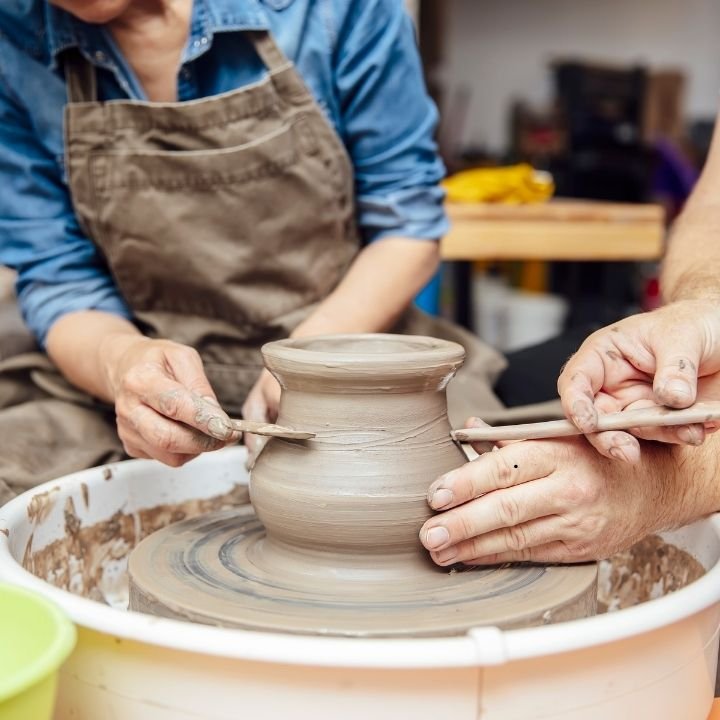
Pottery clay is the real deal—the same clay potters have used for centuries to make mugs, bowls, vases, and more. Unlike air-dry or polymer, pottery clay must be fired in a kiln to become strong and waterproof.
Types of pottery clay:
- Earthenware: Great for beginners, lower firing temperature, rustic finish.
- Stoneware: Stronger and more durable, ideal for functional pottery.
- Porcelain: Smooth, delicate, and beautiful, but tricky for beginners.
Pros:
- Creates strong, functional pieces (safe for food and liquids once glazed and fired).
- Widely used in ceramics classes and studios.
- Timeless and rewarding craft.
Cons:
- Requires access to a kiln (can be expensive unless you join a local pottery studio).
- Steeper learning curve.
- Messier than other clays.
Beginner tips:
- If you’re curious about pottery, try a local ceramics class before buying supplies.
- Focus on small, simple forms like pinch pots before moving to the wheel.
- Learn about glazing—it adds beauty and functionality.
Tools you’ll need:
Clay wire cutter, sponge, pottery wheel (optional), and basic trimming tools.
Choosing the Right Clay for You
Here are a few questions to guide your choice:
- What do you want to make?
- Jewelry, miniatures, or detailed crafts → Polymer clay
- Decorative items without needing an oven or kiln → Air-dry clay
- Functional pottery like mugs or bowls → Pottery clay
- Jewelry, miniatures, or detailed crafts → Polymer clay
- What equipment do you have?
- No oven or kiln → Air-dry clay
- Oven available → Polymer clay
- Access to a studio → Pottery clay
- No oven or kiln → Air-dry clay
- What’s your budget?
- Cheapest: Air-dry clay
- Mid-range: Polymer clay
- Investment: Pottery clay (plus kiln costs)
- Cheapest: Air-dry clay
Safety Considerations
- Air-dry clay: Non-toxic, but avoid inhaling sanding dust.
- Polymer clay: Bake in a well-ventilated space and use dedicated tools (don’t reuse kitchen knives or baking trays for food).
- Pottery clay: Wear a mask when working with dry clay dust—it can be harmful if inhaled over time.
Final Thoughts: Start Small and Have Fun
Clay crafting is one of those hobbies that feels both relaxing and rewarding. The best part? There’s no single “right” clay to start with. Whether you’re hand-shaping a jewelry dish with air-dry clay, baking colorful polymer earrings, or throwing your first pottery bowl, each type of clay teaches you something new.
Start small, experiment, and don’t stress about perfection—the joy is in the making.
Pingback: Essential Clay Tools for Beginners: Your First Ceramics Toolkit - blessmeup.com