Halloween is the perfect time to get creative, and clay is one of the most versatile materials you can use to bring spooky decorations and characters to life. Whether you’re working with air-dry clay, polymer clay, or modeling clay, the possibilities are endless. From kid-friendly pumpkin charms to more detailed skull candle holders, these crafts are fun, budget-friendly, and adaptable to your skill level.
Clay crafting isn’t just about making decorations — it’s also a therapeutic activity that helps develop fine motor skills, encourages creativity, and provides quality bonding time for families. Below are 15 Halloween clay crafts, complete with step-by-step instructions, difficulty ratings, and creative variations.
Mini Clay Pumpkins
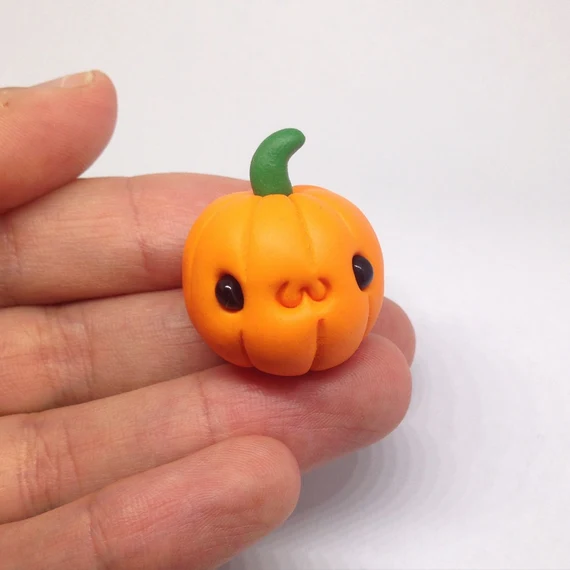
Mini clay pumpkins are a must-try Halloween craft because they’re simple, fun, and look adorable as decorations. All you need is some orange air-dry or polymer clay, a little green for the stem, and basic sculpting tools. Roll the clay into small balls, press gentle ridges along the sides with a toothpick or knife, and add a tiny stem on top.
Once dry or baked, you’ll have pumpkins that last year after year. This project works well for beginners and is perfect for kids or teens. You can keep them plain, paint on silly faces, or even add glitter for a festive twist. Mini pumpkins can be displayed on shelves, used as table décor, or even turned into keychains or magnets for a functional touch. The best part is that each one turns out unique, making it a fun group activity.
Ghost Clay Ornaments
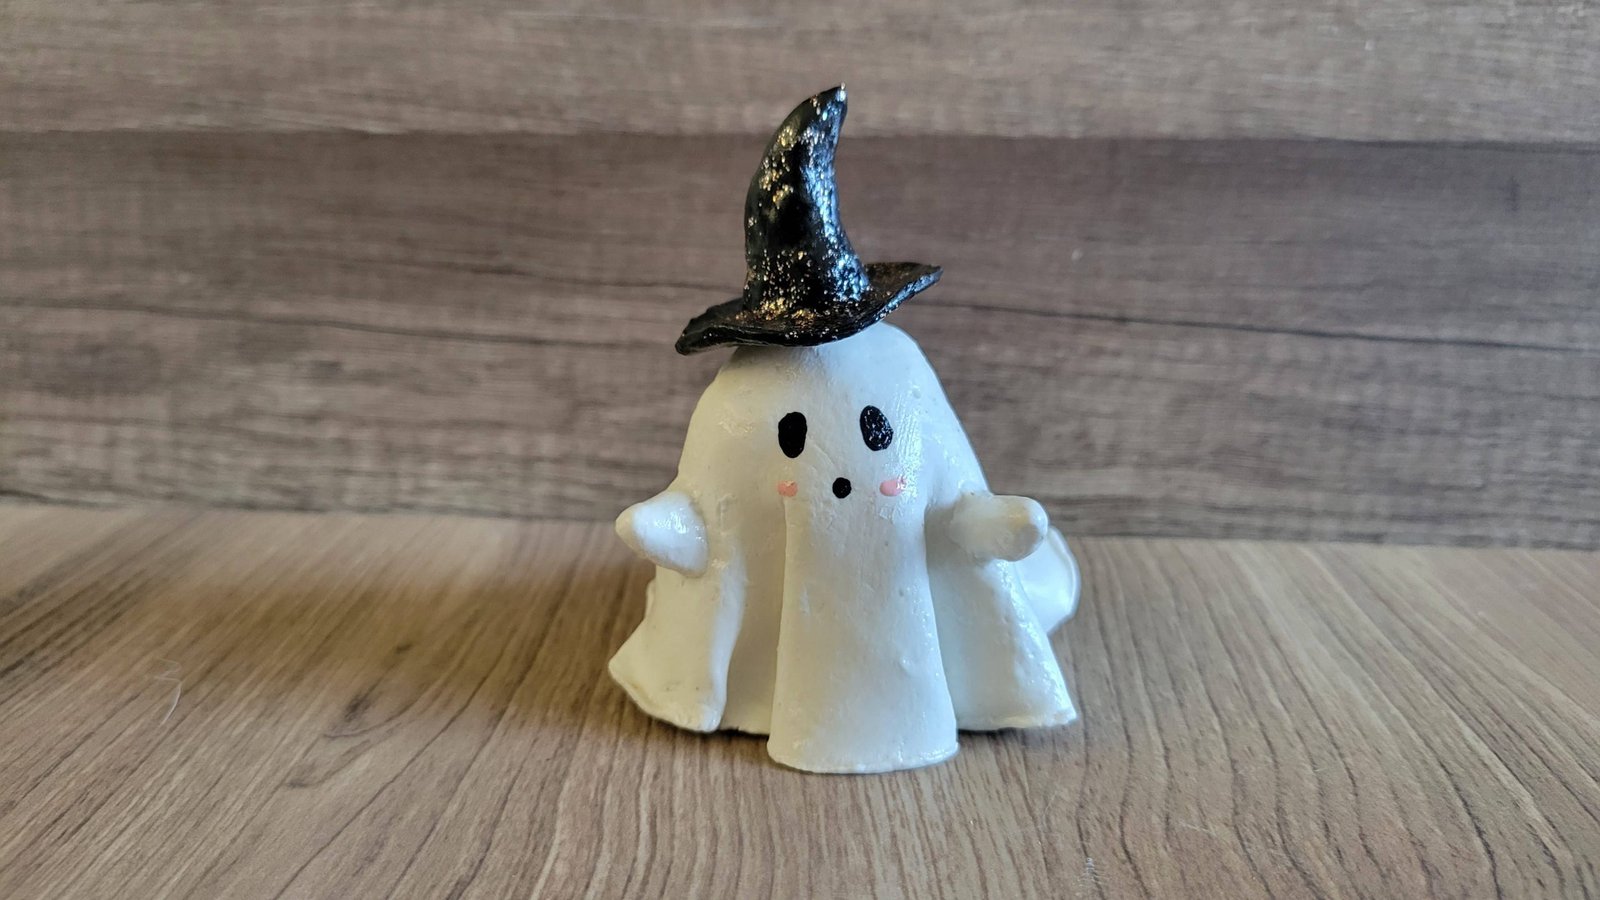
Clay ghost ornaments are both spooky and cute, making them a great project for Halloween decorating. Start with white air-dry or polymer clay, roll it out flat, and cut ghost shapes using a cookie cutter or freehand with a knife. Add small holes at the top with a straw so you can thread string through once they’re dry.
To bring them to life, use black paint or a marker to make eyes and a mouth. You can make them funny, scary, or even add glow-in-the-dark paint for extra effect. Hang them on a Halloween tree, string them as a garland, or give them as handmade gifts to friends. They’re inexpensive, quick to make, and very customizable. Teens especially love this project because the designs can be as simple or as detailed as they want. Each ghost ends up with its own personality.
Clay Spider Magnets
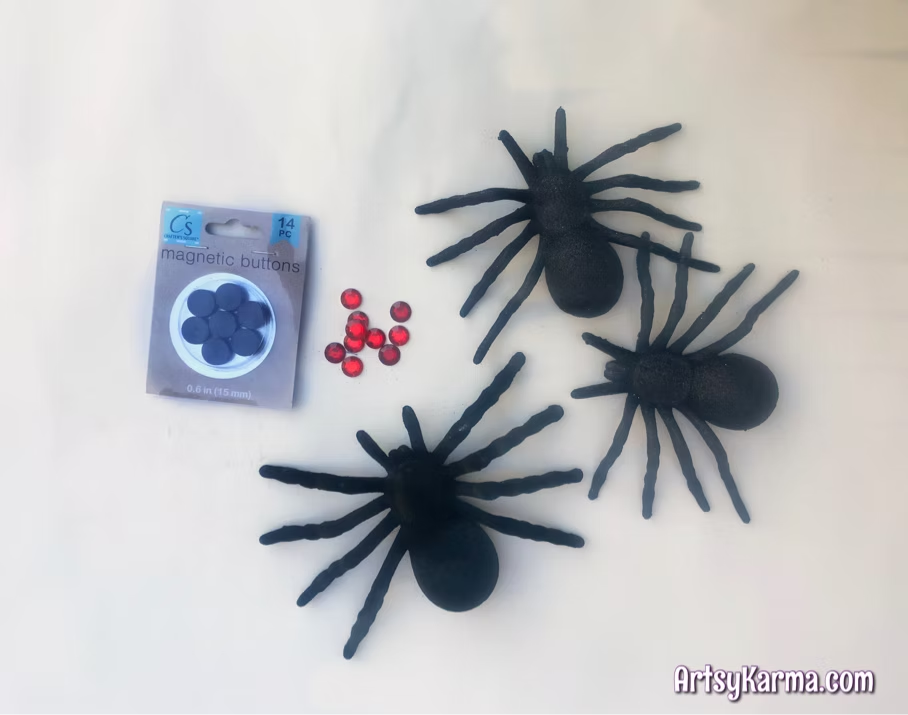
Clay spider magnets are a fun way to add a little creepiness to your fridge or locker without going overboard. To start, roll black clay into a ball for the body and a smaller one for the head. Attach them together and shape eight thin legs from rolled clay strands. Arrange the legs so they stick out evenly, then bake or air-dry the clay depending on your material.
Once hardened, glue a small magnet to the underside. You can leave the spider plain black for a realistic look or add painted details like red dots for a black widow vibe or googly eyes for a funny twist. These magnets are quick to make, affordable, and easy to customize. They also make great small gifts or party favors for Halloween gatherings. Best of all, they add just the right amount of spooky charm to everyday spaces.
Skull Candle Holders
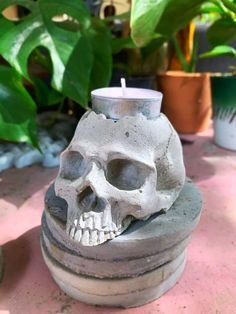
Skull candle holders are a perfect blend of spooky and practical Halloween décor. Using white or gray polymer clay, start by molding a basic skull shape with hollow eye sockets and a small nose cavity. Flatten the top slightly to create a stable surface for placing a tea light or LED candle. Once baked or air-dried, you can paint details like cracks, shading, or even metallic touches to give it an aged effect.
For added safety, always use flameless candles instead of real ones. These holders work great as table centerpieces, mantel decorations, or even as party props. They’re beginner-friendly but can also be made more detailed for advanced crafters. Each skull turns out differently, so they add a unique, eerie vibe to any Halloween setting.
Witch Hat Rings Holder
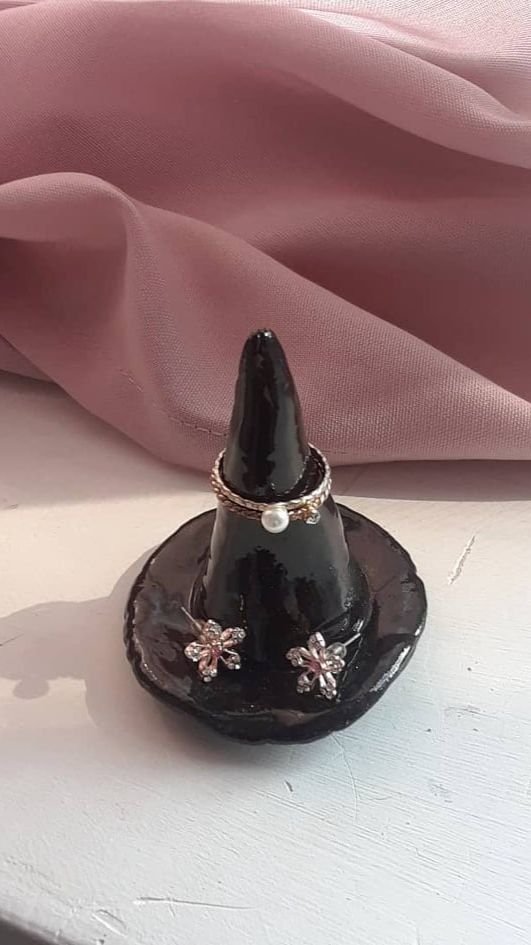
Witch hat rings are a fun and wearable Halloween craft that lets you show off your creativity. Begin by shaping a small cone with black polymer clay and flattening the base into a circle to create the hat’s brim. Once baked, attach the piece securely to a simple ring base using strong adhesive.
You can decorate the hat with tiny clay stars, moons, or a colorful band for extra flair. Teens especially enjoy this craft because it’s fashionable, quick, and highly customizable. These rings can be worn to school, Halloween parties, or just for fun during the spooky season. They also make adorable handmade gifts or party favors for friends. Affordable, stylish, and easy to make, witch hat rings are a great way to add a subtle Halloween touch to your outfit.
Clay Bat Wall Hangers
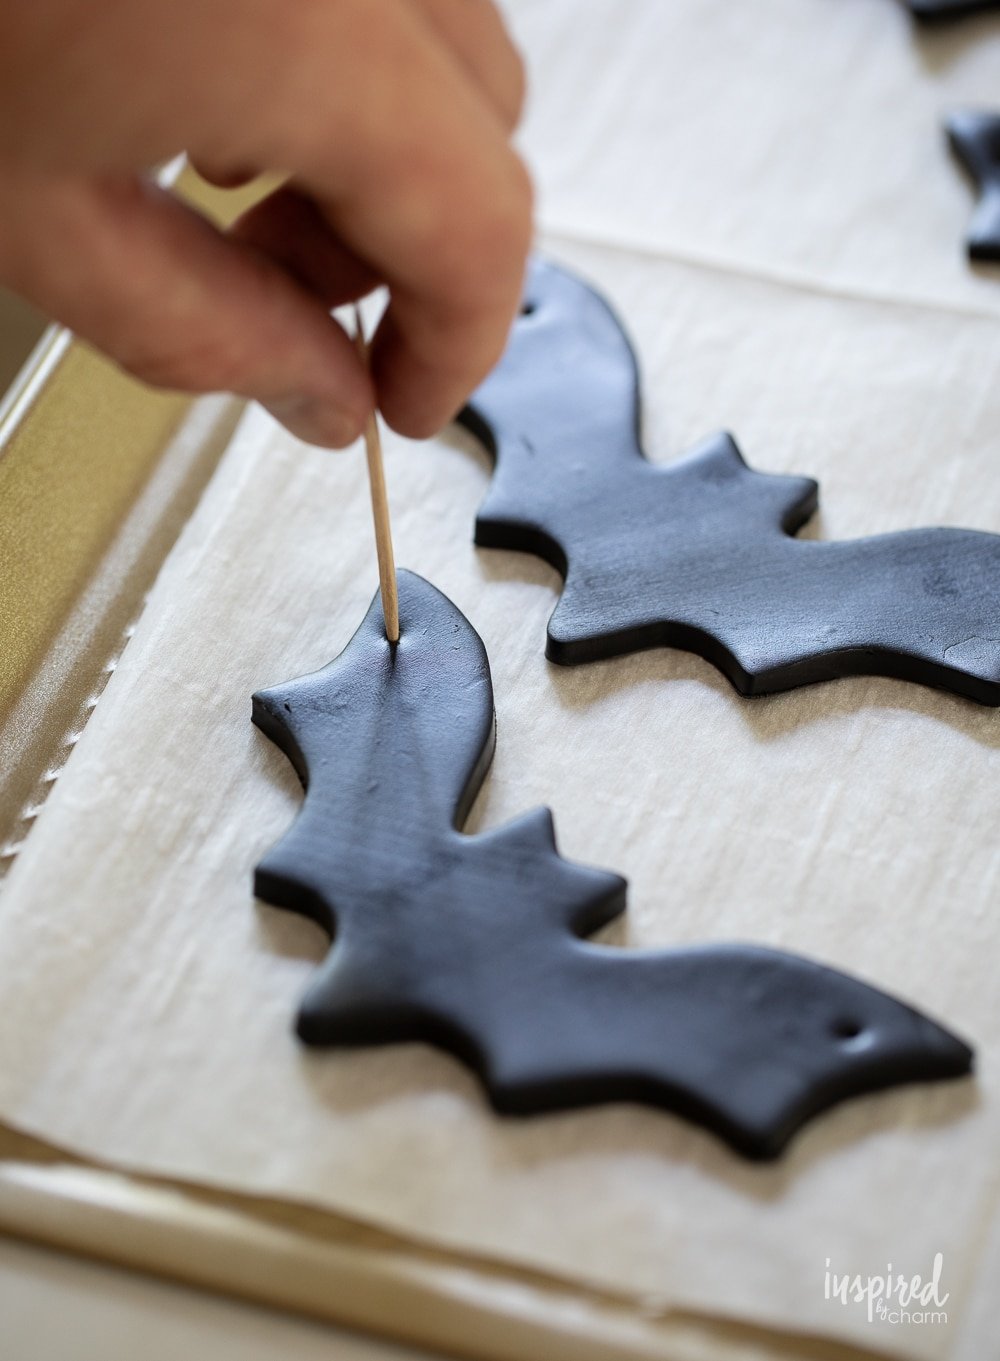
Clay bat wall hangers are an eye-catching decoration that brings Halloween spirit into any room. Start by rolling out black clay and cutting bat shapes using a stencil or freehand design. Add small holes at the top of the wings with a straw before baking or drying so you can easily thread string or ribbon.
Once hardened, paint on details like red eyes, silver wing outlines, or even glitter for a more whimsical look. Hang the bats individually, in clusters, or string them together for a garland-style display. They’re lightweight and versatile, making them perfect for walls, doors, or party backdrops. Teens love this craft because it’s both artistic and trendy, with lots of room for customization. Plus, it’s budget-friendly and easy to make in batches for larger decorations.
Clay Candy Corn Charms
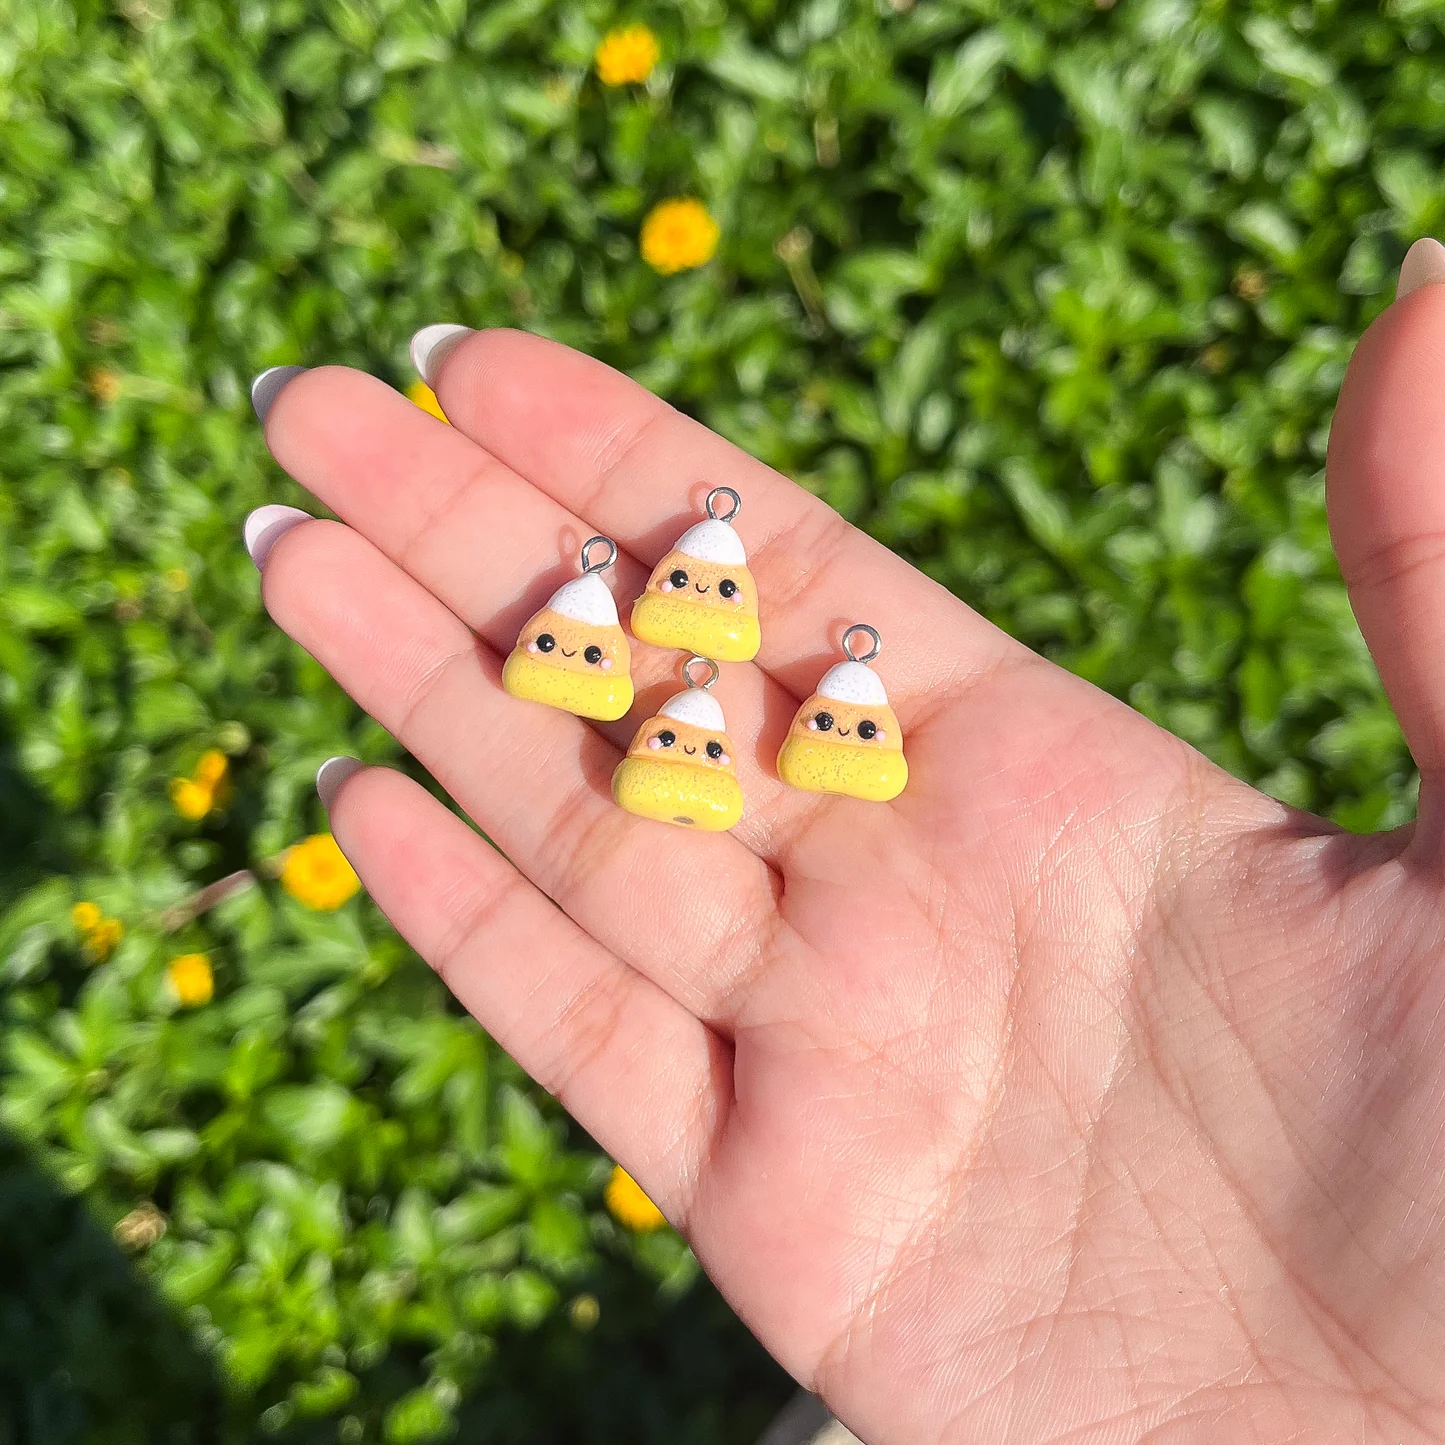
Clay candy corn charms are a playful way to capture the sweetness of Halloween without the sugar. To start, roll out three small clay pieces in orange, yellow, and white. Shape them into thin layers, then stack and gently press them together to form a triangular candy corn. Trim the edges so the lines are neat and crisp.
Add a small eye pin before baking if you want to turn them into necklaces, bracelets, or keychains. Once hardened, you can add a glossy glaze for a polished, candy-like finish. These charms are great for teens who enjoy accessorizing or gifting their friends something handmade. They’re small, quick to make, and fun to customize with glitter or pastel Halloween colors for a modern twist. Affordable and adorable, they’re a beginner-friendly project with wearable results.
Frankenstein Clay Figures
Frankenstein clay figures make a fun addition to any Halloween display. Using green clay, shape a small cylinder for the body and a slightly larger oval for the head. Add tiny clay details like bolts for the neck, square shoes, and stubby arms. Use black clay for the hair and scars, then paint on extra details after baking, like stitched lines or expressive eyes.
These figures can stand on shelves, desks, or be part of a mini Halloween village. Teens enjoy this craft because it’s creative but not overly difficult, and each figure can have a unique personality depending on the details added. For extra fun, you can create a whole set of mini monsters like Dracula or mummies to go along with Frankenstein. It’s an engaging project that doubles as seasonal décor and a keepsake.
Clay Spiderweb Coasters
Clay spiderweb coasters are both spooky and functional, making them perfect for Halloween gatherings. Begin by rolling out a flat circle of clay about a quarter-inch thick. Use a carving tool or toothpick to etch spiderweb patterns into the surface, starting from the center and working outward.
Once baked or dried, paint the coaster with black or dark gray acrylic paint, then highlight the etched lines with white or metallic silver to make the web stand out. For durability, add a clear sealant to protect the surface from moisture. These coasters are great for parties or just adding a seasonal touch to everyday drinks. Teens will find the process relaxing, almost like doodling, but with a useful final product. They’re affordable, customizable, and practical, making them a hit for crafting sessions with friends.
Haunted House Clay Plaques
Haunted house clay plaques are a spooky yet artistic project that lets teens flex their creativity. Start with a flat slab of clay shaped into a rectangle or oval. Sketch the outline of a haunted house, complete with crooked windows, bats, and eerie trees, then carve the design with a sculpting tool or toothpick.
You can also press in small clay pieces to give depth to the windows or roof. Once baked or dried, paint the plaque in shades of black, gray, and purple, with yellow for glowing windows. Add a ribbon to the back to hang it on a wall or door. This project is slightly more detailed but very rewarding, giving a unique piece of Halloween décor that looks handmade yet polished. Teens especially enjoy experimenting with haunted silhouettes, making each plaque one-of-a-kind.
Jack-o’-Lantern Clay Candle Covers
Jack-o’-lantern clay candle covers bring cozy autumn vibes with a handmade touch. To make them, roll out clay and wrap it around a small glass candle holder, leaving the top and bottom open. Smooth the clay, then carve in jack-o’-lantern faces using simple tools or a craft knife. Once baked or hardened, paint the covers in bright orange with black details for the eyes and mouth.
When a tealight or battery candle glows inside, the light flickers through the carved openings, creating a festive effect. This craft is great for teens because it’s both decorative and functional, perfect for Halloween parties or bedroom décor. For a creative twist, try painting pastel pumpkins or even glow-in-the-dark finishes. Safe, affordable, and atmospheric, these candle covers turn ordinary holders into holiday showpieces.
Mummy Clay Jars
Mummy clay jars combine spooky charm with practical use. Begin by covering a small glass jar with rolled strips of air-dry or polymer clay, overlapping them to mimic mummy bandages. Leave gaps for the “eyes,” which can be tiny beads, clay dots, or even googly eyes glued on afterward. Once hardened, paint the bandages in off-white or beige, and add a bit of gray shading for an aged effect.
These jars work perfectly as Halloween candy holders, tealight covers, or desk organizers. Teens love this craft because it’s easy to personalize—some mummies look creepy, while others turn out cute and funny. Plus, the finished jars are useful long after the crafting session ends. They make excellent group projects for friends, giving everyone a unique little mummy to take home and enjoy.
Clay Witch Cauldrons
Clay witch cauldrons are a fun way to mix spooky with functional Halloween décor. Start by shaping a ball of clay and gently hollowing out the center to form a pot-like shape. Add three tiny clay legs at the base and a small rim at the top for detail. To make it extra spooky, roll small clay “bubbles” and attach them around the rim to look like a potion boiling over.
Once dried or baked, paint the cauldron black with green accents for the bubbling potion. Teens can also sprinkle glitter paint over the “potion” to mimic a magical brew. These cauldrons work perfectly as trinket dishes, tealight holders, or mini candy bowls. The project is easy to customize, allowing everyone to create a one-of-a-kind piece that feels straight out of a witch’s lair.
Clay Vampire Fangs Keychains
Clay vampire fangs keychains are trendy, spooky, and great for showing off some Halloween flair. To make them, roll and flatten a small piece of clay, then shape tiny pointed teeth to form a curved set of vampire fangs. Attach the fangs to a clay base shaped like lips or simply keep them as a stand-alone charm. Before baking or drying, insert a keychain ring or metal loop so the piece can be attached later.
Once hardened, paint the fangs bright white and add red accents for a “bloody” effect, or keep them clean and glossy for a minimalist look. Teens love this project because it’s both wearable and practical, making it a cool accessory to attach to bags, backpacks, or keys. It’s quick to make and perfect for Halloween gifting.
Day of the Dead Skull Charms
Day of the Dead skull charms combine cultural artistry with Halloween creativity, making them a beautiful craft for teens who enjoy detail work. Begin by molding small clay skulls, about the size of a coin or pendant. Use a sculpting tool or toothpick to carve out eye sockets, a nose cavity, and teeth. Once hardened, paint them white and decorate with vibrant colors—think flowers, swirls, dots, and geometric patterns inspired by traditional sugar skulls.
Metallic paints or glitter pens can add an extra festive touch. These charms can be worn as necklaces, bracelets, or keychains, making them versatile accessories. Teens especially enjoy this craft because it encourages creativity and self-expression, with no two skulls looking alike. Plus, it provides a meaningful connection to cultural art traditions while still fitting into the Halloween season.
Final Thoughts
Clay is an incredible medium for bringing spooky Halloween ideas to life. From simple charms to detailed centerpieces, there’s something for every age group and skill level. These 15 clay Halloween crafts are not only fun to make but also perfect for decorating your home, accessorizing costumes, or sharing as gifts.
Grab some clay, gather your family or friends, and let the Halloween creativity begin!

Pingback: 17 Fun and Easy Paper Craft Ideas to Spark Creativity at Home - blessmeup.com