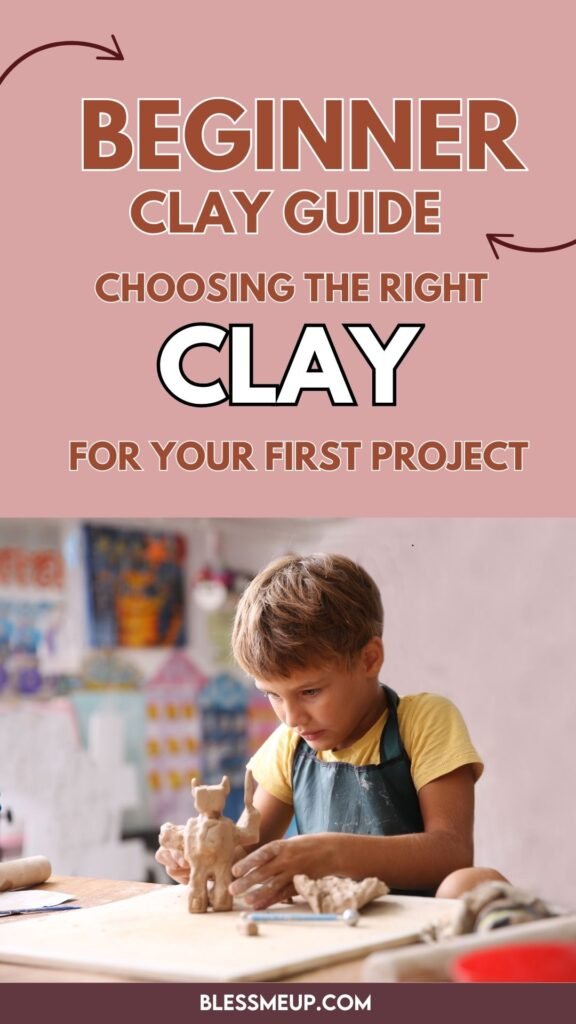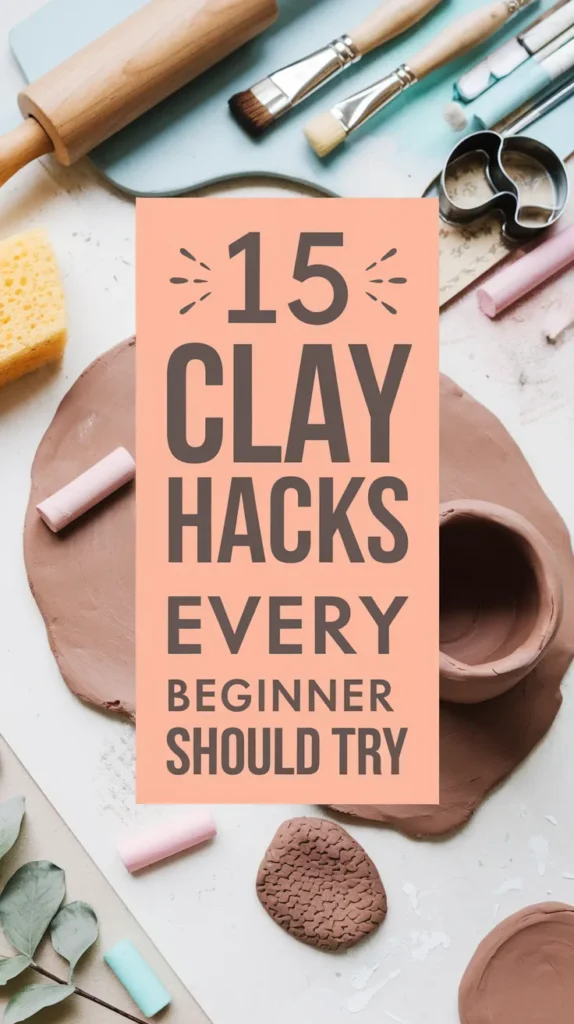
Clay crafting can feel a little intimidating at first — sticky hands, cracked projects, uneven shapes… sound familiar? Don’t worry! With the right shortcuts, tricks, and creative solutions, you can turn frustrating moments into fun and satisfying results.
In this guide, I’ll share 15 beginner-friendly clay hacks you can try at home. Each one takes under 20 minutes and requires minimal tools, making them perfect for Pinterest DIYers and new crafters. By the end, you’ll feel more confident, inspired, and ready to shape clay like a pro.
- 1. Keep Clay Moist with a Damp Sponge
- 2. Prevent Cracks with Vinegar Slip
- 3. Use Household Items as Texturing Tools
- 4. Smooth Clay with Cornstarch
- 5. Use Cookie Cutters for Perfect Shapes
- 6. Keep Tools Clean with Baby Wipes
- 7. Use Plastic Wrap for Easy Rolling
- 8. Toothbrush for Scoring
- 9. Speed Up Drying with a Cardboard Box
- 10. Create Gradient Colors with Pastels
- 11. Use Rolling Pin Guides for Even Thickness
- 12. Add Handles with a Straw Cutter
- 13. Prevent Fingerprints with Plastic Gloves
- 14. DIY Turntable with a Plate
- 15. Bake Polymer Clay in a Foil Tent
1. Keep Clay Moist with a Damp Sponge
Why it works: Clay dries quickly, especially in warm rooms. A damp sponge keeps it workable longer.
Materials Needed:
- Soft sponge
- Bowl of clean water
Steps:
- Keep a damp (not dripping) sponge beside your workspace.
- Gently dab clay if it starts to feel dry.
- Rotate and repeat as you shape to maintain flexibility.
Variation: Use a spray bottle for quick misting if you’re working with multiple pieces.
2. Prevent Cracks with Vinegar Slip
Why it works: Vinegar helps clay bond more smoothly, especially for joining pieces.
Materials Needed:
- Small bowl
- Vinegar
- Brush
Steps:
- Mix a teaspoon of vinegar with clay scraps to make “vinegar slip.”
- Brush it onto cracks or between two pieces before pressing them together.
- Smooth with your finger or a sponge.
Variation: Try using diluted white vinegar for delicate projects.
3. Use Household Items as Texturing Tools
Why it works: You don’t need expensive tools — everyday items can create amazing patterns.
Materials Needed:
- Forks, lace fabric, bottle caps, leaves
Steps:
- Press lace or fabric lightly for intricate textures.
- Roll a fork across for stripes.
- Use leaves for organic imprints.
Variation: Try layering textures for a more unique finish.
4. Smooth Clay with Cornstarch
Why it works: Cornstarch prevents fingerprints and gives a silky surface.
Materials Needed:
- Cornstarch
- Small brush or fingertip
Steps:
- Dust a tiny bit of cornstarch on uneven areas.
- Smooth with your finger or brush in circles.
- Wipe excess off gently with a dry cloth.
Variation: Baby powder works as an alternative.
5. Use Cookie Cutters for Perfect Shapes
Why it works: Cutters give clean, consistent shapes — perfect for mugs, coasters, and ornaments.
Materials Needed:
- Clay slab
- Cookie cutters
Steps:
- Roll clay evenly (about ¼ inch thick).
- Press cookie cutter firmly.
- Gently lift shape and smooth edges.
Variation: Use geometric cutters for modern designs.
6. Keep Tools Clean with Baby Wipes
Why it works: Sticky clay clogs tools, but wipes clean them instantly.
Materials Needed:
- Baby wipes
Steps:
- Wipe tools after every 5–10 minutes of use.
- Clean handles too, so clay doesn’t stick to your hands again.
Variation: Use a damp microfiber cloth if you prefer eco-friendly.
7. Use Plastic Wrap for Easy Rolling
Why it works: Prevents clay from sticking to the rolling pin or table.
Materials Needed:
- Plastic wrap
- Rolling pin
Steps:
- Lay plastic wrap under your clay.
- Place another sheet on top before rolling.
- Roll evenly without sticking.
Variation: Parchment paper works too.
8. Toothbrush for Scoring
Why it works: A toothbrush creates fine scoring lines for stronger joins.
Materials Needed:
- Old toothbrush
Steps:
- Brush toothbrush bristles over clay edges you want to join.
- Apply slip and press pieces together.
- Smooth edges gently.
Variation: Use a nail brush for larger pieces.
9. Speed Up Drying with a Cardboard Box
Why it works: Cardboard absorbs moisture without cracking clay.
Materials Needed:
- Cardboard box
- Parchment paper
Steps:
- Line box with parchment.
- Place clay piece inside.
- Leave for 24–48 hours.
Variation: Add silica packets for faster drying.
10. Create Gradient Colors with Pastels
Why it works: Chalk pastels blend beautifully into clay for unique effects.
Materials Needed:
- Soft pastels
- Craft knife
Steps:
- Shave pastel dust with knife.
- Mix dust into clay before shaping.
- Blend different shades for gradients.
Variation: Try metallic pastels for shimmer.
11. Use Rolling Pin Guides for Even Thickness
Why it works: Ensures all clay slabs are even, avoiding cracks.
Materials Needed:
- Two wooden sticks (same thickness)
- Rolling pin
Steps:
- Place sticks parallel on table.
- Roll clay between them.
- Perfectly even slab every time.
Variation: Use chopsticks for smaller projects.
12. Add Handles with a Straw Cutter
Why it works: A straw creates neat holes for attaching clay handles or decorations.
Materials Needed:
- Straw
Steps:
- Press straw into clay where handle will attach.
- Apply slip.
- Insert handle piece securely.
Variation: Try different straw sizes for different effects.
13. Prevent Fingerprints with Plastic Gloves
Why it works: Gloves keep clay surface smooth and fingerprint-free.
Materials Needed:
- Thin disposable gloves
Steps:
- Put on gloves before handling clay.
- Shape and smooth normally.
- Remove gloves for detail work if needed.
Variation: Use food-safe gloves for polymer clay.
14. DIY Turntable with a Plate
Why it works: A rotating surface makes smoothing and decorating much easier.
Materials Needed:
- Large plate
- Smaller inverted bowl
Steps:
- Place bowl upside down.
- Balance plate on top.
- Spin gently while shaping clay piece.
Variation: Use a lazy Susan for sturdier support.
15. Bake Polymer Clay in a Foil Tent
Why it works: Prevents scorching and uneven baking.
Materials Needed:
- Aluminum foil
- Baking tray
Steps:
- Shape foil into a loose tent.
- Place clay piece under it on baking tray.
- Bake as directed.
Variation: Try parchment tent for smoother heat.
Final Thoughts
Clay crafting doesn’t have to feel overwhelming. With these 15 simple hacks, you can:
- Avoid common beginner mistakes
- Save time and effort
- Make your clay projects look polished and professional
Whether you’re making mugs, jewelry, or small decor pieces, these tricks will help you enjoy the process and create pieces you’re proud of. So grab your clay, try a few hacks, and most importantly — have fun experimenting!