Halloween doesn’t have to drain your wallet to be fun and festive. With a little creativity and some inexpensive materials (most of which you can find at home, dollar stores, or craft shops), you can whip up spooky, charming, and kid-friendly decorations in under two hours—without spending more than $10 per project. These DIYs are perfect for families, party hosts, or anyone looking to add seasonal flair on a budget.
Below are 13 unique, budget-friendly Halloween crafts with full instructions, cost estimates, and tips for making them your own.
Paper Plate Jack-o’-Lanterns
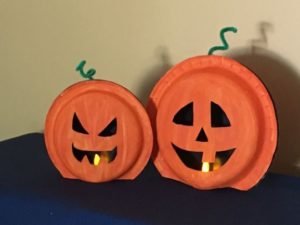
Paper Plate Jack-o’-Lanterns are one of the easiest and most affordable Halloween crafts you can make at home. All you need are some paper plates, orange paint, scissors, and black construction paper. Begin by painting the paper plate orange and letting it dry completely.
Then, cut out triangle eyes, a nose, and a toothy grin from the black paper, gluing them onto the plate to form a jack-o’-lantern face. This project is simple, mess-friendly, and costs less than a few dollars to put together. For an extra touch, tape a green pipe cleaner or strip of paper at the top as the pumpkin stem.
DIY Ghost Garlands
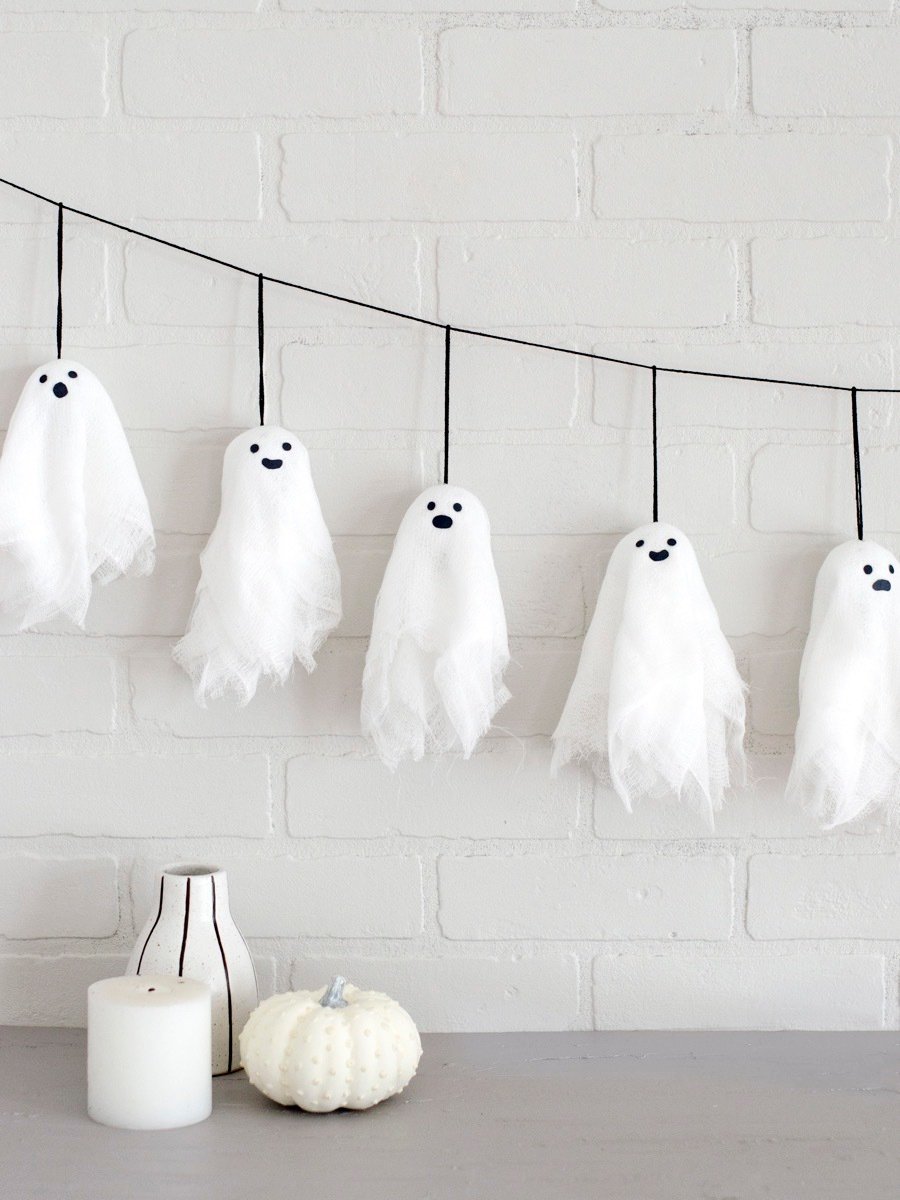
Ghost Garlands are a fun way to decorate walls, doorways, or party tables without breaking your budget. You’ll need white tissue paper or coffee filters, cotton balls, string, and a marker. Place a cotton ball in the center of the tissue paper, wrap it around, and tie it with string to form the ghost’s head. Use the marker to draw little eyes and a mouth.
Make several of these and then attach them along a longer string to create a hanging garland. The materials cost only a few dollars, and the entire garland can be finished in under an hour.
Toilet Paper Roll Bats
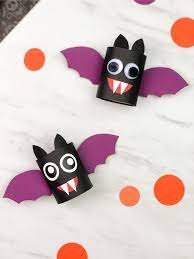
Toilet Paper Roll Bats are a clever way to recycle while adding some spooky charm to your Halloween decor. Collect empty rolls, black paint, glue, and googly eyes. Paint the rolls black and let them dry. While waiting, cut out bat wings from black construction paper and glue them onto the sides of the roll.
Add googly eyes at the top and draw a tiny smile with white paint or a marker. These bats can be hung with string, taped to walls, or placed on shelves. With nearly free materials and a quick assembly process, they’re perfect for kids and adults alike.
Mason Jar Mummy Lanterns
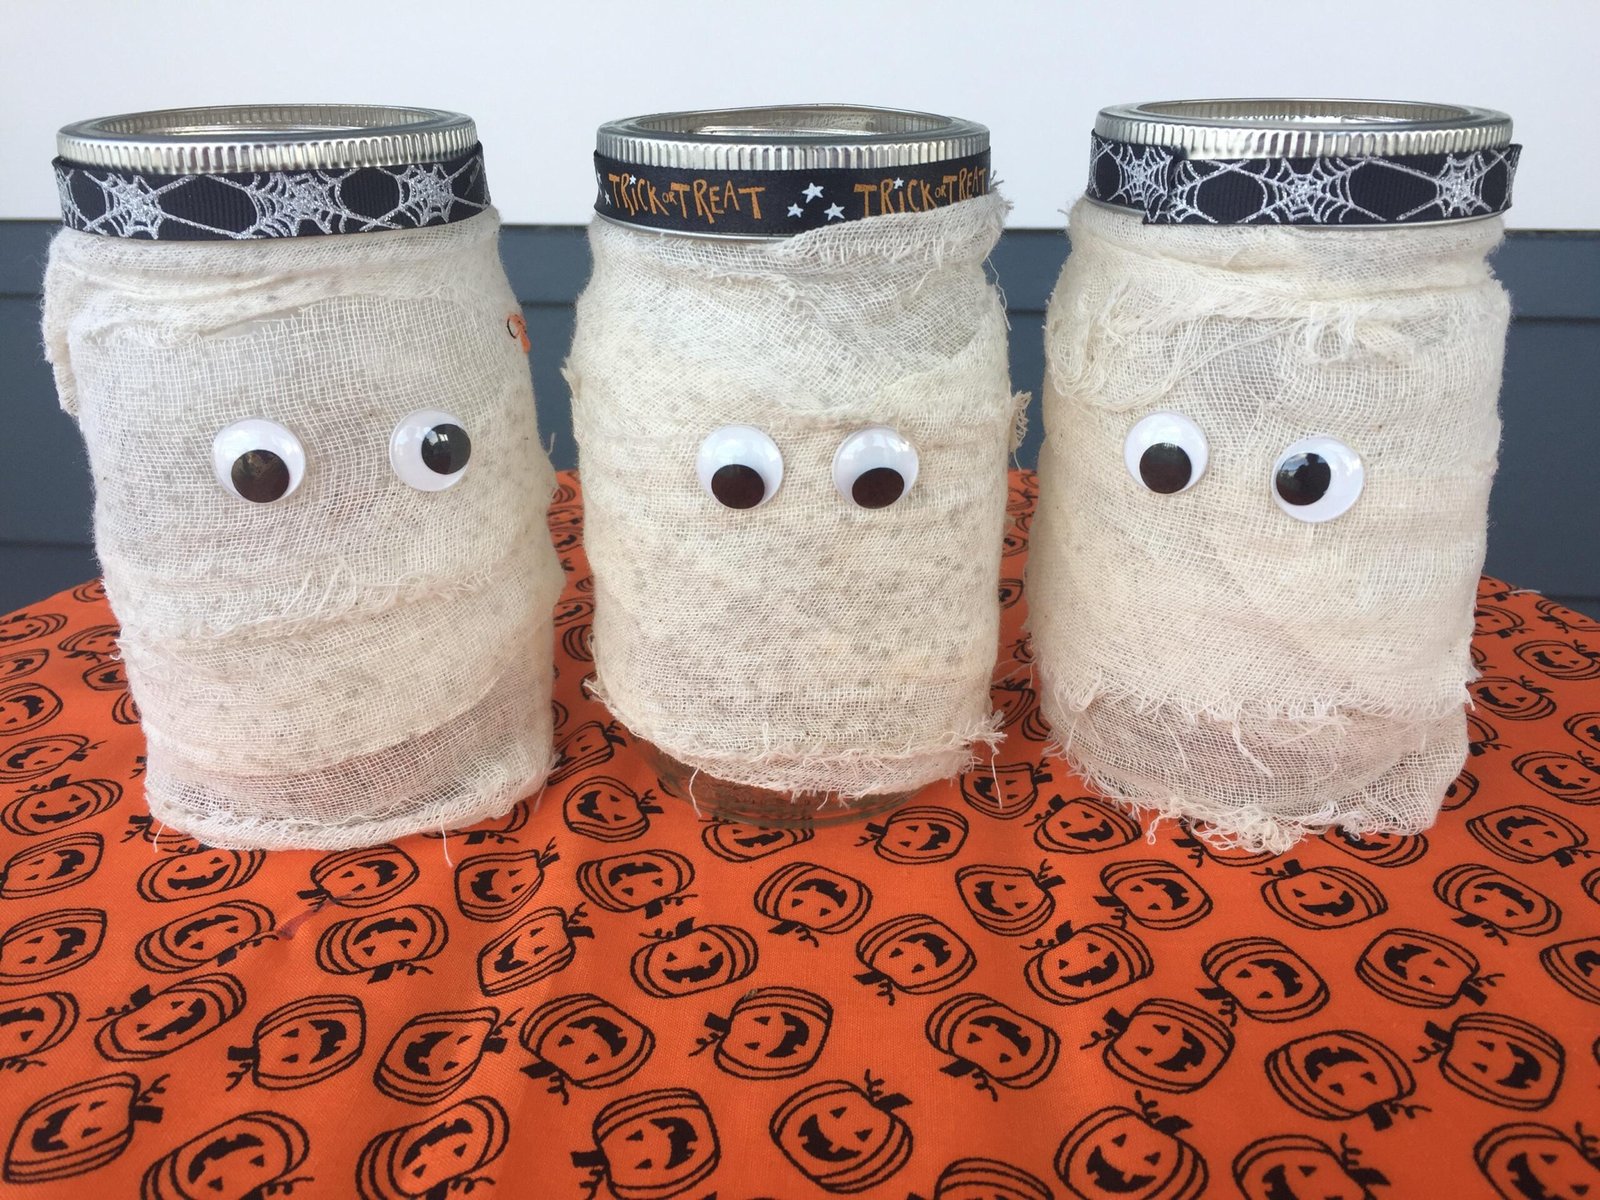
Mason Jar Mummy Lanterns are a charming way to light up your home or porch for Halloween without spending much money. Start with any clean glass jar—mason jars work perfectly, but recycled pasta sauce jars will do too. Wrap the jar loosely in strips of white gauze, cheesecloth, or even cut-up fabric, securing the ends with a dab of glue.
Leave small gaps so the glow can shine through. Add googly eyes or cut black circles from paper to give your mummy a spooky personality. Place a battery-operated tea light inside, and you’ve got an eerie lantern that looks great on steps, windowsills, or as a party table centerpiece. The cost stays under $5 if you reuse jars and fabric scraps, making this a perfect budget-friendly project. For a fun twist, try using colored gauze or adding little fangs to give your mummy some extra character.
Egg Carton Spiders
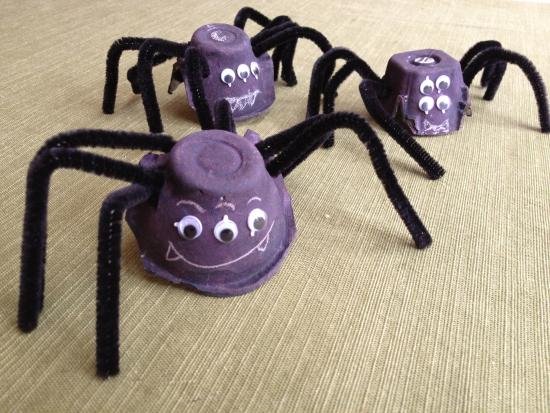
Egg Carton Spiders are an affordable and creative way to recycle everyday items into Halloween decorations. Begin by cutting apart the individual sections of an empty egg carton. Paint each section black and let it dry completely. Once ready, poke four small holes on each side of the cup and insert pipe cleaners to form eight legs.
Bend the pipe cleaners so they look more lifelike and give the spider a playful or creepy pose. Add googly eyes or draw eyes with a white marker to complete the look. These spiders can sit on shelves, be glued onto walls, or hung from strings to look like they’re crawling down. With just paint, pipe cleaners, and a bit of imagination, you’ll have several spiders ready in no time. This craft costs less than $3 if you already have paint and pipe cleaners at home, making it an ideal low-cost Halloween activity.
Paper Bag Luminaries
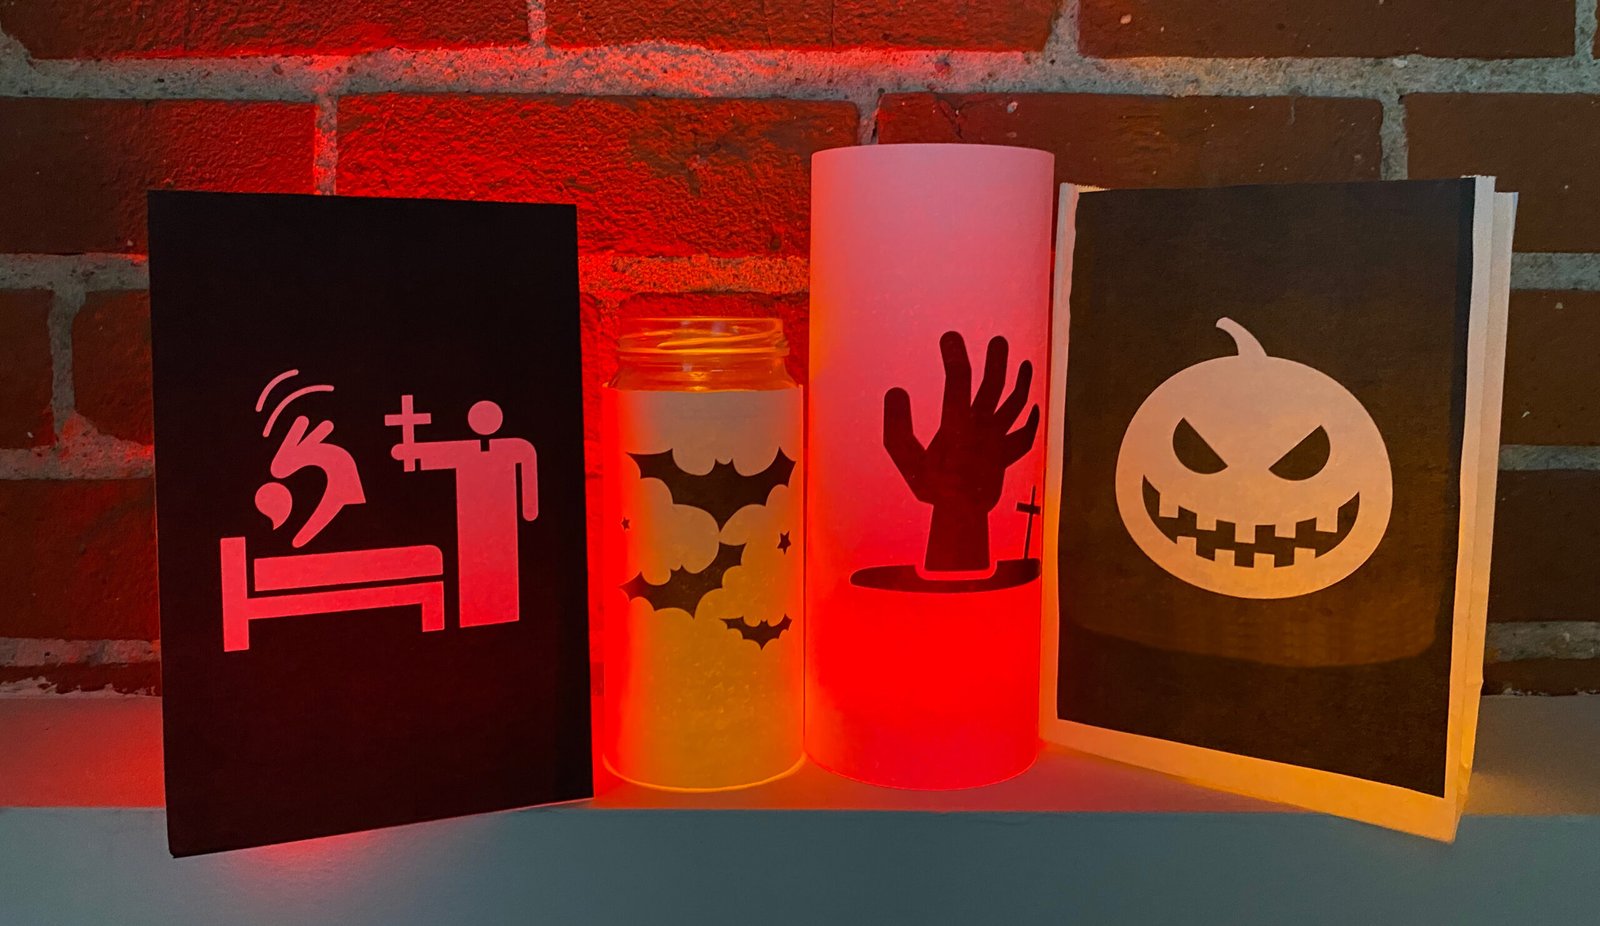
Paper Bag Luminaries bring a warm, glowing touch to Halloween nights while being incredibly easy to make. All you need are brown or white lunch bags, a pair of scissors, a marker, and LED tea lights. Begin by sketching simple designs like pumpkins, ghosts, or bats on the front of the bag, then carefully cut them out with scissors.
Place a small handful of sand or rice at the bottom of the bag to keep it from blowing away, and then insert the LED light inside. When lit, the cutout designs glow beautifully, creating a cozy yet spooky atmosphere along walkways, porches, or driveways. The best part is how affordable these are—just a few dollars for a pack of bags and lights. For variations, use colored bags or decorate with stickers and glitter for added personality. They’re safe for kids to make and a great option for outdoor Halloween decorating.
Popsicle Stick Haunted Houses
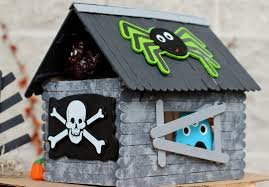
Popsicle Stick Haunted Houses are a creative, low-cost project that lets your imagination run wild. To start, gather popsicle sticks, glue, paint, and a cardboard base. Build the frame of the house by gluing sticks into squares and triangles, then layer more sticks to create walls and a roof. Once it’s dry, paint the house in spooky colors like black, gray, or purple. Add details such as crooked windows, doors, or even tiny fences made from extra sticks.
For an extra haunted effect, glue on cobwebs made from cotton balls or add little paper bats flying around. This craft costs under $7, especially if you buy popsicle sticks in bulk. It takes about 1–2 hours, making it a perfect weekend activity. You can customize each haunted house differently, so it’s fun to build a whole village with friends or siblings for a spooky Halloween display.
DIY Witch Hat Headbands
DIY Witch Hat Headbands are a stylish and affordable Halloween accessory that teens and kids will love wearing. Begin with a plain headband, black cardstock or felt, and some hot glue. Cut out a circle for the brim and roll another piece into a cone for the top of the hat. Glue the pieces together, then attach the mini hat securely to the headband.
To personalize, decorate with glitter, ribbon, feathers, or even tiny plastic spiders for extra charm. The cost of materials is under $5, especially if you already have a spare headband at home. This craft takes less than an hour, making it a quick and satisfying project. The best part is how customizable it is—you can make a classic spooky witch hat, a cute sparkly version, or even coordinate it with a full costume. These headbands are great for parties, trick-or-treating, or just showing off your Halloween spirit.
Painted Rock Monsters
Painted Rock Monsters are a budget-friendly Halloween craft that’s as fun as it is simple. Collect smooth rocks from your yard or buy a bag of craft rocks, then wash and dry them before painting. Use acrylic paints to create monster bodies in bright or spooky colors like green, purple, or black. Once the base coat is dry, add details such as googly eyes, sharp teeth, silly tongues, or even glitter for extra flair. Each monster can have its own personality, from scary to goofy, making this craft perfect for families or groups.
The cost is usually under $5 since most supplies are basic craft staples. This project takes around 1 hour, depending on how many rocks you paint. Painted Rock Monsters can be displayed on shelves, porches, or used as party favors. They’re a great way to combine creativity with recycling natural materials.
Milk Jug Skeletons
Milk Jug Skeletons are a clever way to recycle while making a standout Halloween decoration. All you need are several empty milk jugs, scissors, string, and a marker. Rinse and dry the jugs thoroughly, then cut out shapes for bones—ribs, arms, legs, and even a skull from the flat sides of the plastic.
Use a hole punch to create small holes and tie the pieces together with string, forming a full skeleton. Draw on a spooky face for extra character. This project costs nothing if you already have the jugs, making it a true budget winner. It takes about 1–2 hours and is suitable for older kids and teens (with adult help for cutting). Hang the skeleton on a porch, fence, or door to greet trick-or-treaters with a quirky, eco-friendly decoration that looks great and sparks conversation.
Coffee Filter Ghosts
Coffee Filter Ghosts are one of the easiest and most budget-friendly Halloween crafts you can make. Grab coffee filters, cotton balls or tissue for stuffing, string, and a black marker. Place a cotton ball in the center of a filter, wrap it up to form a head, and secure with string or a twist tie. Draw spooky or silly faces to give each ghost its own personality.
These little ghosts can be strung together into garlands, hung from ceilings, or used as table decor. Materials cost under $3, especially if you already have coffee filters at home. The craft takes about 20 minutes, making it great for younger kids who want to help. You can also spray the filters with glow-in-the-dark paint for an extra fun effect. Simple, quick, and affordable, Coffee Filter Ghosts bring a playful Halloween vibe to any space.
Halloween Tin Can Luminaries
Halloween Tin Can Luminaries are a creative way to turn recycled cans into glowing decorations. Start by cleaning and drying empty tin cans, then fill them with water and freeze overnight (this prevents denting while hammering). Once frozen, use a nail and hammer to punch holes in spooky shapes—pumpkins, bats, or stars. After thawing the cans, paint them in festive Halloween colors like orange, black, or purple.
Place a tea light or LED candle inside, and you’ll have glowing lanterns perfect for lining walkways or decorating porches. This project costs under $5, especially if you reuse cans from your pantry. It takes around 1 hour plus freezing time. Luminaries add a cozy, eerie glow and are customizable for any theme. For added fun, make a full set of different designs and arrange them together for a magical Halloween display.
Recycled Cardboard Tombstones
Recycled Cardboard Tombstones are an affordable way to transform your yard into a spooky graveyard. All you need is large cardboard pieces, scissors or a utility knife, gray paint, and a black marker. Cut the cardboard into tombstone shapes, paint them gray, and let them dry. Once dry, use the marker to add “RIP,” funny names, or creepy messages for a realistic effect.
You can even add texture by sponging on darker gray or black paint to mimic stone. To display, secure the tombstones in the ground with wooden stakes or tape them to a fence or wall. The cost is usually free if you use leftover boxes, with paint adding just a few dollars. This project takes about 1–2 hours and is ideal for families or groups decorating on a budget. With a little creativity, you can create an entire spooky graveyard scene for your Halloween party or trick-or-treat night.
Final Thoughts
Halloween crafts don’t have to be complicated or expensive. With just a few dollars and some imagination, you can create spooky, festive decorations that make your home or party stand out. These 13 budget-friendly Halloween crafts are quick, fun, and perfect for kids and adults alike.
So grab those scissors, paint, and old jars—it’s time to get crafty and make this Halloween unforgettable without breaking the bank!



Pingback: 15 Fun and Easy Halloween Crafts for Preschoolers - blessmeup.com