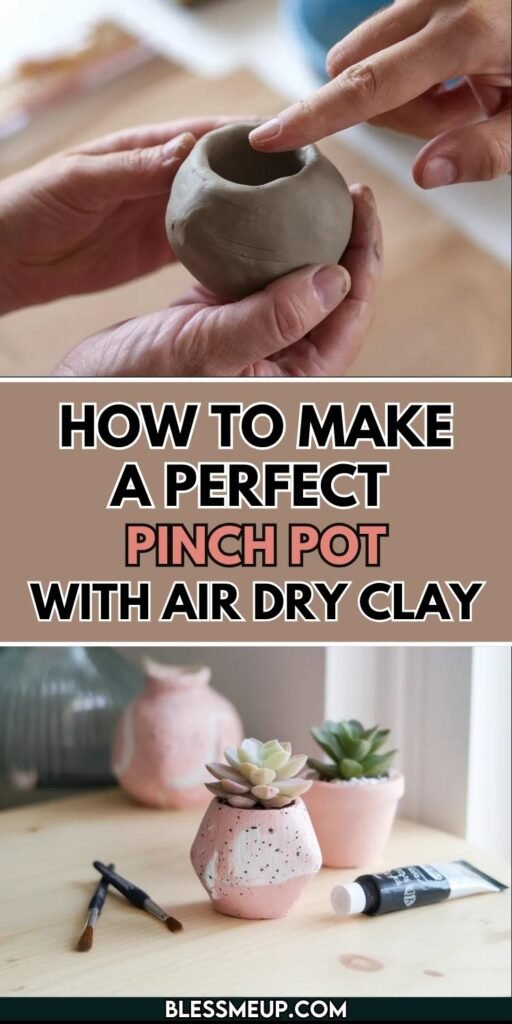
Making your first pinch pot is one of the most satisfying introductions to clay work. It’s a hands-on way to learn how clay behaves, practice even walls, and end up with a charming little bowl you made yourself. This step-by-step guide walks you through everything — materials, prep, the pinch technique, troubleshooting, finishing, and care — written for absolute beginners.
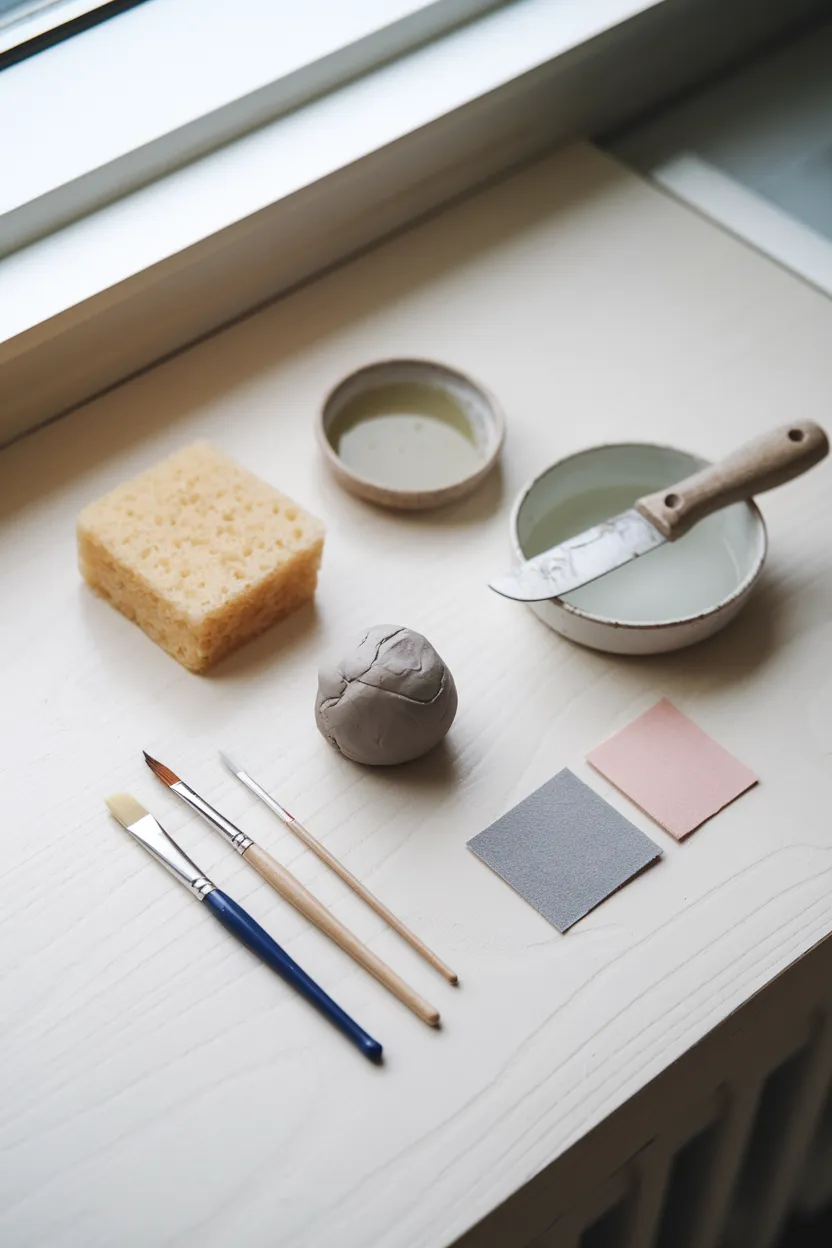
Materials — what you’ll need
- Air-dry clay (enough for one small pot — about 4–6 oz / 113–170 g will make a 3–4 inch / 7.5–10 cm wide pot)
- Clean, flat work surface (tile, glass, or silicone mat)
- Small bowl or cup (optional: to shape the outside)
- Soft sponge & small bowl of water
- Needle tool or toothpick (for scoring/trim) — optional
- Wooden modeling tool or butter knife (optional, for smoothing)
- Fine-grit sandpaper (220–400) (for after the clay dries)
- Acrylic paints + brushes and sealer (for finishing) — optional
- Plastic wrap or zip bag (to store clay and slow drying)
- Dust mask (only needed if you sand dry clay)
Preparation — get set up
- Choose a calm workspace. Clear a flat surface and lay down a silicone mat, placemat, or clean tile. Keep a damp cloth and baby wipes handy for quick clean-up.
- Condition the clay. Knead the clay until it’s soft and homogenous. It should feel soft but not sticky — if it sticks to your fingers add a light dusting of cornstarch or knead in a touch more clay to balance moisture.
- Measure your ball. For a 3–4 inch pot, roll a ball about the size of a small apple — roughly 4–6 oz (113–170 g). Weighing isn’t necessary, but it helps to have consistent results if you plan multiple pots.
Step-by-step pinch pot forming technique
Follow these actions slowly and deliberately — patience pays off.
- Form a smooth ball. Roll the clay into a tight ball to remove obvious seams and air pockets. Compress by rolling it gently on the table with cupped hands.
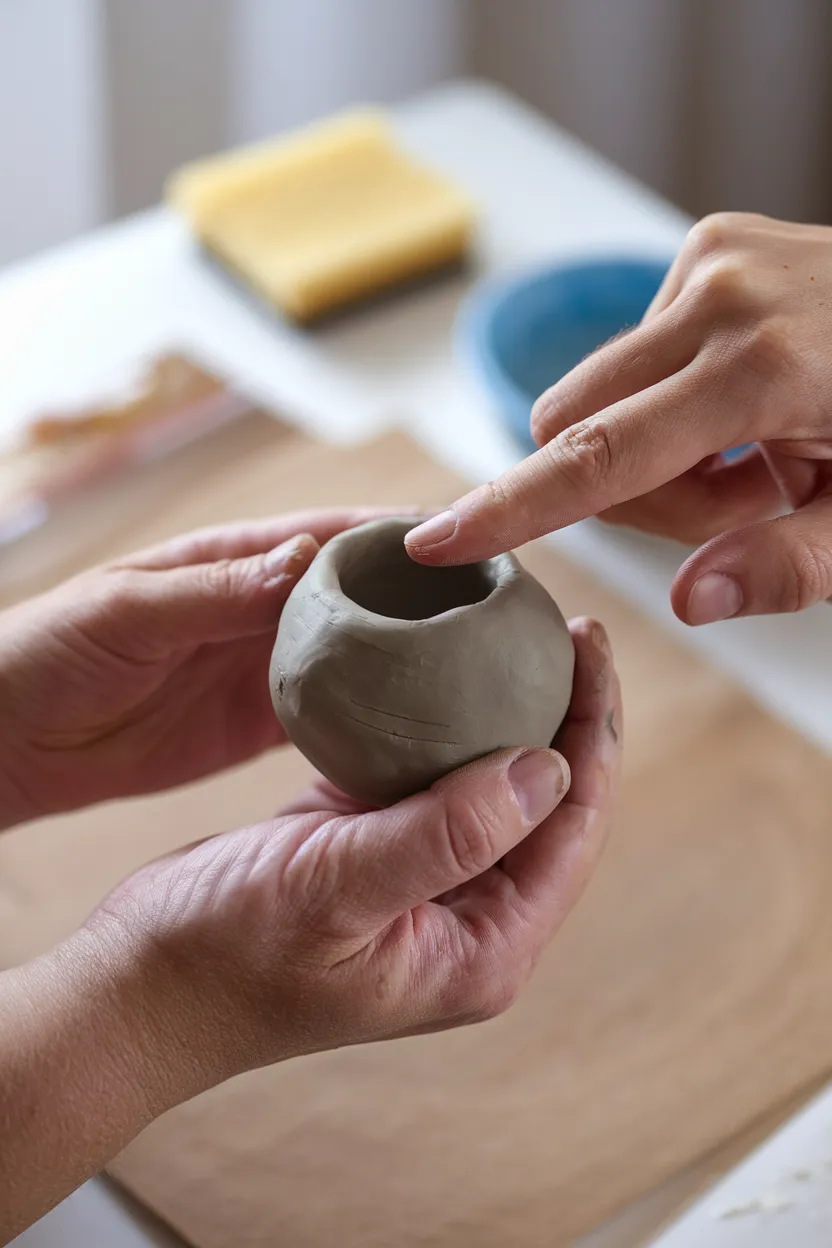
- Create the initial hollow. Hold the ball in one hand. Use your thumb of the other hand to press into the center about ½–¾ inch (12–18 mm) deep — not all the way through.
- Begin pinching. Rest the ball between your thumb (inside) and two fingers (outside). Pinch gently between thumb and finger, rotate the ball a little, pinch again. Use steady, even pressure to thin the walls. Work systematically around the pot.
- Even wall thickness. Aim for about ¼ inch (~6 mm) wall thickness — thick enough to be stable, thin enough to dry without huge cracking. Keep feeling the clay from both inside and outside to detect thin/ thick spots.
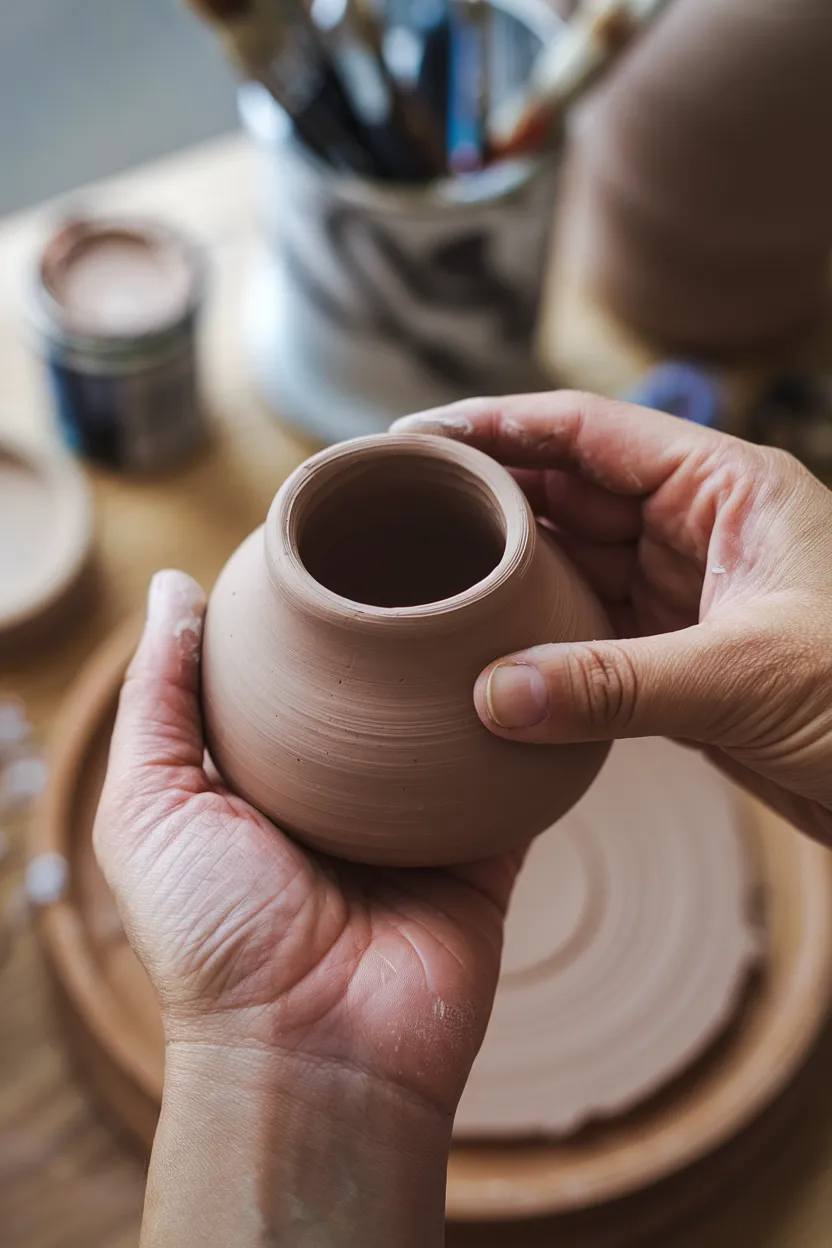
- Shape the rim and base. Once the walls are even and the pot roughly bowl-shaped, smooth the rim with a damp sponge and compress the base by pressing it against the work surface. This closes air pockets and strengthens the bottom.
- Refine the form. Use a rounded wooden rib or spoon to smooth the inside. If you want a perfectly round pot, press the pot into a small cup or bowl to reshape carefully.
- Optional: add details. Before the clay stiffens, press fingerprints, textures, or make a small indented foot ring. If you attach handles or coils, score and use a liquid “slip” (see below).
Slip for air-dry clay (joining pieces)
Air-dry slip = softened clay + water. Mix a small pinch of clay with a few drops of water until it’s creamy like toothpaste. Use it to join handles or coils. Score (scratch) both surfaces, apply slip, press together, then smooth.
Troubleshooting — common problems and fixes
- Cracks in the walls
Cause: Walls too thick or drying too fast / air pockets.
Fix: Rework by thinning walls during forming, gently compress base to remove pockets, cover loosely with plastic to slow drying. For hairline cracks, smooth with slip and blend; if deep, remix and reattach clay while damp. - Uneven walls / lopsided pot
Cause: Uneven pinching pressure.
Fix: Rewarm the clay by kneading slightly, then re-pinch and rotate more deliberately. Use your free hand inside to guide even pressure. - Sticky/clinging clay
Cause: Too wet.
Fix: Knead in a little dry clay or dust with cornstarch. Work on a nonstick surface (plastic wrap or silicone). - Air bubbles / hollow spots
Cause: Not wedged well.
Fix: Wedge (knead) the clay before forming to remove trapped air. If bubbles appear midwork, open the piece, press and re-work the area, then reseal.
Drying — slow and steady wins
Air-dry clay dries from the outside in. Rapid drying causes cracks.
- Drying method: Let the pot dry slowly at room temperature. For a 3–4 inch pot, expect 24–48 hours to become touch-dry; fully dry may take up to 72 hours depending on humidity and thickness.
- Control the speed: Cover the pot loosely with plastic (plastic bag or wrap) and remove the cover briefly each day to let moisture escape. This slow method prevents warping and splits.
- Flip to avoid warping: If your pot sits in a way that causes uneven drying, flip it on a paper towel once the bottom is dry enough to handle.
Finishing & decoration
Once the pot is fully dry:
- Sand gently. Use fine-grit sandpaper (220–400) to smooth any rough spots. Wear a mask if sanding creates dust.
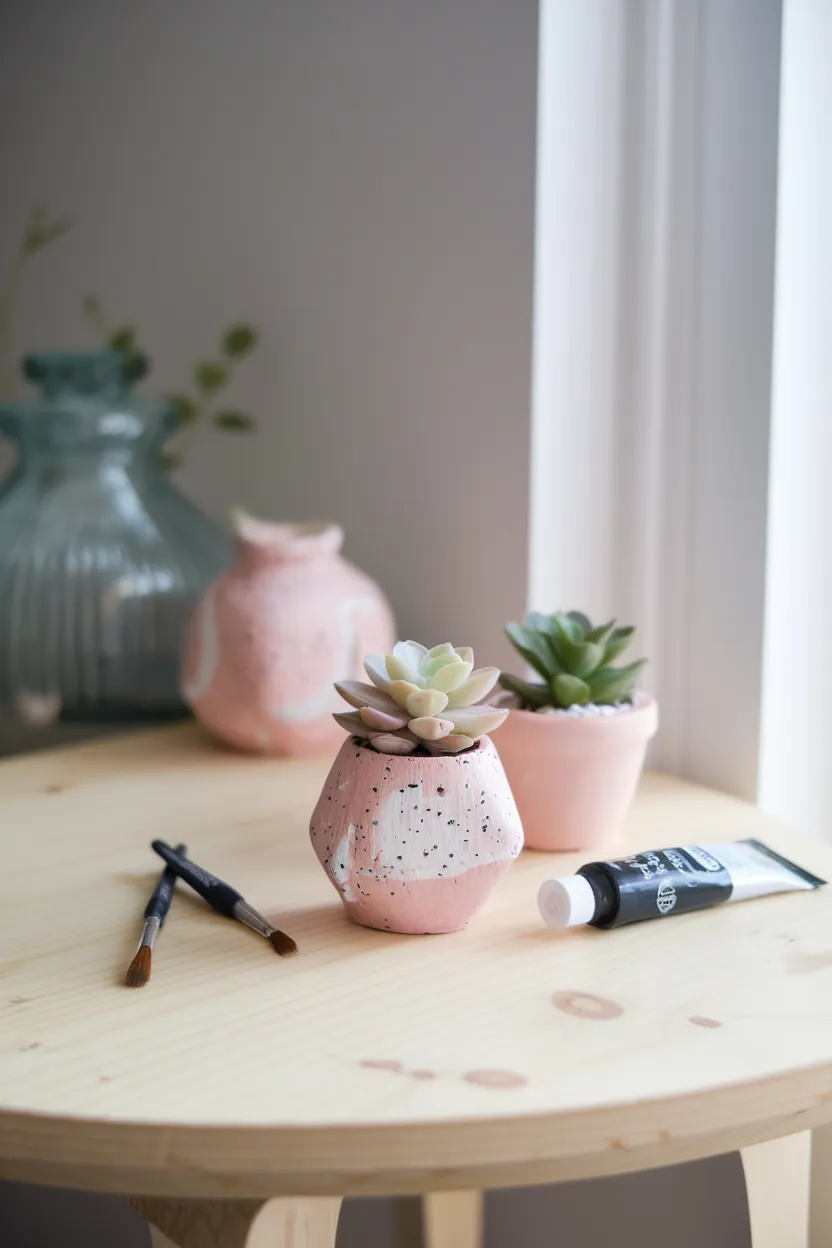
- Paint & decorate. Air-dry clay takes acrylic paint beautifully. Thin washes give a ceramic look; dry-brushing highlights texture. Add metallic leaf, stamped patterns, or simple hand-painted designs.
- Seal. Apply a water-based sealer (acrylic varnish or polyurethane). Note: Most air-dry clays are not food-safe even if sealed. Avoid using your pinch pot for food or liquids unless you line the interior with a food-safe insert or use a certified food-safe epoxy (requires careful following of product safety guidance).
- Optional shine: For a soft sheen, burnish before drying with the back of a spoon; for gloss, use a glossy varnish after painting.
Care & maintenance
- Use: Decorative trinket dishes, ring bowls, plant pot for faux succulents, or desk organizers.
- Cleaning: Wipe with a damp cloth; do not soak. Avoid dishwasher, microwave, or prolonged liquid exposure.
- Storage: Keep in a dry place out of direct sun to prevent fading. If you need to store unfinished clay, wrap in cling film and place in a sealed bag.
Variations & ways to grow your skills
- Beginner: Keep it small — a 3-inch pinch pot is forgiving. Use hand-textures and paint.
- Intermediate: Add a hand-rolled coil rim, attach a small handle using slip, or carve patterns with a loop tool.
- Advanced: Make a set of nesting pinch pots, trim a foot ring when leather-hard (if using pottery clay), or finish with multiple paint layers for depth.
Final encouragement
Your first pinch pot probably won’t be museum-perfect — and that’s the point. Pinch pots are tactile, personal, and forgiving. Each wonky rim and fingerprint tells the story of a beginner learning by doing. Practice a few times, try different sizes, and enjoy the meditative rhythm of pinching and rotating. With patience and these simple steps, you’ll be turning out small handmade bowls you’re proud to display.